This is the third in a series of patterns I'm creating that build up to a life-sized human skull, as part of my life-sized anatomical skeleton series. Part 1 was for the teeth and jawbones, whilst part 2 was for the larger bones of the skull (frontal, parietal, occipital, and temporal). This pattern is for the remaining smaller bones, with the final pattern of the series (which I hope to release soon) containing details on assembly.


Difficulty:

Medium - difficult
This is a fairly challenging pattern as it involves a lot of instruction following for some of the more complex bones. I've tried to include phtoos to explain things as best as I can - If you have any questions or would like any help figuring out this pattern please feel free to contact me by emailing lhodginscrochet@gmail.com.
You will need:
- A 2mm crochet hook
- Anchor creativa fino cotton in white
- A set of upper crocheted teeth. You can find my teeth pattern here (you only need to make half the number specified, as this pattern only involves the upper set).
- A few sheets of white felt
- Polyester toy stuffing
- A darning needle
- A pair of scissors
Note:
- 'fasten off neatly' refers to a special way of fastening off which is neater and makes it easier to see where you should be crocheting on the next round (also known as invisible fastening off). This involves pulling up your yarn through your stitch, threading the yarn underneath the second stitch from where you pulled your yarn up, then threading your yarn back through the top of this stitch and down through the back of the work. There is a very helpful site that explains it clearly found here. Just make sure when you do this that you thread your needle through the SECOND stitch after the last stitch you made, otherwise you will end up with an extra stitch which may mean that all of the following rounds are out of line with each other. The false stitch that you create is referred to in this pattern as the 'new' st.
- This pattern includes the back-to-front single crochet stitch (bfsc). A video to show you how to do this can be found here. It's pretty simple but if you can't work it out you can just use a regular single crochet stitch, but this will give it a slightly different look.
- This pattern includes the foundation single crochet stitch (fsc). A handy website for learning to do this stitch can be found here, or alternatively a video tutorial can be found here.
- The stitch count at the end of each round includes all chain sts apart from the final one (i.e. the one included in ch1, turn)
You may find it useful to label the bones as you go along so you can remember which is which when carrying out construction.
For the right zygomatic bone:
Ch19
Round 1: sc in the first chain st you made, then sc in each of the following 18 sts to make a loop (19sc)
Round 2: Slip3, sc2, hdc6, sc4, make 2sc in the next st, slip3 (20sc)
Round 3: Slip3, sc, hdc4, sc7, make 2sc in the next st, slip4 (21sc)
Round 4: Slip4, sc13, slip4
Round 5: Slip4, sc17
Round 6: Sc10, ch1, skip7, sc4 (15sts)
Round 7: Slip7, sc, hdc2tog, hdc in the chain st and the following 4sts (14sts)
Round 8: (Note that this is slightly more than a single round) Hdc, sc2tog, sc10, sc2tog (12sts)
Round 9: Slip5, sc, sc4tog, slip2 (9sts)
Round 10: Sc2tog, sc2, sc2tog twice, sc (6sc)
Round 11: Sc in each st
Fasten off
Round 8: (Note that this is slightly more than a single round) Hdc, sc2tog, sc10, sc2tog (12sts)
Round 9: Slip5, sc, sc4tog, slip2 (9sts)
Round 10: Sc2tog, sc2, sc2tog twice, sc (6sc)
Round 11: Sc in each st
Fasten off
Rejoin yarn to the next st of round 5 (after the last st you crocheted into when making the sc10 on round 6)

Round 6: Sc in this st and the next 6sts (7sc)
Round 7: Hdc2tog between the first 2sts of the last round, sc, slip1, sc, hdc2tog (5sts)
Fasten off
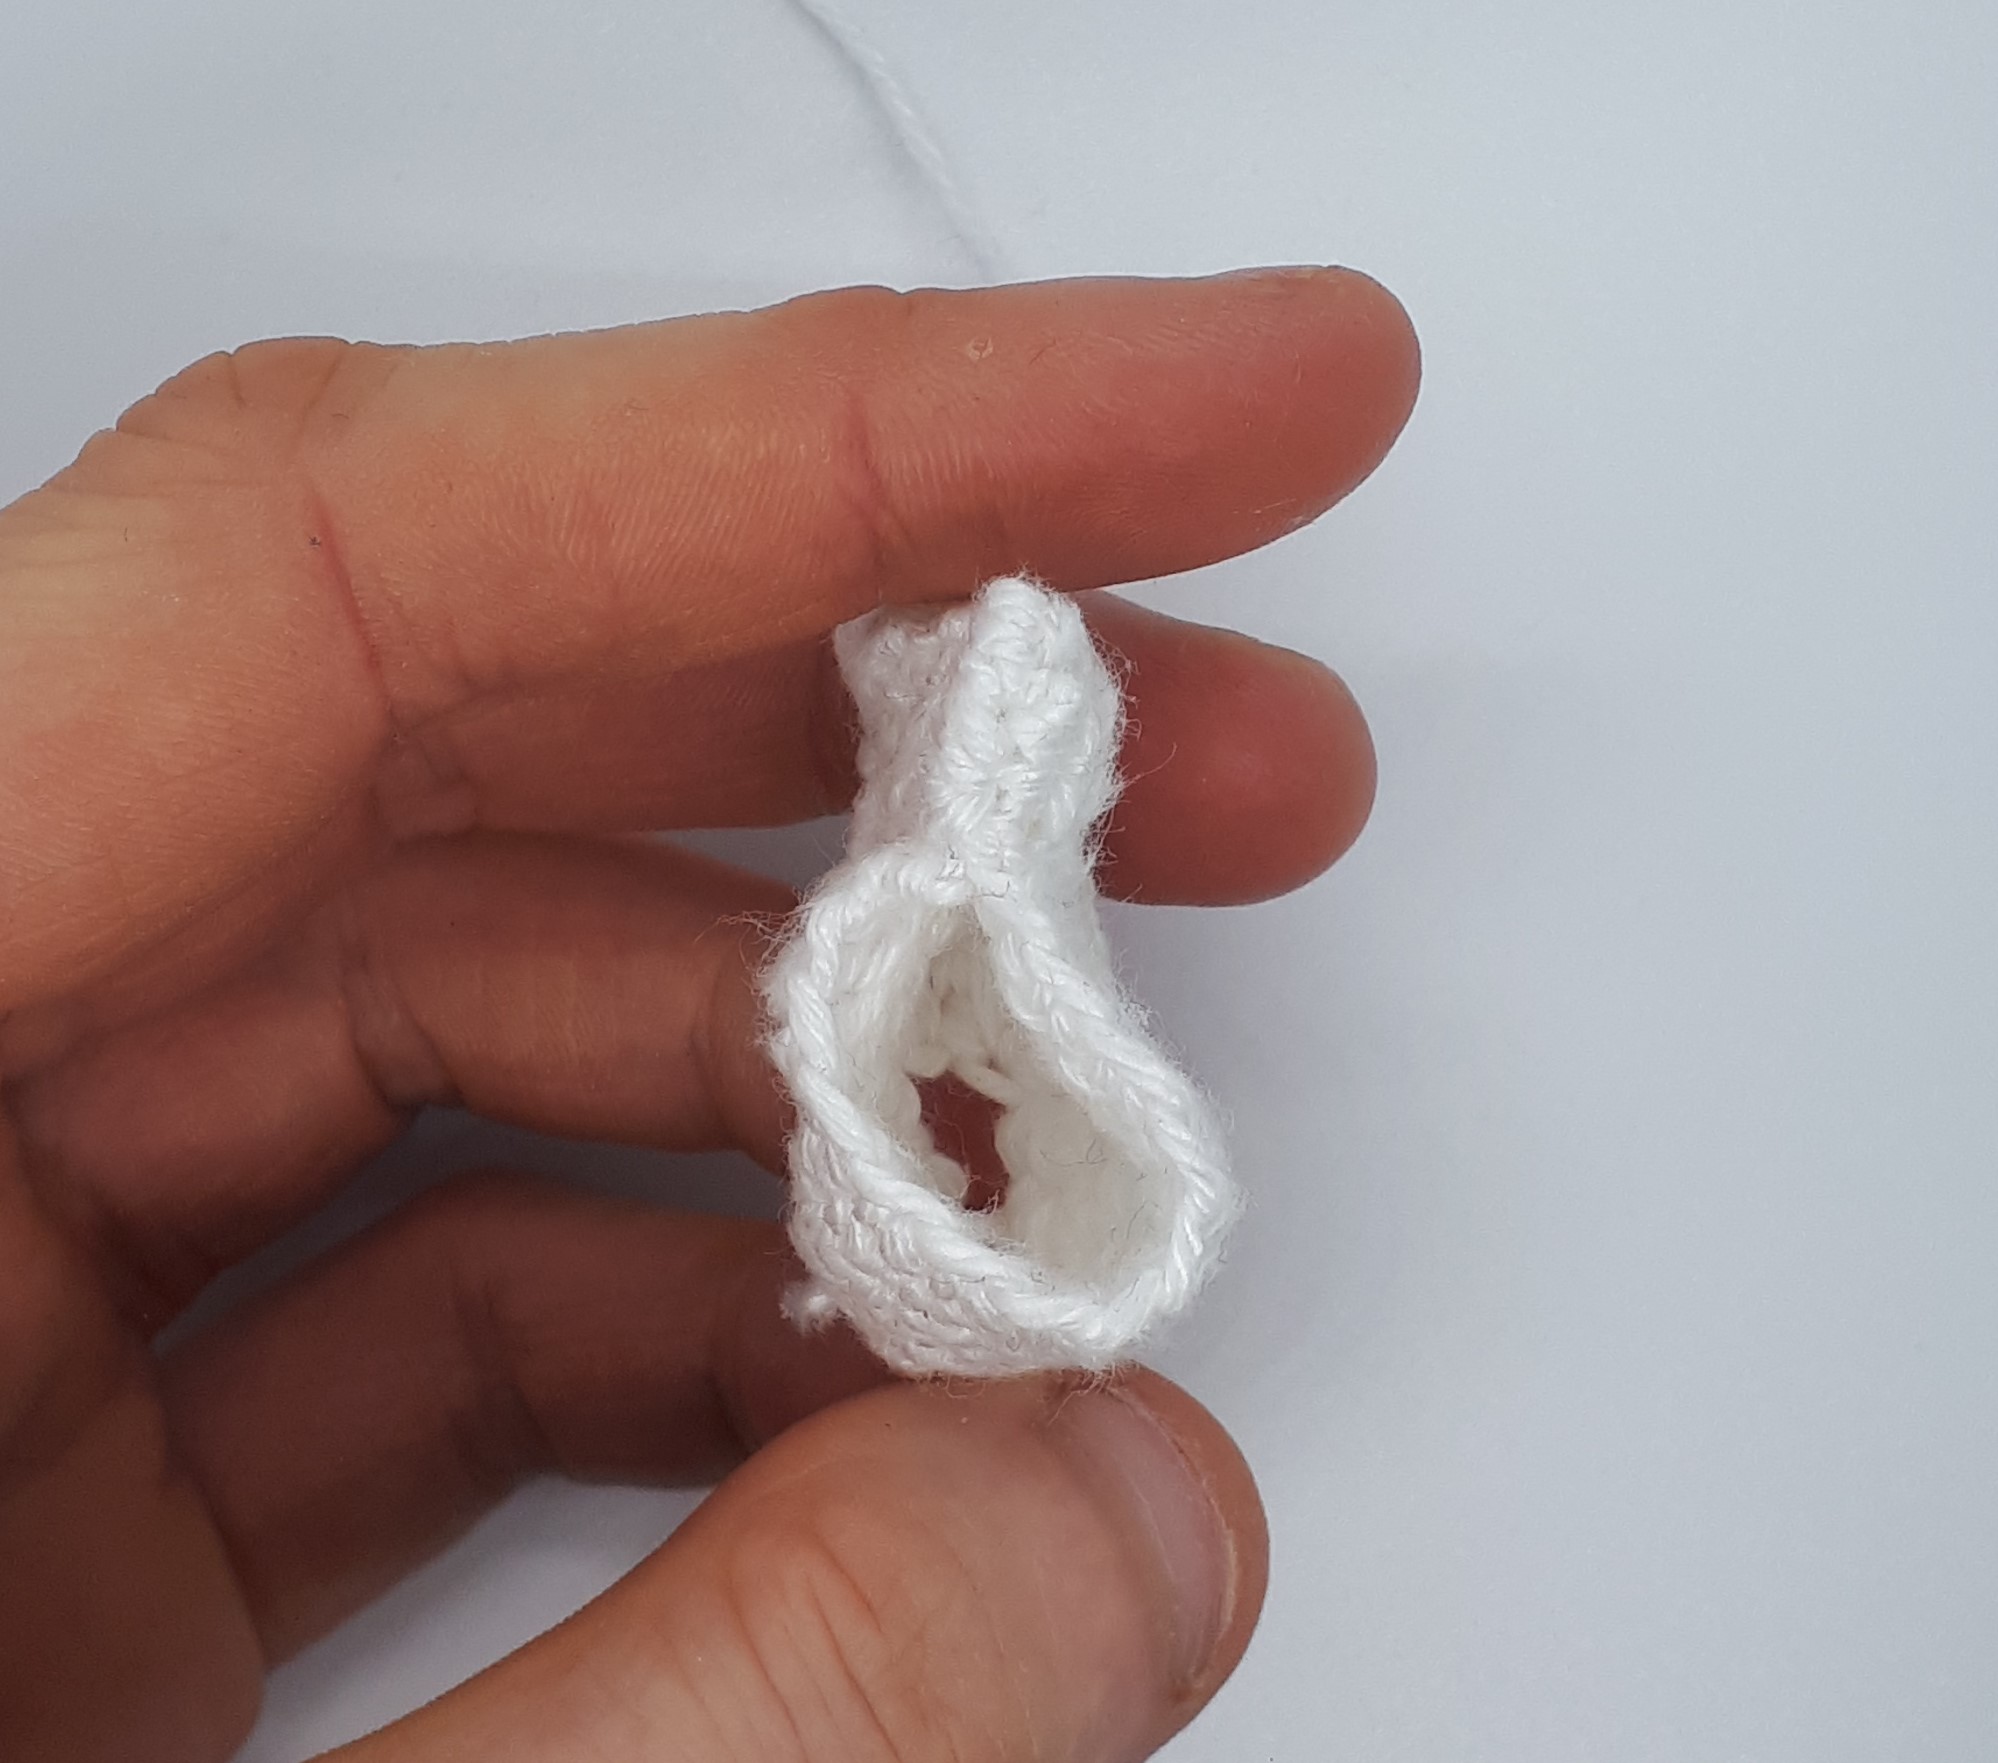
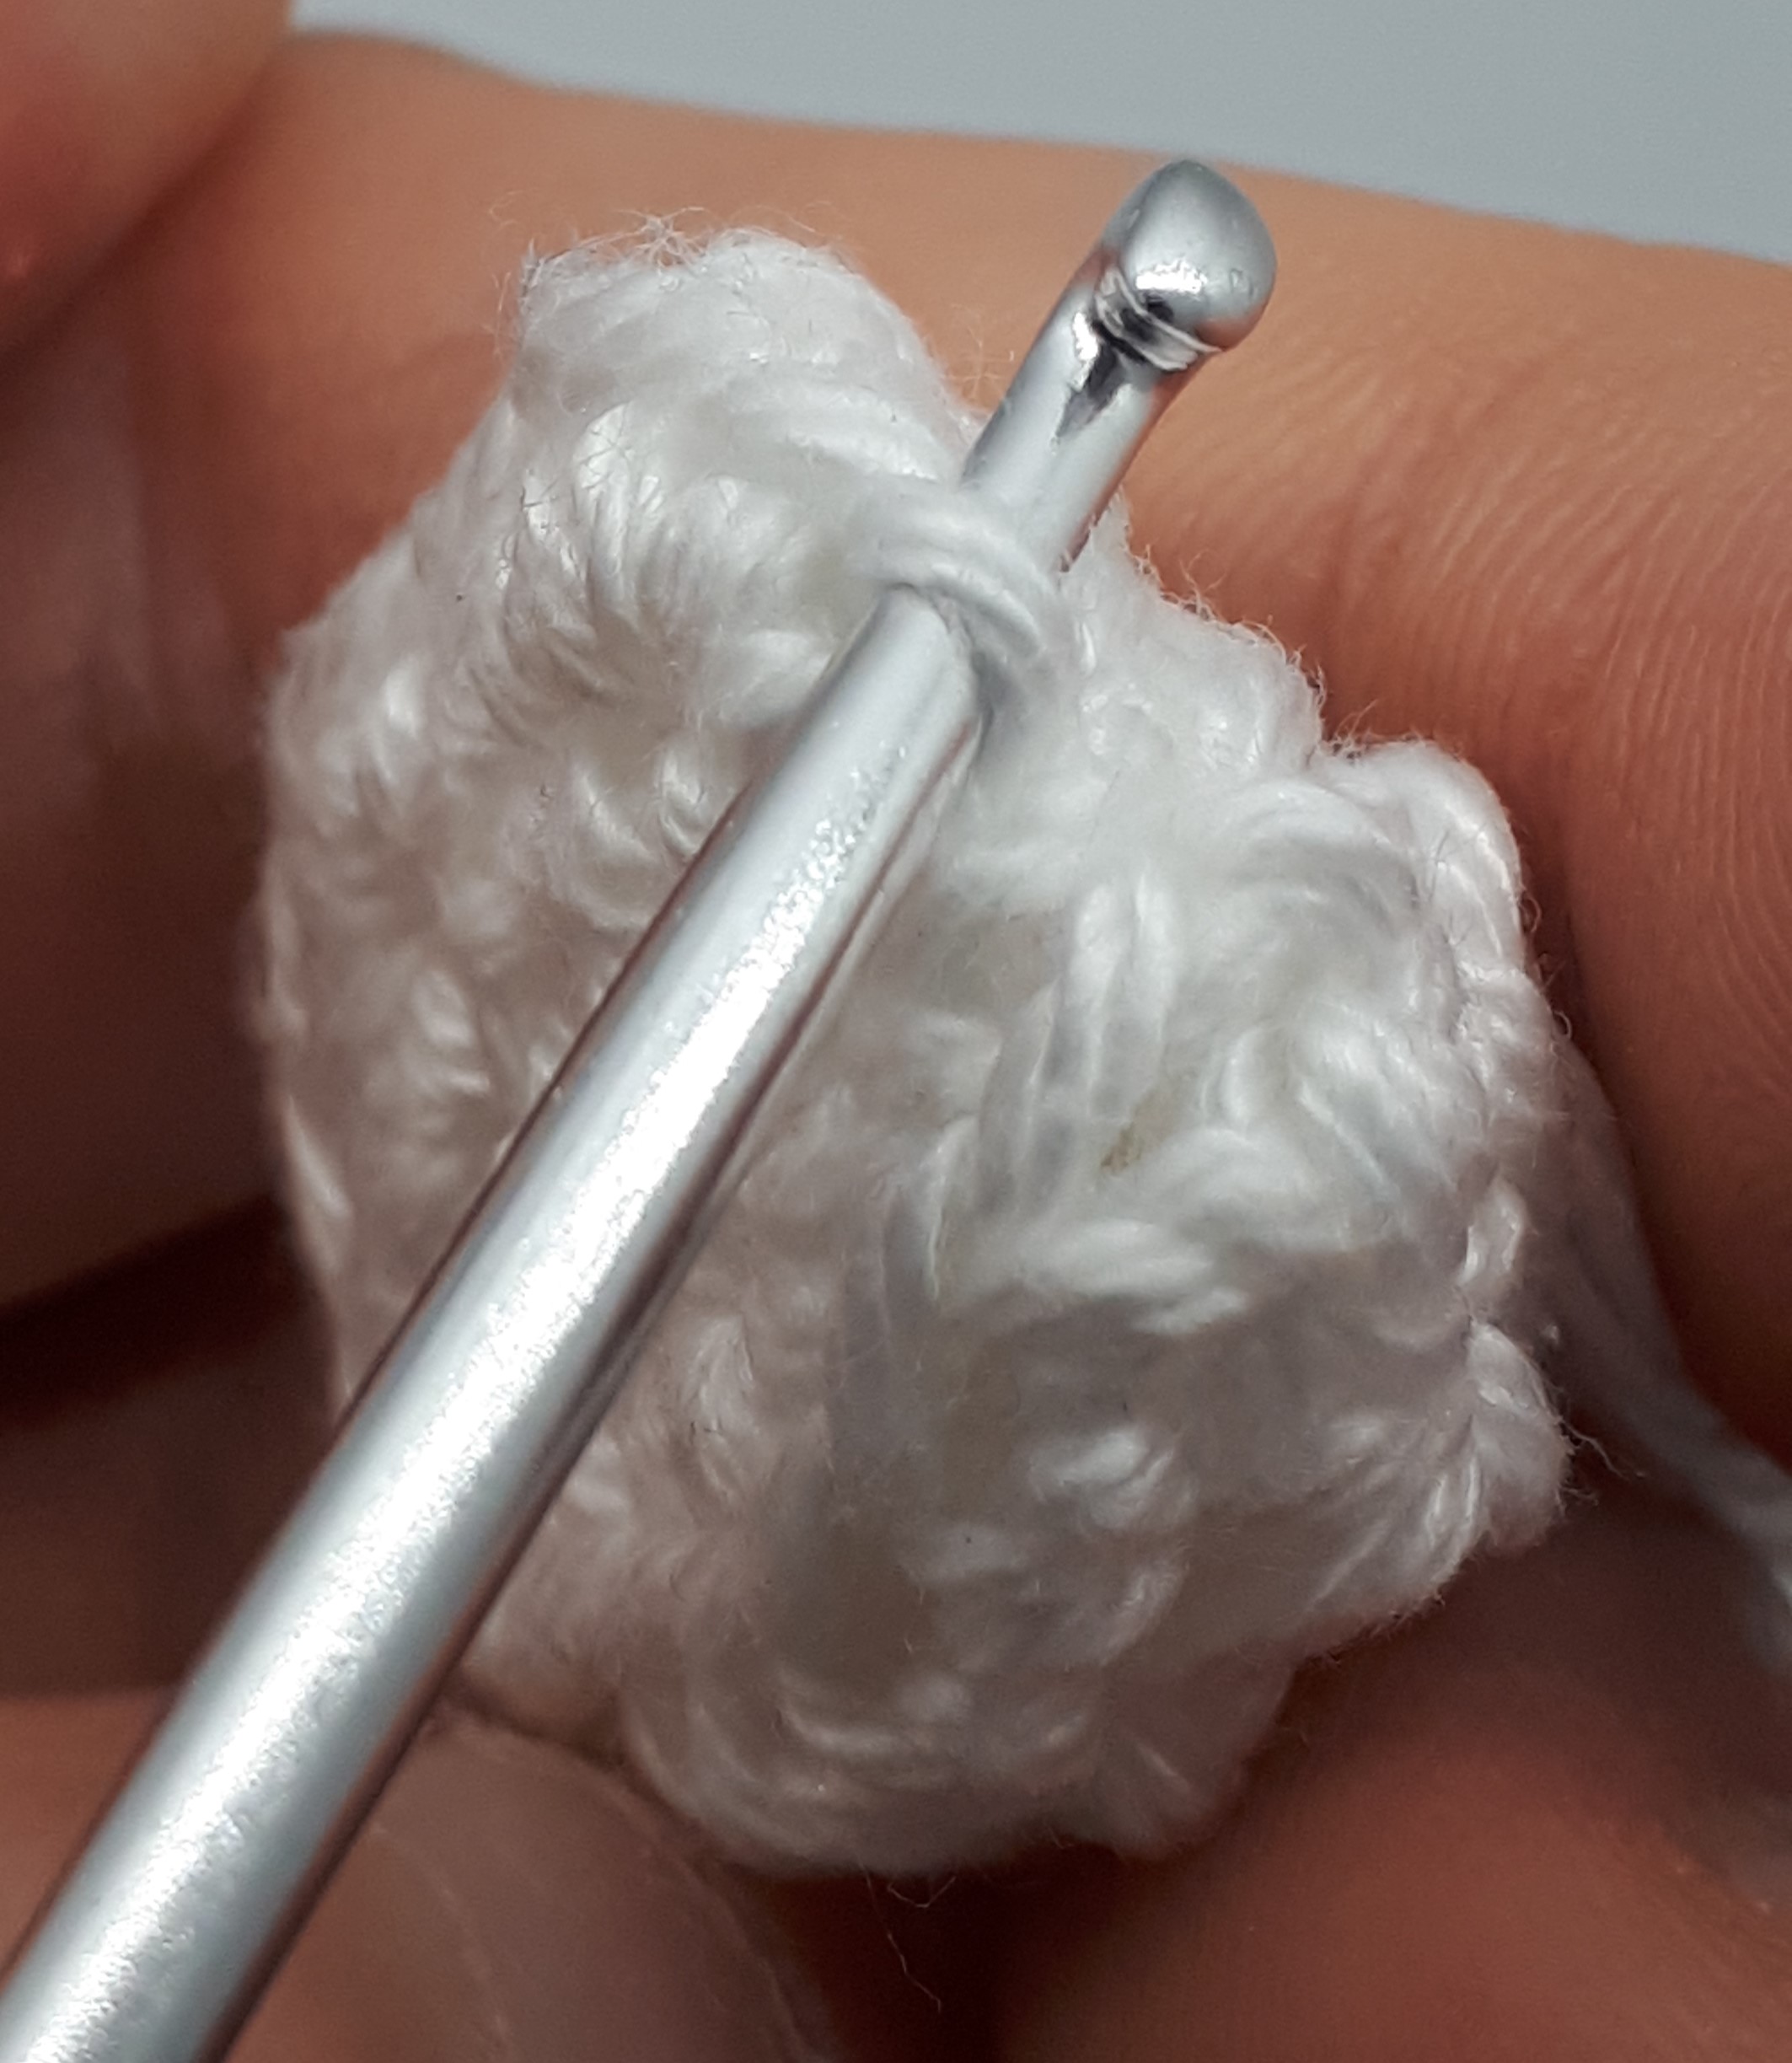
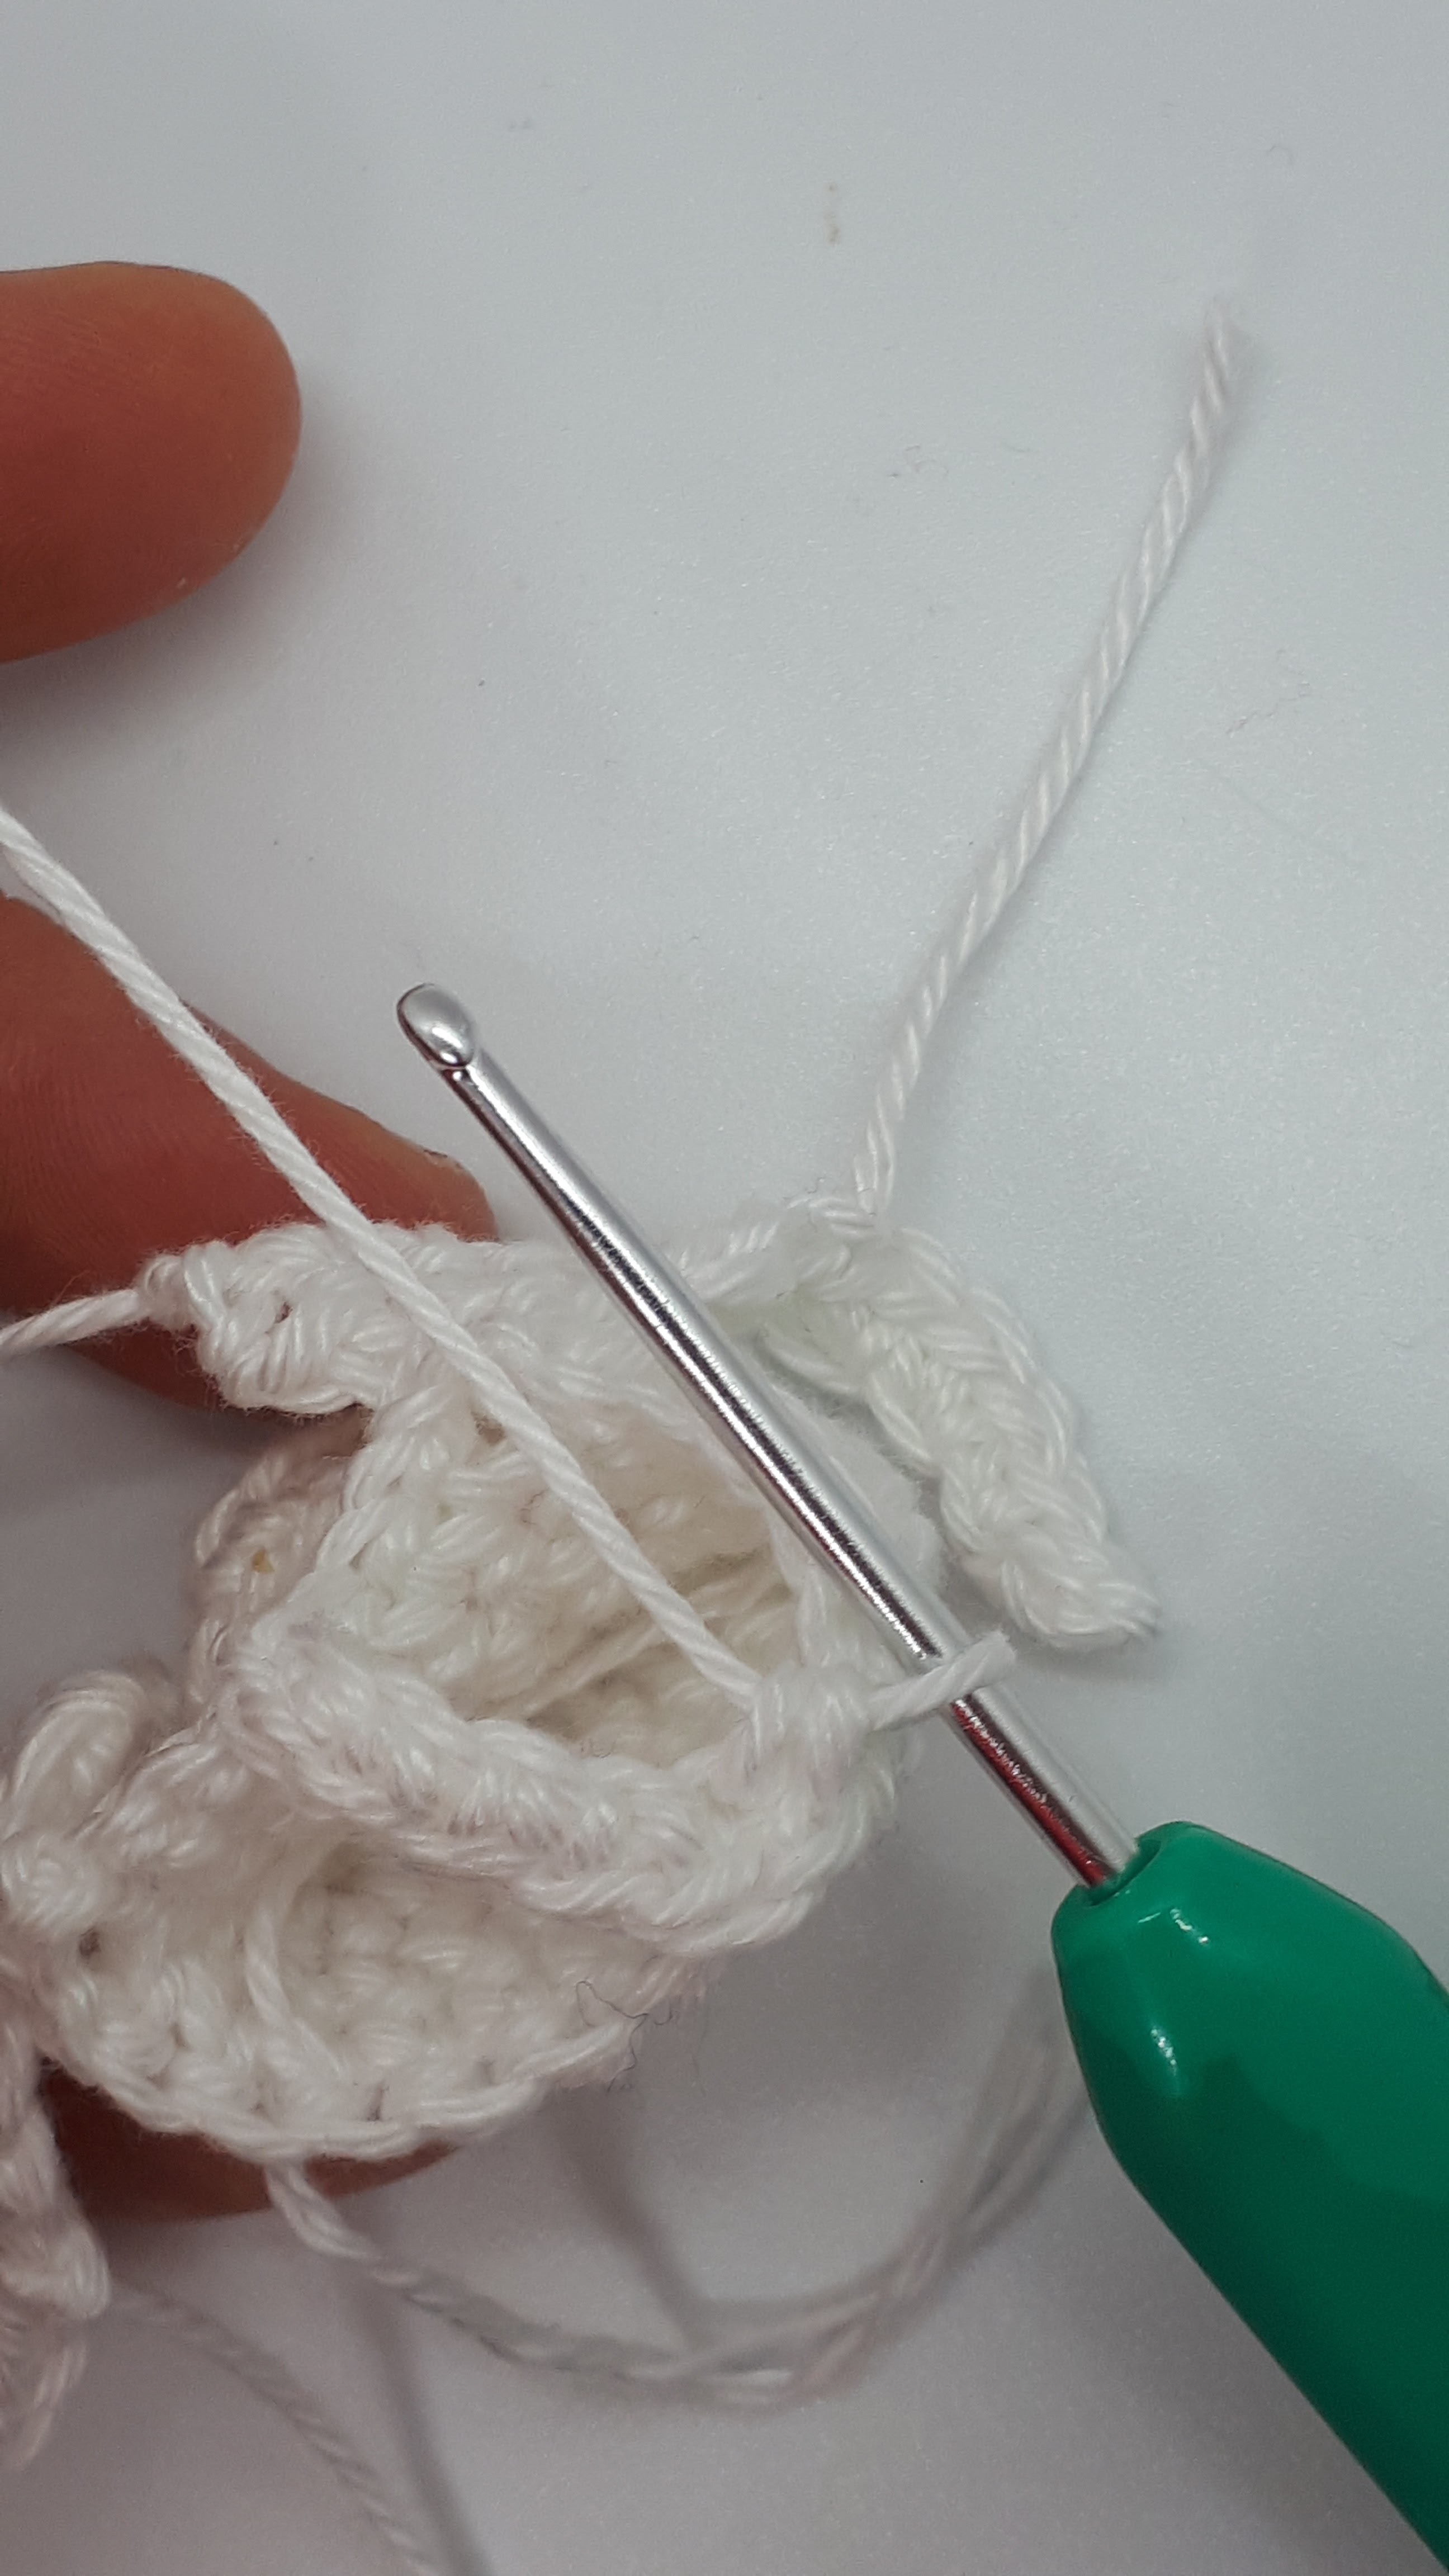
Flatten the cast-on edge of this so that the place you made the first chain st is on the top. Starting from where this yarn end is, sew the top 1cm of this opening closed, as shown below


Ch4
Round 1: make 2hdc in the 2nd chains st from hook, sc in the next chain st, make 3sc in the first chain st you made, sc in the back of the previous chain st you crocheted into, then make 2hdc in the back of the first chain st you crocheted into
Fasten off neatly
Open up the cast off edge that you haven't sewn up, then sew the smaller section onto this so that the yarn tail is about 1 stitch to the left of the section you've sewn up. In the assembly pattern this little region of crochet will be referred to as face M.


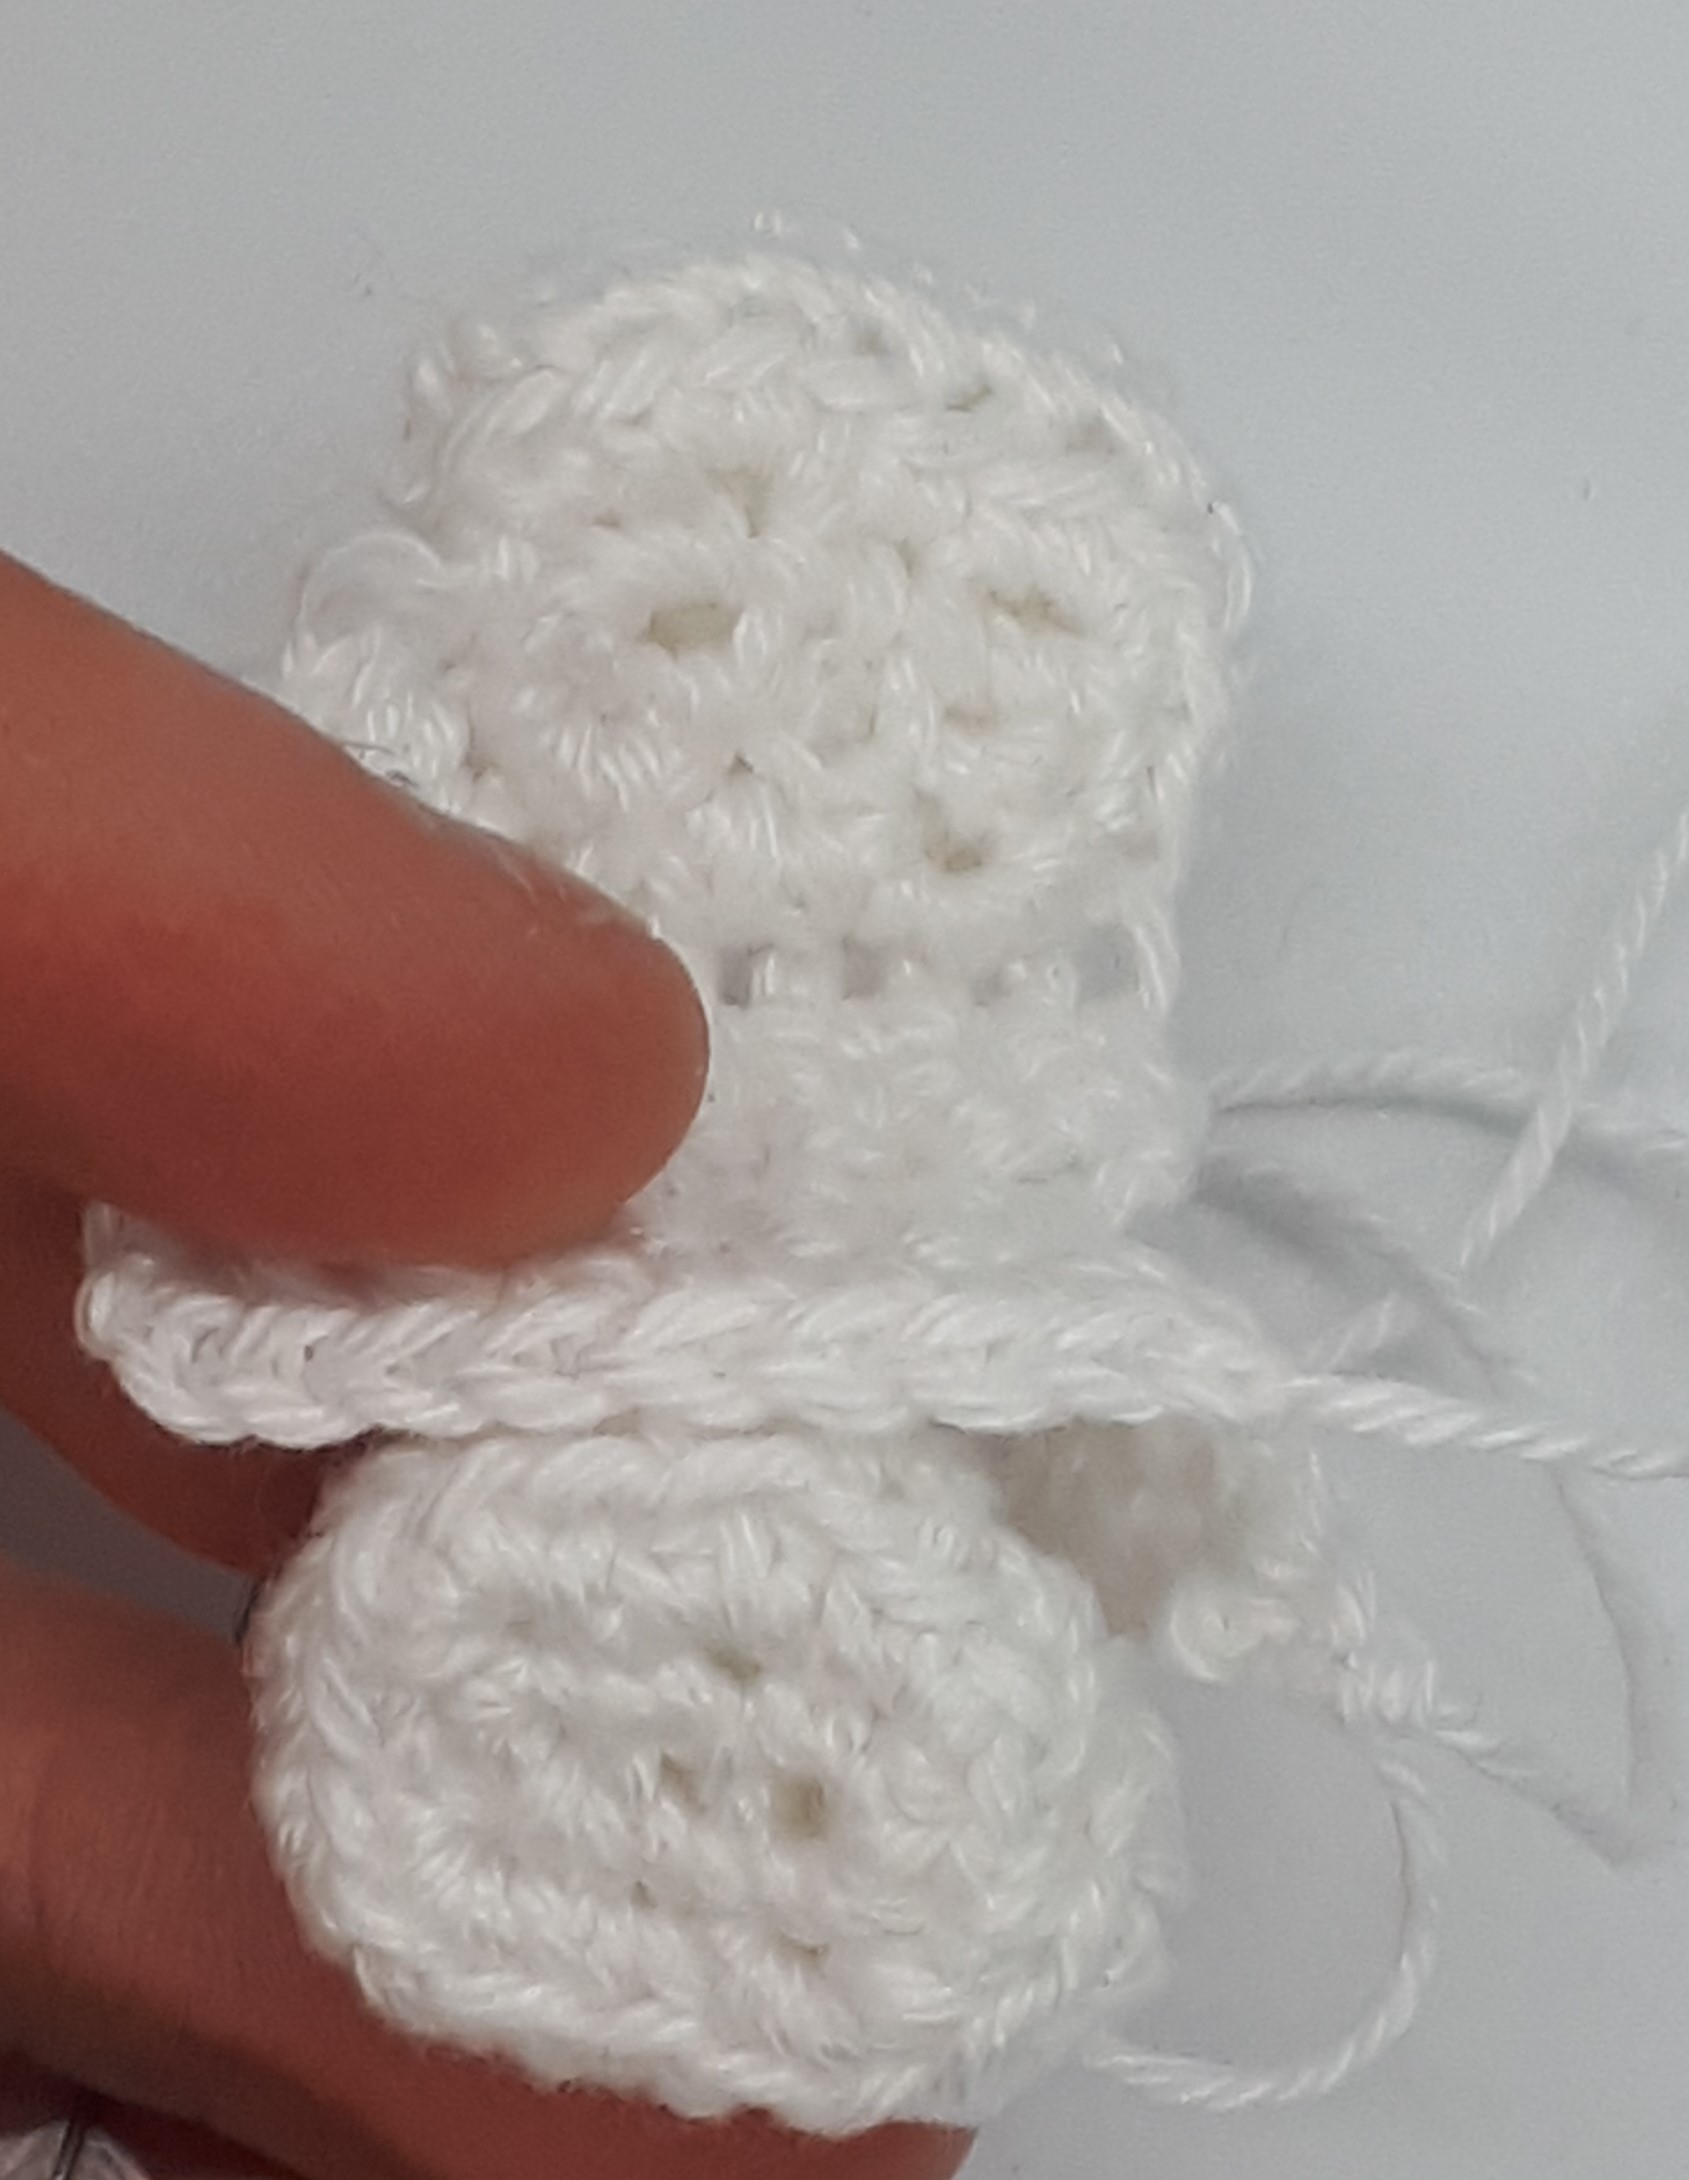
Sew flat the triangle of crochet above the edge section you sewed flat, as shown in the image below
 |
| Sew along the line shown in yellow. This triangle above where the yellow line is forms the orbital surface. |
Stuff the bone and then sew flat the opening between the 2 'arms', as shown below


For the left zygomatic bone:
ch19
Round 1: sc in the first chain st and in every following chain st to make a loop (19sc)
Round 2: slip3, make 2sc in the next st, sc4, hdc6, sc2, slip3 (20sc)
Round 3: slip4, make 2sc in the next st, sc7, hdc4, sc, slip3 (21sc)
Round 4: slip4, sc13, slip4
Round 5: slip2, sc17, slip2
Round 6: sc6, ch1, skip7, sc8
Round 7: slip2, hdc5, hdc2tog, sc, slip5 (14sts)
Round 8: sc4, sc2tog, hdc, sc2tog, sc5 (12sts)
Round 9: slip4, sc4tog, sc, slip3 (9sts)
Round 10: sc2, sc2tog 3 times, sc (6sc)
Round 11: sc in each st
Fasten off
This ring of cast-off sts is referred to as face F in the construction pattern.
Rejoin yarn to the first st of round 5 you skipped on round 6
Row 6: sc in this st and the next 6sts. ch1, turn (7sts)
Row 7: hdc2tog, sc, slip1, sc, hdc2tog (5sts)
Fasten off
Press the cast-on edge flat so that the top st is the 3rd chain st to the right of where your loose end is (in the same way as you did for the right bone) Sew down 1cm from the top of this

Ch4
Round 1: make 2hdc in the 2nd chains st from hook, sc in the next chain st, make 3sc in the first chain st you made, sc in the back of the previous chain st you crocheted into, then make 2hdc in the back of the first chain st you crocheted into
Fasten off neatly
Round 1: make 2hdc in the 2nd chains st from hook, sc in the next chain st, make 3sc in the first chain st you made, sc in the back of the previous chain st you crocheted into, then make 2hdc in the back of the first chain st you crocheted into
Fasten off neatly
Stuff
Sew to the opening in the same way as you did for the right bone, except in this case the tail should be to the right. Again this is face M.

Sew flat the triangle above where you sewed the 1cm edge closed, then stuff and sew up the hole between the 'arms'


For the right maxilla:
Ch24
Row 1: sc in the 2nd chain st from hook and the next 8 chain sts, make 3hdc in the next chain st, sc13. ch1, turn (25sts)
Row 2: Sc13, make 2sc in each of the next 3sts, sc9. ch1, turn (28sc)
Ch24
Row 1: sc in the 2nd chain st from hook and the next 8 chain sts, make 3hdc in the next chain st, sc13. ch1, turn (25sts)
Row 2: Sc13, make 2sc in each of the next 3sts, sc9. ch1, turn (28sc)
Row 3: Sc3tog, sc9, make 2sc in each of the next 2sts, sc14. ch1, turn (28sc)
Row 4: Sc26, sc2tog. ch1, turn (27sc)
Row 5: Sc3tog, sc15, make 2sc in each of the next 2sts, sc7. ch1, turn (27sc)
Round 6: Hdc, sc, make 2sc in the next st, sc7, make 2sc in each of the next 2sts, sc12, sc3tog. ch1, turn (28sts)
Row 7: Slip2, sc, make 2hdc in the next st, dc in this same st
Fasten off
Fasten off
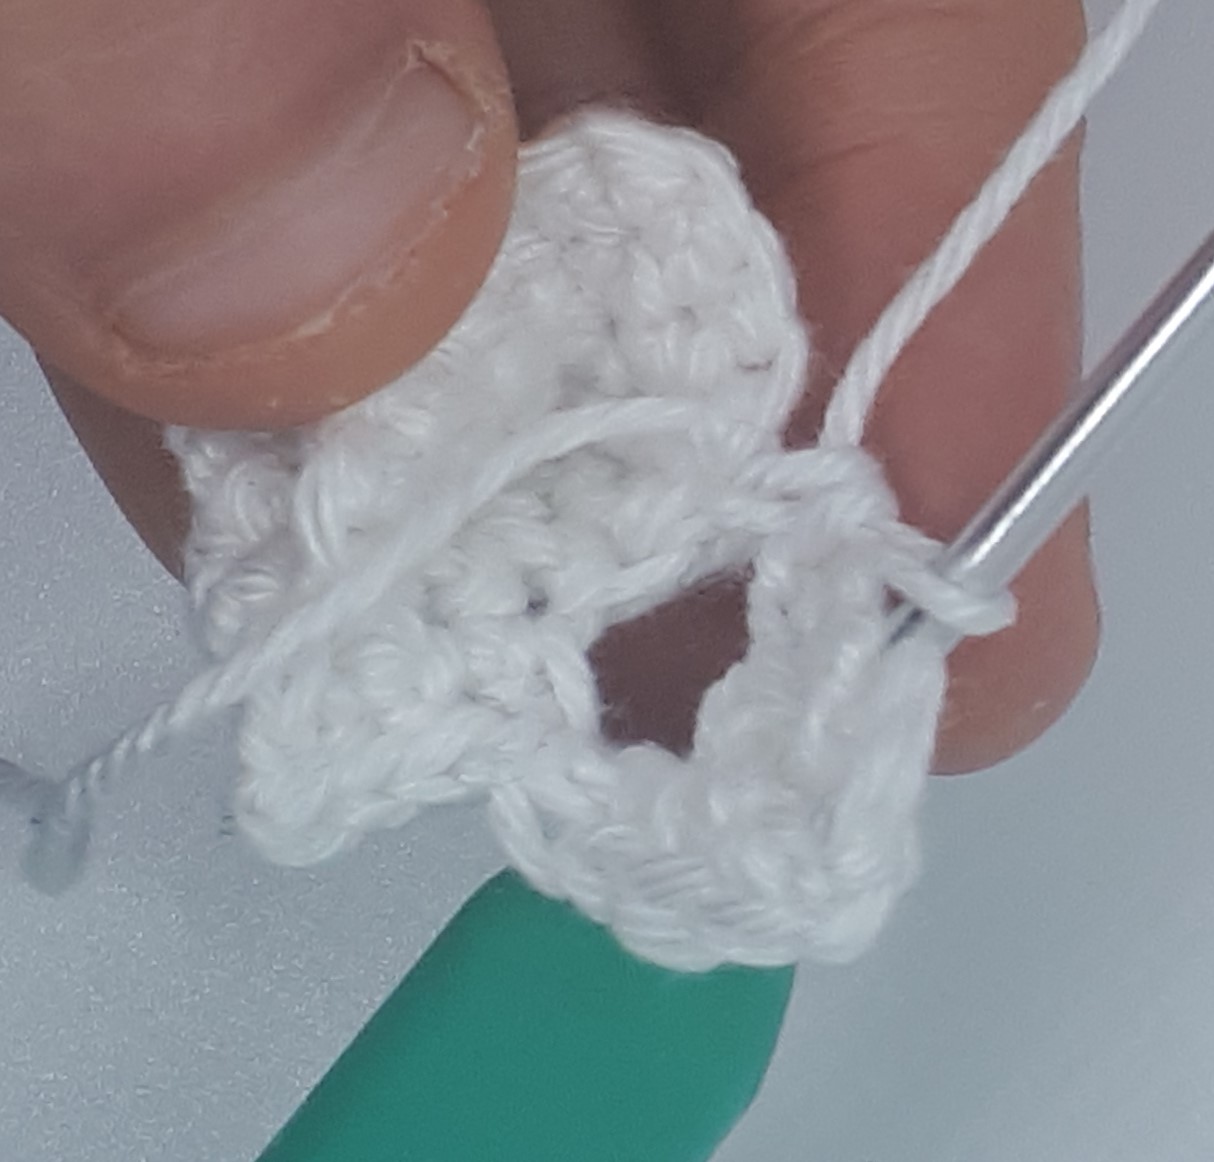
Skip 12 sts, then rejoin yarn to the next st of row 6, as shown below

Row 7: Sc in this st, sc2, make 2sc in each of the next 2sts, sc4. ch1, turn (11sc)
Row 8: Sc3, make 2sc in the next st, sc5. ch1, turn (10sc)
Row 9: Sc4, ch1, skip1, sc3, sc2tog. ch1, turn (9sc)
Row 10: Sc4, sc in the hole made by the skipped st, sc2, sc2tog. ch1, turn (8sc)
Row 11: Hdc4, make 3sc in the next st, sc3 (10sts)
Row 12 (&): Sc3, hdc. ch1, turn (4sts)
Row 13: Hdc2, sc, slip1. ch1, turn
Row 14: Slip1, sc, hdc, make 2hdc in the last st
Fasten off
Rejoin to the next st of row 11, as shown below

Row 12: Sc in this st and each of the next 3sts, sc2tog. ch1, turn (5sc)
Row 13: Sc3, sc2tog. ch1, turn (4sc)
Row 14: Sc2tog, sc2. ch1, turn (3sc)
Row 15: Sc3. ch1, turn
Row 16 (#): Sc2tog, hdc
Fasten off
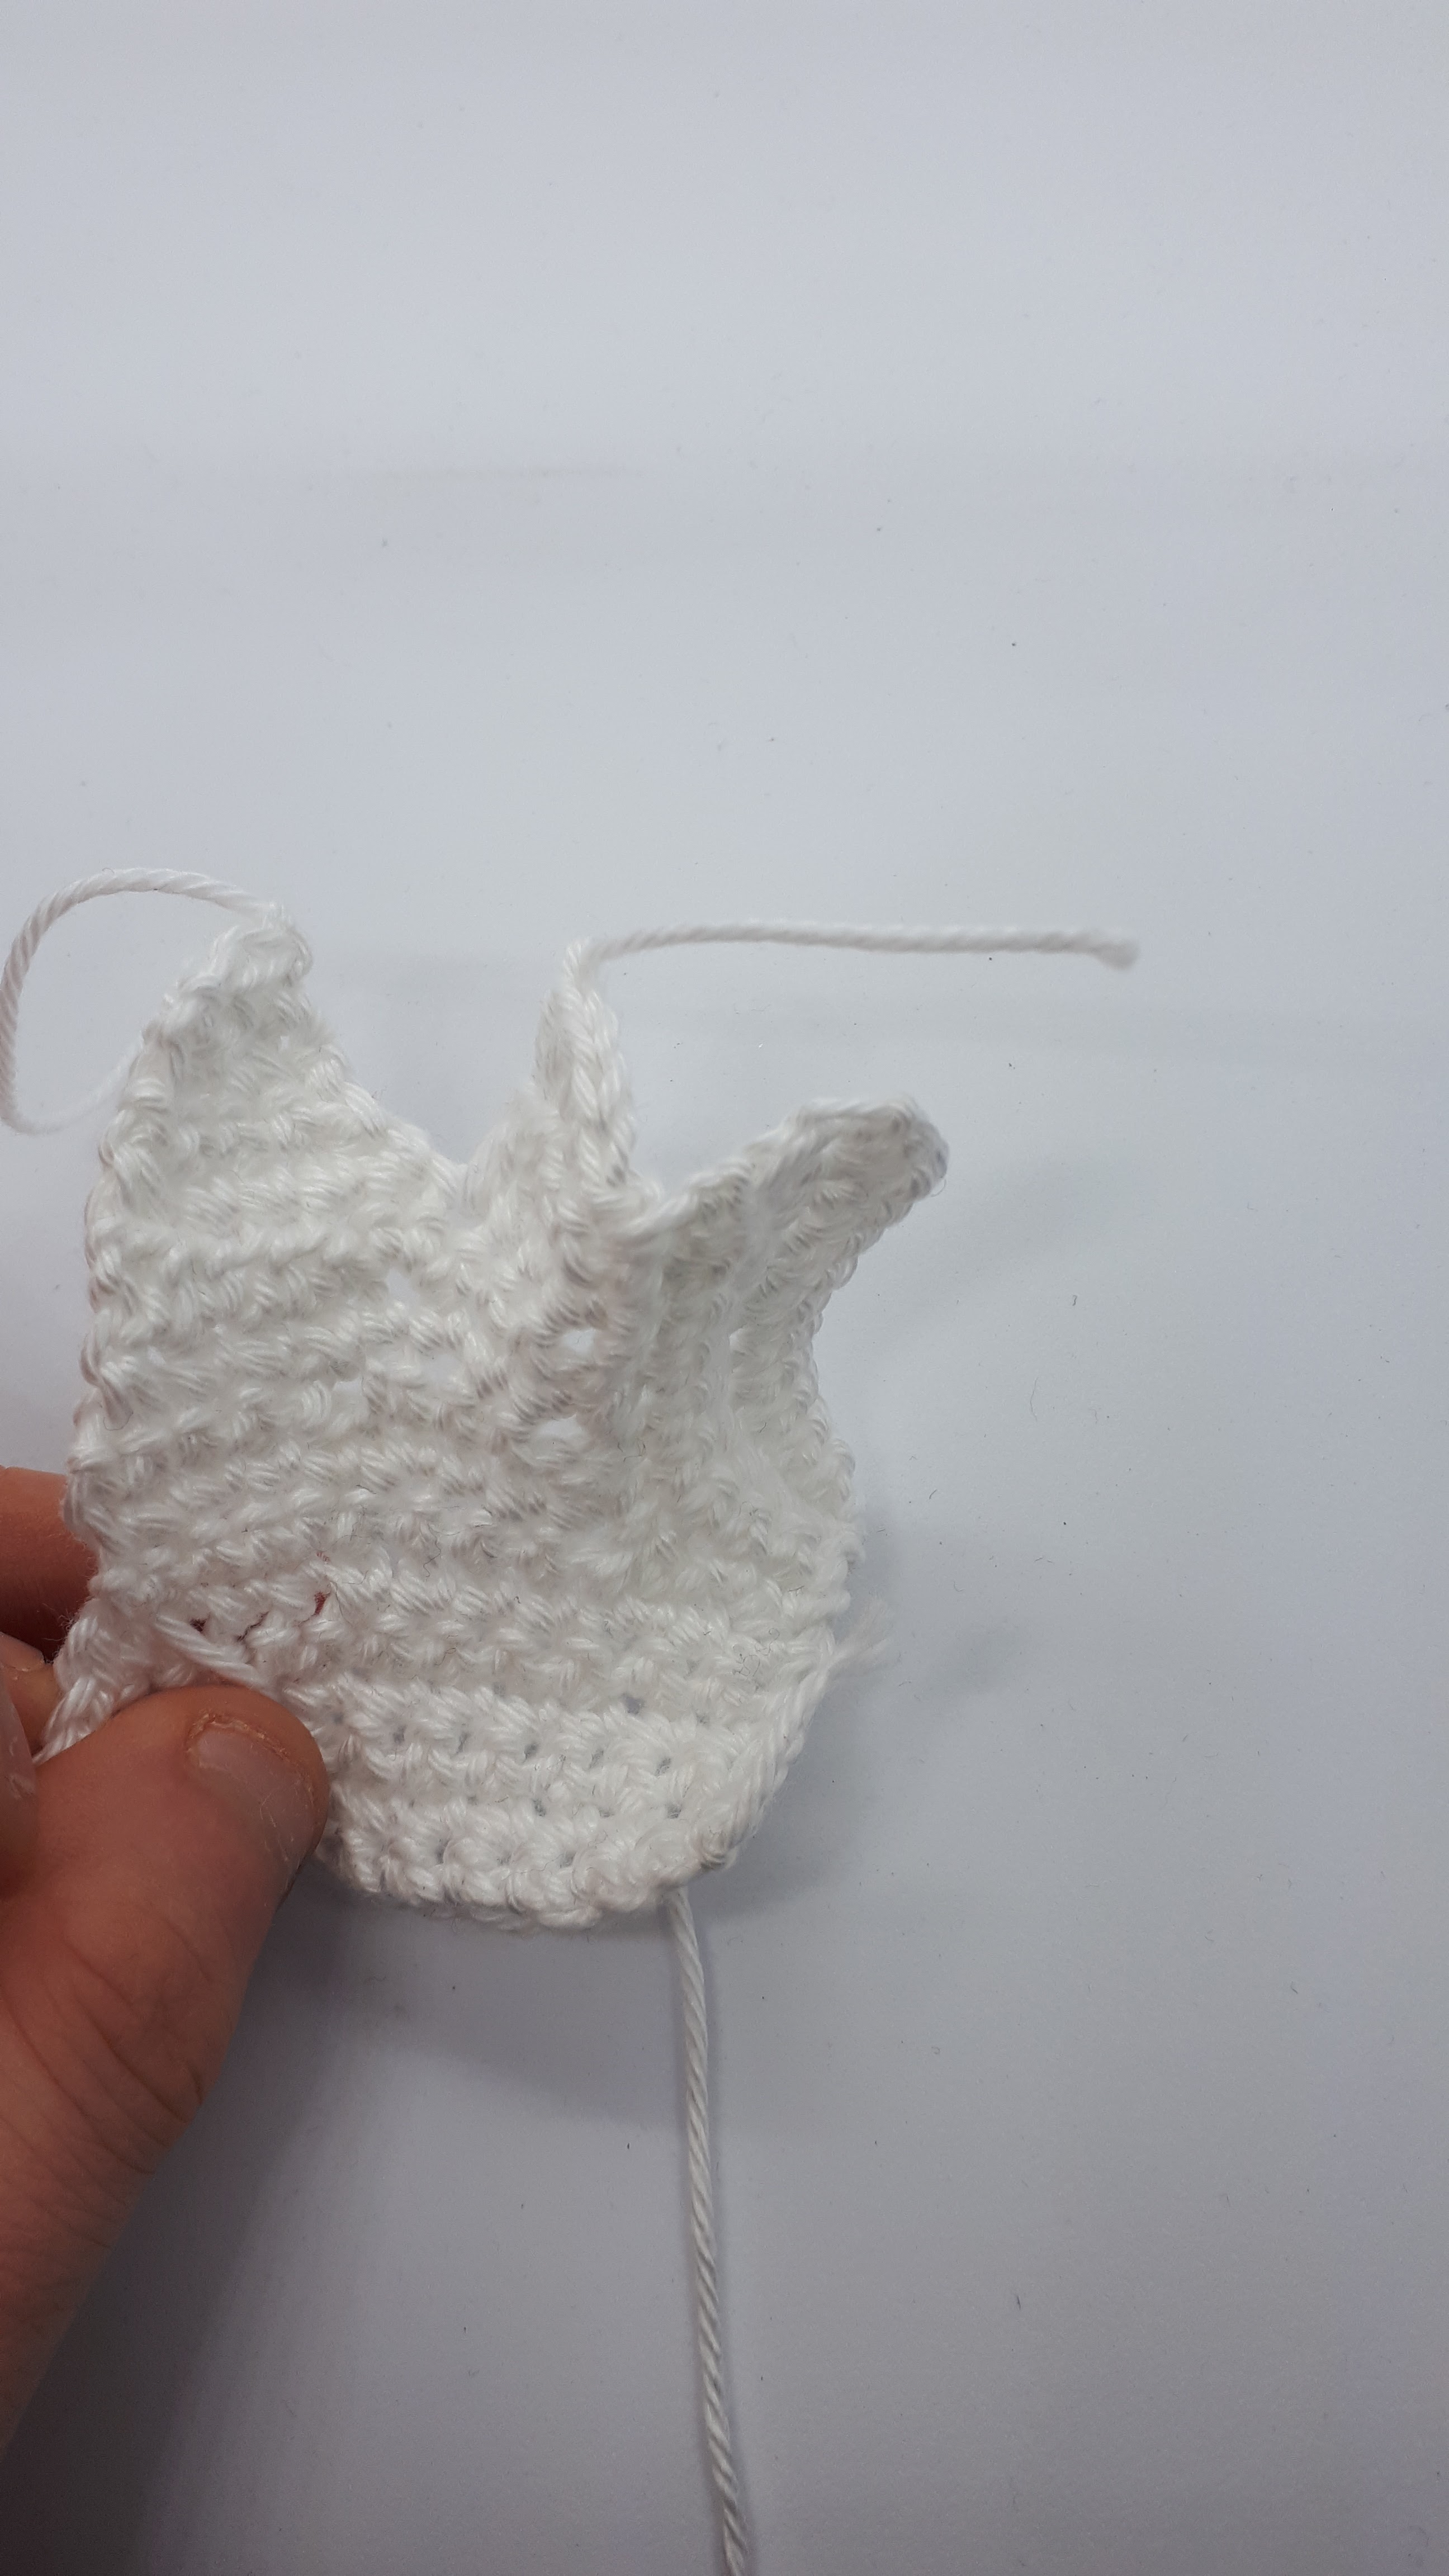
Rejoin yarn to the end of row 6 (as shown by the arrow in the image below)

Row 7: Sc in this st and the next, sc2tog (the 2nd of these sts has been crocheted into previously), then sc6 up the side of rows 7-14. ch1, turn (9sc)
Row 8: make 2hdc in the first st, sc8. ch1, turn (10sts)
Row 9: Sc9, make 2hdc in the last st. ch1, turn (11sts)
Row 10 (~): make 2sc in the first st, sc5, hdc5 (12sts)
Fasten off

---
Fold this section back so that the top of it (the end opposite where you fastened off) lines up with the cast-off tail from the time before last that you fastened off (as shown in the images below). Sew along the top end of the fold you just made. I will refer to this seam as edge N in the construction pattern.


Rejoin yarn to the st of row 6 after where you made 2hdc and dc in the same st
Row 7: Sc in this st and the next 10sts. ch1, turn (11sc)
Row 8: Sc7, sc2tog, sc, make 2sc in the last st. ch1, turn (11sc)
Row 9: Sc10, make 2sc in the last st. ch1, turn (12sc)
Row 10: make 2sc in the first st, sc11. ch1, turn (13sc)
Row 11: Sc2tog, sc6, slip1, sc, hdc3
Fasten off
Sew the corner where you just fastened off to the closest corner of the neighbouring section (marked as row #), as shown in the images below ($)


Row 1: ch2, then make 2sc in the first chain st you made. ch1, turn (2sc)
Row 2: make 2sc in the first st, sc. ch1, turn (3sc)
Row 3: Sc, make 2sc in the next st, sc. ch1, turn (4sc)
Row 4: Sc, make 2sc in the next st, sc2 (5sc)
Row 5: Sc2, make 2sc in the next st, sc2 (6sc)
Fasten off
Sew this into the hole you made by sewing these last 2 corners together. The cast-off end should be in the corner where they join, as shown below. In the assembly pattern this region is referred to as face Z.


Ch9
Round 1: Sc in the 2nd loop from hook, sc2, hdc, make 3hdc in the next st, sc2, make 3sc in the first chain st you made, in the back of the chain sts: sc2, sc2tog, sc2, make 2sc in the back of the last chain st (the first one you crocheted into)
Fasten off neatly
Line up the inner curve of this section with the left-hand edge of the main section (laying it out as shown below). The cast-off stitch should be furthest away from the cast-on edge of the main section, and the other end should line up with said cast-on end.

Sew the inner curve of this small section to the side of the main section you have positioned it next to.

Bring the opposite end of the cast-on edge of the main section round to meet the other side of this small section you just attached, and then sew these edges together, as shown in the photos below


We will now attach the teeth (this will stabilise the section to make the next bit easier). Position the crochet so that the cast-on edge is facing you, with the small curved section you attached last on the right.

Take one of your upper upper incisor 1s, and slide it into this gap so that it's as far to the right as possible. The end where you fastened off should be inside the jaw bone, with the thicker end protruding by about 1cm. Sew the front and back of the jaw closed with a small stitch just to the right of this tooth. This should keep the tooth in place (although you may want to add a few small stitches through the tooth itself to make extra sure it won't fall out).


Insert an upper inscisor 2 next to the first inscisor, and then seccure the front and back of the jaw to keep it in place as you did before. It should be protruding about 1cm below the jaw as well. Make sure the teeth are as close together as possible, otherwise you may not have enough room to fit all the teeth in (although if you do run out of space its not the end of the world as some people have less teeth than others!)

Continue in the same way along the rest of the jaw, adding the upper canine, upper premolars 1-2 and upper molars 1-3 (in that order). The canine should protrude about 1.2cm, premolar 1 just under 1cm, premolar 2 and molar 1 about 0.8cm, and molars 2/3 should protrude about 0.7cm. I would recommend a inserting the last 2 molars at the same time and then adding the stitching in between them, as they are very close together.


Position the maxilla so that you are looking at it with the teeth at the bottom furthest away from you (as shown below)
Locate the small pointed section made by the dc and 2hdc in the same st on row 7. This should be in the centre of your view (circled below)

Fold the section of crochet to the right of this point behind it so that it comes into contact with the cast-off row of stitches to the left of said pointed section
Sew what was the top let-hand corner of this (right-hand) section to the 3rd st from the base of the left-hand section (This is the 3rd to last st on row 10(~)). This will create a triangular-shaped hole that you should sew closed.
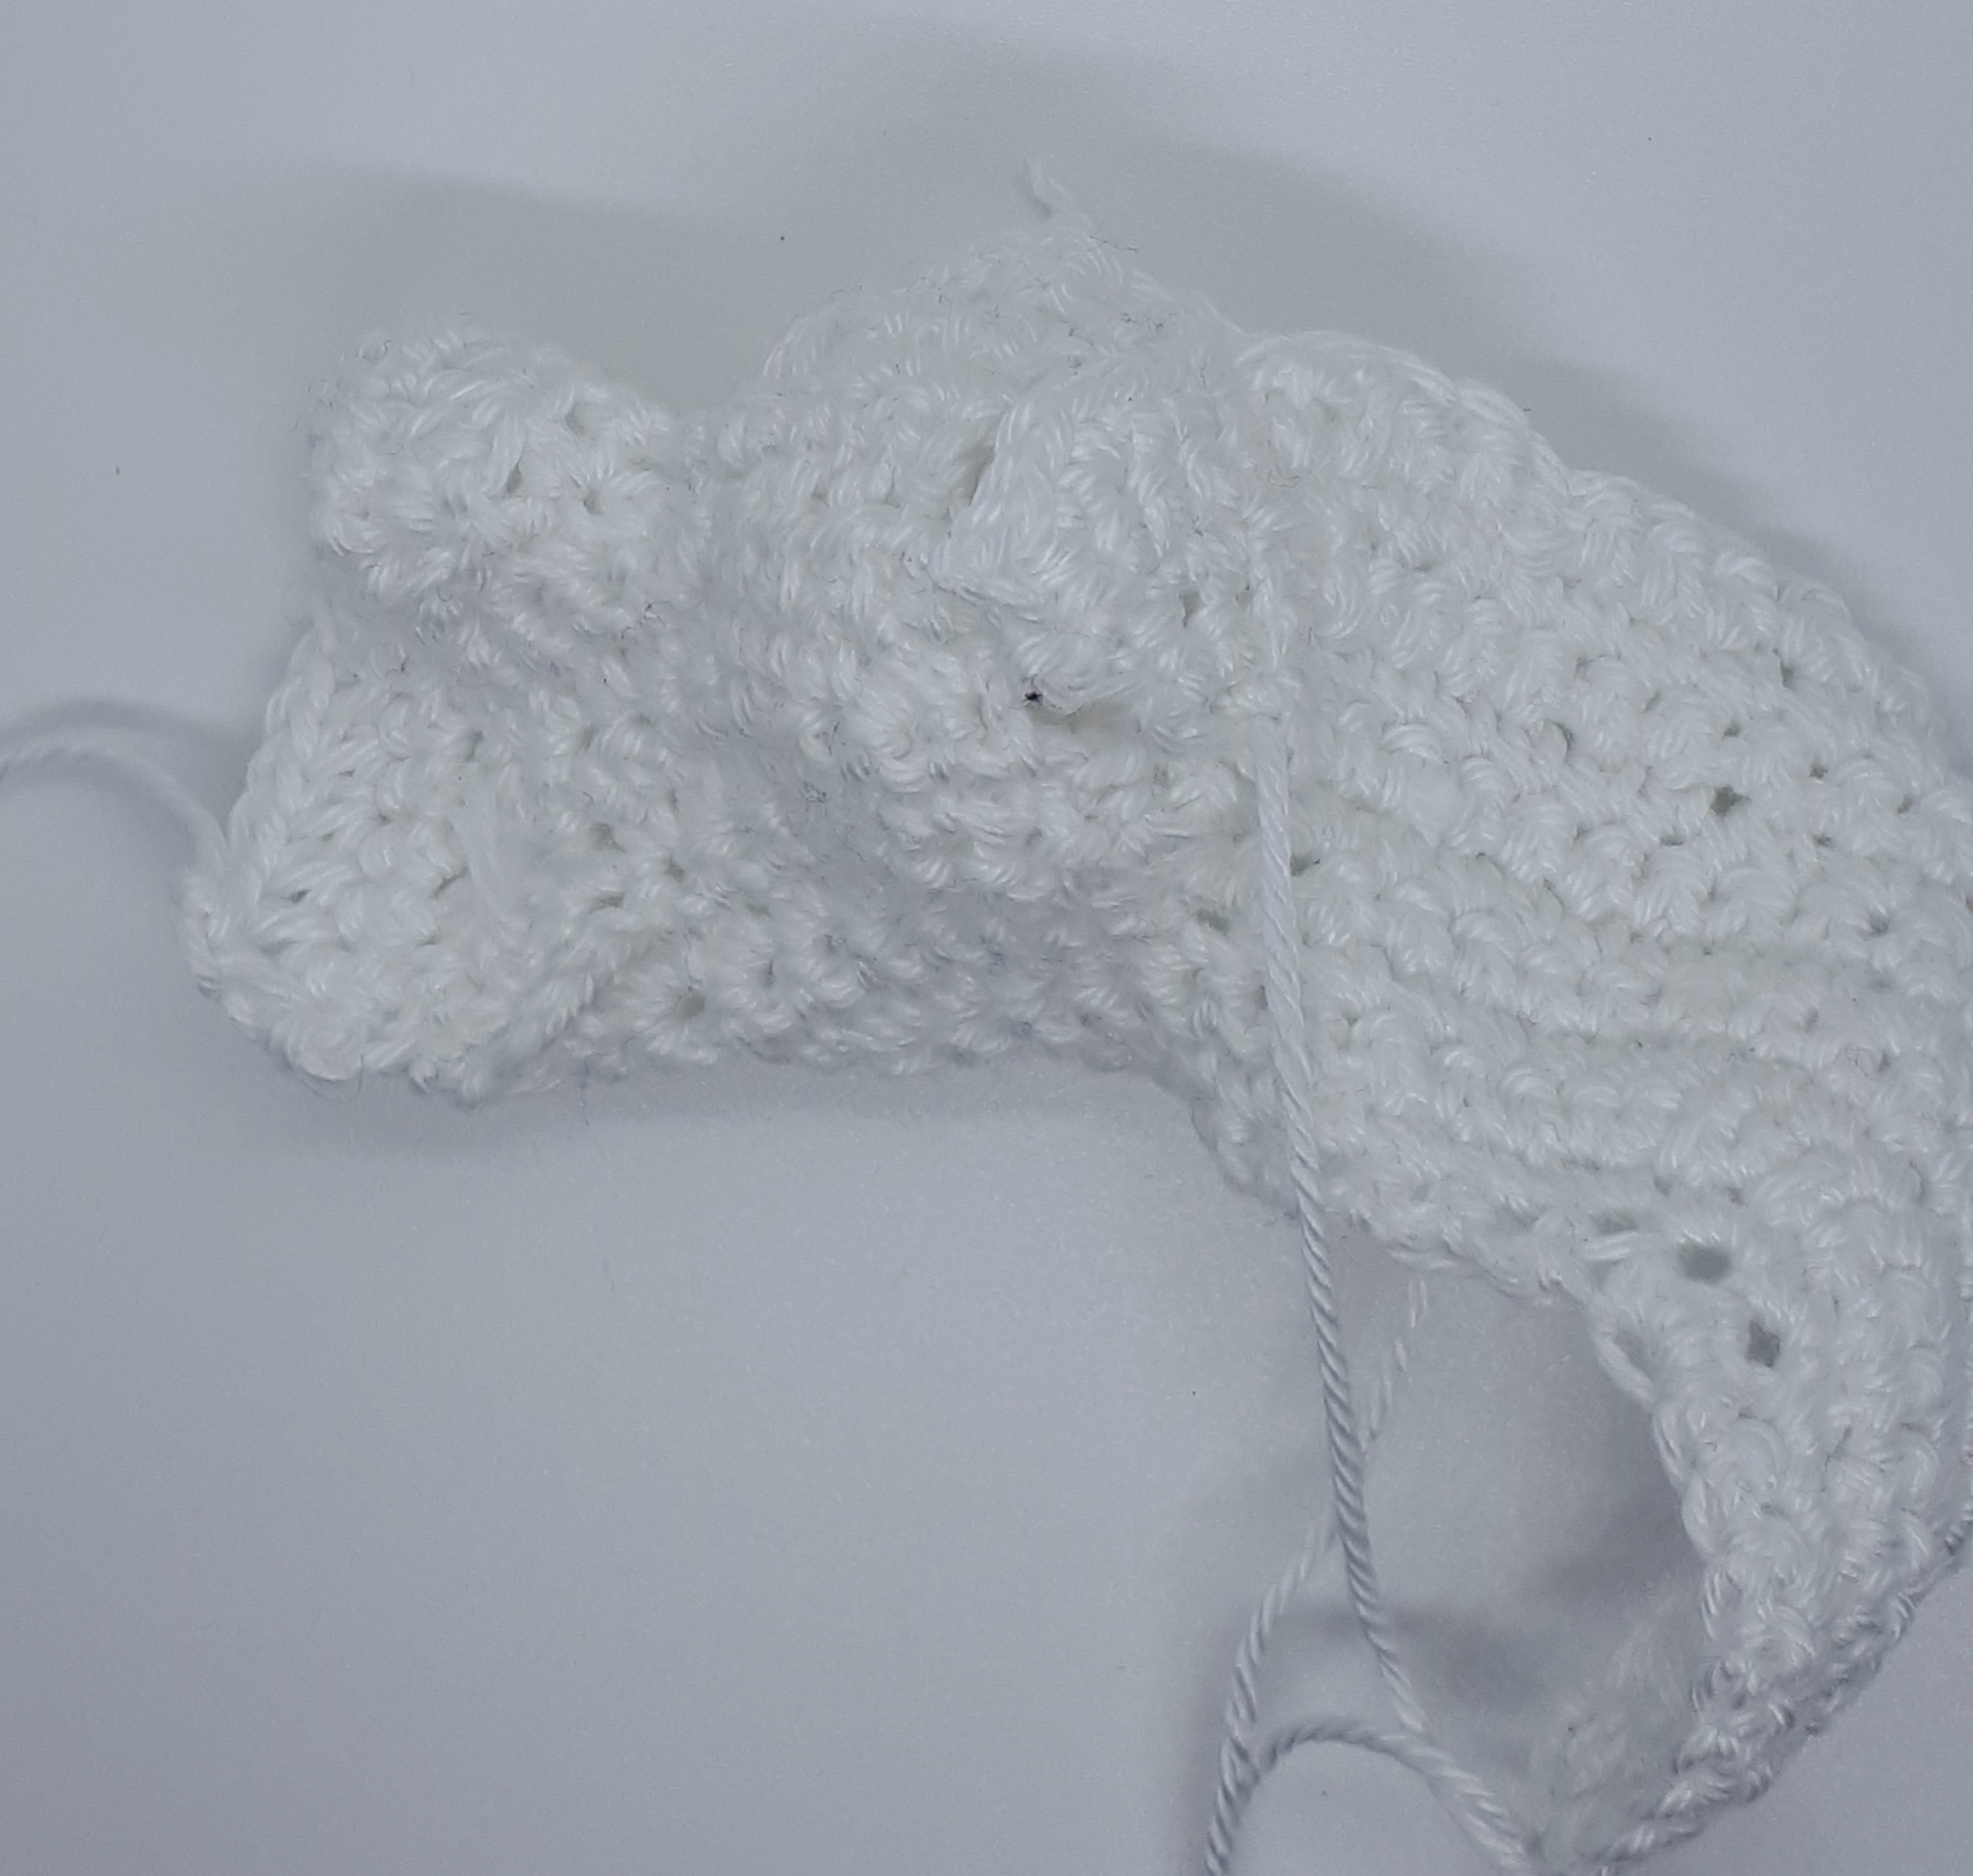
You are now going to fill in the remaining gap with crochet. Shape it so that it looks kind of like a misshaped heart, as shown in the image below.

Join yarn to the bottom tip of this heart section.
Note that the numbers in square brackets on the following round refer to the corresponding number on figure A shown below.
Round 1: Sc in this st and the next 8sts of row 10(~) [1]. sc 6sts down the side the first of the round bits of the heart, finishing at the stitch on row 11 that you crocheted into at the end of row 12(&) [2].
Continue crocheting around the edge of the hole, making 6 sc sts before reaching the bit where you sewed the 2 corners together (marked as ($)) [3]. Sc in the next 12sts around the heart, finishing back where you join on yarn at the beginning of the round (these sts should all be visible as the cast-off edges of previous rows) [4]. (33sc)
 |
| Figure A |
 |
| [1] |
 |
| [2] |
 |
| [2] |
 |
| [3] |
 |
| [3] |
 |
| [4] |
Note that each of the next 3 rounds are slightly greater than a single round
Round 3: sc2tog, sc6, sc4tog, sc7, sc3tog, sc5, sc2tog, sc2, sc3tog (24sc)
Round 4: sc4, sc3tog twice, sc3, sc4tog, sc5, sc3tog (15sc)
Stuff. Make sure you don't over-stuff as this will cause your crochet to become misshapen
Round 5: sc2, sc4tog, sc2, sc3tog, sc2, sc3tog (8sc)
Round 6: sc2tog 3 times (5sc)
Fasten off
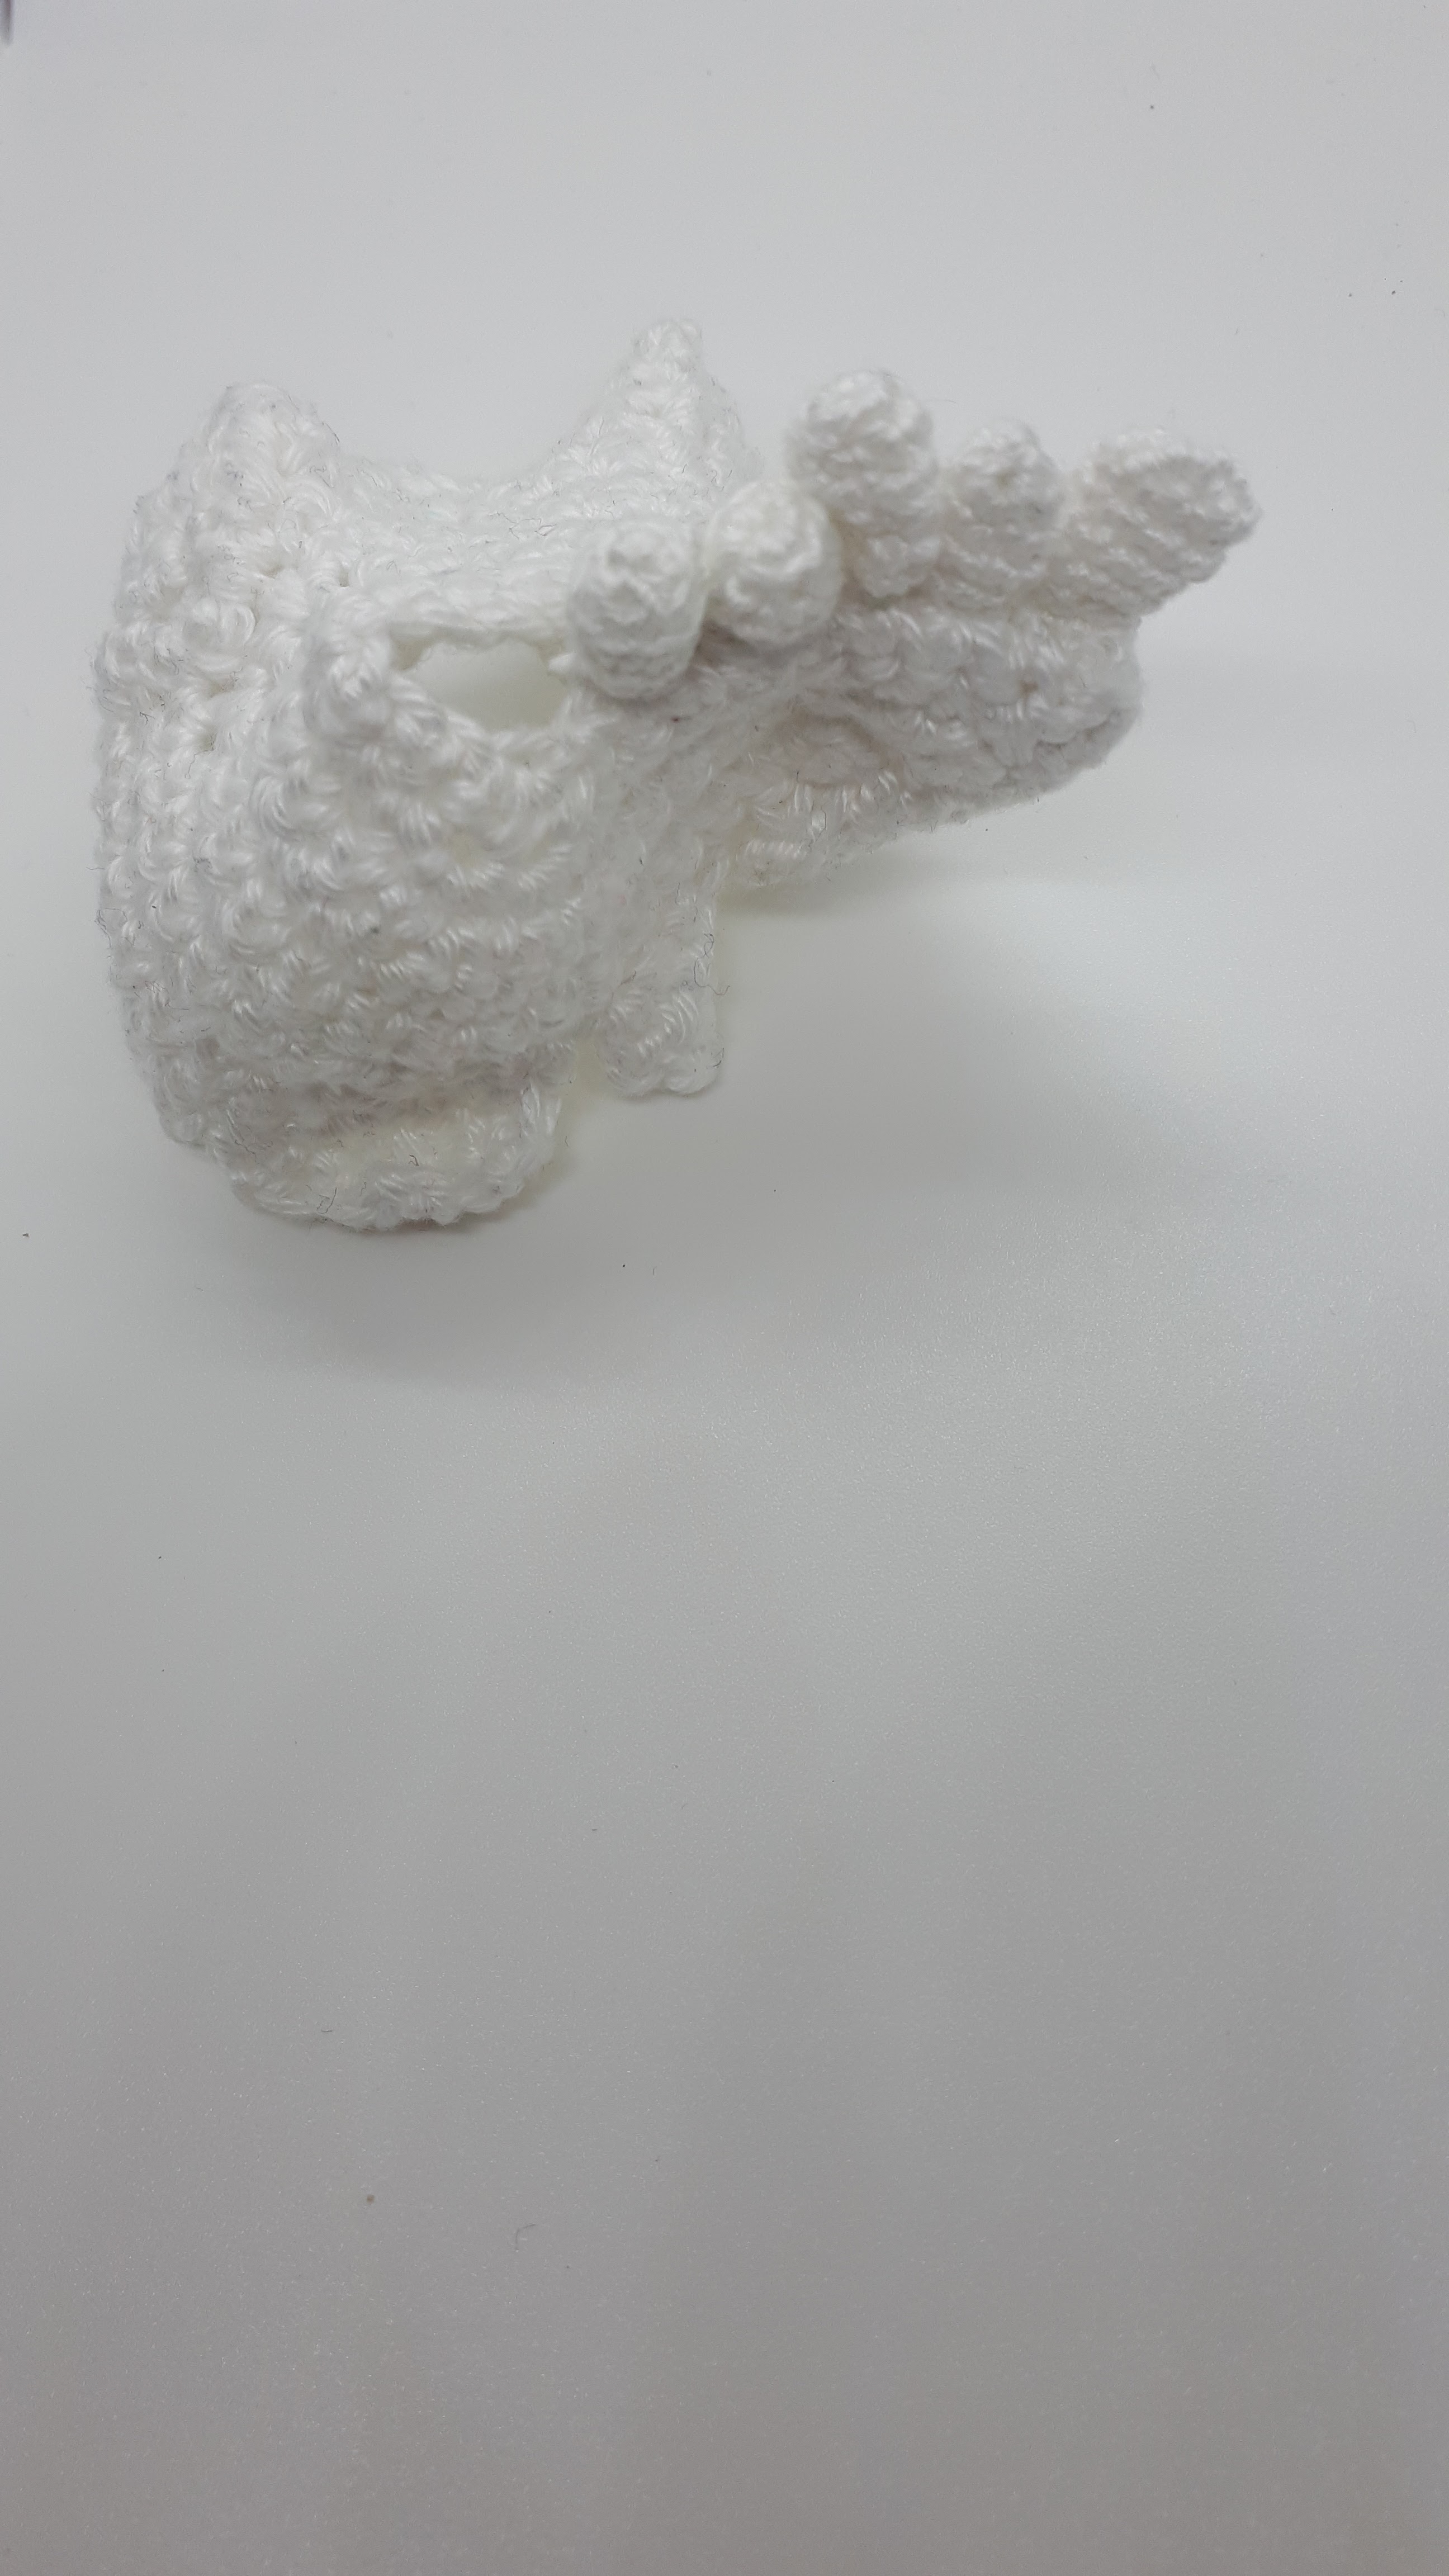
The final thing left to do is to use repeated stitches through the bone to improve the shaping. This should focus in particular on improving the definition of face Z and pulling back the underside of the jaw section to create a groove along the roof of the mouth (4th image below)


For the left maxilla:
Work the same as the right bone until you reach ---
Fold this section back and sew the upper edge of it to the side of the neighbouring section, as you did for the right maxilla. However this should be done so that you obtain the mirror image, as shown below. Again this is referred to as edge N.

Rejoin yarn to the st of row 6 after where you made 2hdc and dc in the same st
Row 7: Sc in this st and the next 10sts. ch1, turn (11sc)
Row 8: Sc7, sc2tog, sc, make 2sc in the last st. ch1, turn (11sc)
Row 9: Sc10, make 2sc in the last st. ch1, turn (12sc)
Row 10: make 2sc in the first st, sc11. ch1, turn (13sc)
Row 11: Sc2tog, sc6, slip1, sc, hdc3
Fasten off
Sew the corner where you just fastened off to the closest corner of the neighbouring section, as you did before.
Row 1: ch2, then make 2sc in the first chain st you made. ch1, turn (2sc)
Row 2: make 2sc in the first st, sc. ch1, turn (3sc)
Row 3: Sc, make 2sc in the next st, sc. ch1, turn (4sc)
Row 4: Sc, make 2sc in the next st, sc2 (5sc)
Row 5: Sc2, make 2sc in the next st, sc2 (6sc)
Fasten off
Row 2: make 2sc in the first st, sc. ch1, turn (3sc)
Row 3: Sc, make 2sc in the next st, sc. ch1, turn (4sc)
Row 4: Sc, make 2sc in the next st, sc2 (5sc)
Row 5: Sc2, make 2sc in the next st, sc2 (6sc)
Fasten off
Sew this to the main section, making sure it's the mirror image of the right bone, as shown below


ch9
Round 1: sc in the 2nd loop from hook, sc2, make 3hdc in the next st, hdc, sc2, make 3sc in the next st, in the back of the chain sts: sc2, sc2tog, sc2, make 2sc in the last st (the first one you crocheted into)
Fasten off neatly
Lay out the main section as shown below, and line up the curved edge of this small section with the lower right-hand edge, the mirror image of as you did for the right maxilla. Sew this in place. This seciton of crochet is referred to as face M in the construction pattern.


Fold the crochet as you did for the right maxilla so that the small section you just made is touching the left-hand side (shown in the photos below). Sew this right-hand side (between where the loose end is in the image below down to the cast-on edge) to the edge of the small section you haven't yet sewn in place.
Add teeth the saw way as you did for the right maxilla (but mirror-imaged)


Lay out your crochet with the teeth at the bottom furthest away from you and the little pointy bit in the middle like you did for the right maxilla. Fold the left-hand section behind the pointy section so that the top corner touches the 3rd to last st of row 10(~). Sew this in place, then sew closed the triangle created, the same way as you did for the right maxilla
Join yarn to the place where you attached the left-hand section to row 10(~). sc in this st and the next 12sts, sc7 sts around the next curve with the final st being in one of the sts in row 11, in the same way as you did for the right maxilla.
sc5 up the side of the following curved section, then sc in the 9sts down row 10(~)(33sc)
Once again the next few rows are slightly more than a single round
Round 2: sc2tog, sc2, sc2tog, sc5, sc3tog, sc8, sc4tog, sc6, sc3tog
Round 3: sc6, sc4tog, sc3, sc3tog twice, sc4, sc3tog
Stuff. Make sure you don't over-stuff as this will cause your crochet to become misshapen
Round 4: sc3, sc3tog, sc2, sc4tog, sc2, sc3tog
Round 5: sc2tog 3 times
Fasten off
Shape in the same way as you did for the previous bone, but mirror-imaged.
For the nasal bone:
Ch5
Round 1: sc in the 2nd chain st from hook and the next 2 chain sts. Make 3sc in the first chain st you made, then sc in the back of the previous 2 chain sts you made. Make 2sc in the back of the first chain st you crocheted into (10sc)
Rounds 2 - 3: (2 rounds) slip2, sc, hdc4, sc, slip2
Rounds 4 - 5: (2 rounds) Hdc5, slip5
Rounds 6 - 7: (2 rounds) slip2, sc, hdc4, sc, slip2
Round 8: Sc2tog, sc2, sc3tog, sc, sc2tog (6sc)
Rounds 4 - 5: (2 rounds) Hdc5, slip5
Rounds 6 - 7: (2 rounds) slip2, sc, hdc4, sc, slip2
Round 8: Sc2tog, sc2, sc3tog, sc, sc2tog (6sc)
Fasten off
Stuff
Stuff

For the vomer:
Ch11
Row 1: sc in the 2nd chain st from hook and the next 9 chain sts. ch1, turn (10sc)
Row 2: Sc3tog, sc7. ch1, turn (8sc)
Row 3: Sc6, sc2tog. ch1, turn (7sc)
Row 4: Sc2tog, sc5. ch1, turn (6sc)
Row 5: Slip3, sc3. ch1, turn
Row 6: Sc2tog, sc, slip1
Fasten off
For the nasal conchae (make 2):
Make a magic loop with 1sc. ch1, turn
Row 1: sc in this st. ch1, turn
Row 2: make 2sc in this st. ch1, turn (2sc)
Row 3: sc in both of these sts. ch1, turn
Row 4: make 2sc in the first st, sc. ch1, turn (3sc)
Row 5: Sc2, make 2sc in the next st. ch1, turn (4sc)
Row 6: Sc4. ch1, turn
Row 7: Slip3, ch1, make 2hdc in the last st
Fasten off
For the ethmoid bone:
For the perpendicular plate:
Ch6
For the perpendicular plate:
Ch6
Row 1: make 2sc in the 2nd chain st from hook, sc3, make 2sc in the next chain st, ch3, turn
Row 2: Sc in the 2nd chain st from hook, then sc in the next chain st, sc in the next 5sts, make 2sc in the following st (9sts)
Row 3: make 2sc in the first st, sc7, make 2sc in the last st (11sc)
Fasten off
Row 2: Sc in the 2nd chain st from hook, then sc in the next chain st, sc in the next 5sts, make 2sc in the following st (9sts)
Row 3: make 2sc in the first st, sc7, make 2sc in the last st (11sc)
Fasten off
For the orbital plates (make 2):
Ch4
Round 1: sc in the 2nd chain st from hook and the next chain st. Make 3sc in the first chain st you made, then sc in the back of the previous chain st you crocheted into. Make 2sc in the back of the first chain st you crocheted into (8sc)
Round 2: make 3sc in the first st, make 2hdc in the next st, (make 3sc in the following st, sc) 3 times (17sts)
Round 3: Sc in the back loop only of each st
Round 4: slip1, fsc4, skip 7sts from the one you slipped, then slip3. Fsc1, then slip the 3rd and 2nd fsc st you made at the start of this round (image 1). Fsc, then slip the 3rd st after the one you slipped at the start of this round (note that this shifts the position of where the rounds start/end)
 |
| Image 1 |
 |
| Image 2 |
Round 5: Around the edge of the bone (and over the slip sts you made into these sts): sc, sc3tog, sc2, sc3tog, sc2, sc3tog, sc, sc3tog (10sc)

Round 6: Sc2tog 5 times (5sc)
Rounds 7 - 8: (2 rounds) sc in each st
Fasten off
Fasten off

Get one of the orbital plates and locate the first st on round 3, where you crochet in the back loop of the st. If you are unsure where this is, if you look at the opposite side to where you fastened off, you should be able to pick out a continuous loop of stitches around the outside with a single break in it. Join your yarn to the first st you can see in this loop.


Row 1: Sc in this same st and the next 7sts (I.e. the front loops of the first 8 sts of row 4). ch1, turn (8sc)

Row 2: Sc2tog, sc4, sc2tog. ch1, turn (8sc)
Row 3: Sc simultaneously in the first st and the front loop of the 3rd st of row 3 on the perpendicular plate (as shown below)

sc in the following 5st on both the orbital plates section and (front loop of) the perpendicular plate simultaneously. ch1, turn (6sc)


Row 4: Sc in each st. ch1, turn
Row 6: make 2sc in the first st, sc4, make 2sc in the last st (8sc)
Fasten off
Sew the cast-off edge to the side of the other orbital plate

Fold the end of the orbital plates around and use a few stitches to secure them to the lower base of that orbital plate, as shown below. This forms the middle nasal concha.


For the lacrimal bones (make 2):
ch4
ch4
Round 1: sc in the 2nd chain st from hook and sc in the next chain st. Make 3sc in the next chain st (the first one you made), then sc in the back of the previous chain st you crocheted into. Make 2sc in the back of the first chain st you crocheted into. (8sc)
Round 2 (note that this is slightly less than a full round): slip3, ch1, make 2sc in the next st, sc, ch1, slip1 (11sts)
Round 3: sc in the back loop of each st
Round 4: working in the back loop of each st: sc2tog twice, sc, sc2tog twice, sc (7sts)
Fasten off
For the sphenoid:
For the right pterygoid plate:
For the medial plate:
Make a 1cm long i-cord (this should correspond to approximately 3 'rows'), then fasten off by passing the first st over the 2nd and the 2nd st is over the 3rd, as shown in the images below.


For the lateral plate:Ch3
Round 1: sc in the 2nd chain st from hook, make 3sc in the first chain st you made, then make 2sc in the back of the previous chain st you crocheted into (6sc)
Round 2: Sc in each stRound 3: Sc3, sc in one of the cast-off sts of the medial plate, sc in the other st (1st image below), then sc in the next 3sts of the lateral plate (2nd image) (8sc)


Rounds 4 - 5: (2 rounds) sc in each st---Round 6: Sc5, make 2sc in the next st, sc, make 3sc in the last st (11sc)Round 7: Sc6, make 2sc in the next st, sc2, make 3sc in the following st, sc (14sc)Round 8: Sc7, make 2sc in the next st, sc3, make 2sc in the next st, sc2 (16sc)Fasten off neatly
For the left pterygoid plate:Work the same as for the right plate up to ---Round 6: make 3sc in the first st, sc, make 2sc in the next st, sc5 (11sc)Round 7: Sc2, make 3sc in the next st, sc2, make 2sc in the following st, sc5 (14sc)Round 8: Sc3, make 2sc in the next st, sc3, make 2sc in the following st, sc6 (16sc)Fasten off neatly
For the orbital surface of the greater wings (make 2):Ch6Row 1: sc in the 2nd chain st from hook and each of the next 4 chain sts. ch1 turn (5sc)Row 2: Sc4, make 2sc in the next st. ch1, turn (6sc)Row 3: make 2sc in the first st, sc3, sc2tog (6sc)Row 4: Sc2tog, hdc3, make 2sc in the last st (6sts)Fasten offFor the right greater wing:Start as you would when making an i-cord, chaining 3, drawing up 3 loops, then slipping each of these 3 loops in turn (so you still have 3 loops on your hook - 1st image).
Row 1: Slip the 1st loop over the second and the second loop over the first as you did with the medial pterygoid plate (2nd image). This little i-cord forms the foramen spinosum.


---
Ch3, then sc in the pterygoid in the 2nd st after the 'new' st you created when fastening off neatly. Sc in the next 3sts of the pterygoid***, ch1, turn


 Row 3: Sc in the first 12sts (along the sts you just made in the pterygoid, and then along the following sts/ chain sts of the previous row). Ch1, turn
 Row 4: Slip2, sc2, hdc2, sc6. turnRow 5 (#): Slip3, sc4, slip1. Ch1, turn
Row 6: Skip the slipped st, sc4. Ch1, turnRow 7: Sc4. Ch1, turn
Don't fasten off but use a spare piece of yarn to sew the cast-on edge of the orbital surface to the right-hand edge of the piece you are working on (looking at it with the pterygoid on the bottom right-hand corner pointing towards you), so that the cast-on tail is in contact with the first slip st of row 5(#). The other end of the cast on row should be touching the first st of the last row you made, as shown below


Row 8: Sc2tog, sc, make 2sc in the last st. ch1, turn (4sc)Row 9: make 2sc in the first st, sc3. ch1, turn (5sc)Row 10: Sc4, make 2sc in the last st. ch1, turn (6sc)Row 11: Sc in each st. ch1, turnRow 12: Sc4, slip1. ch1, turnRow 13: Skip the slipped st, sc4. ch1, turn (4sc)Row 14: Sc4. ch1, turnRow 15: Sc3, make 2sc in the last st (5sc)Fasten offSew together the left-hand edge of the orbital surface to the right-hand edge of the greater wing, as shown below

 Row 2: Sc4, sc in the 3 chain sts, sc in the 2 cast-off sts of the foramen spinosum, ch1, then sc in the back of the first chain st you made when making the ch3 (1st image below). Ch2, sc in the 2nd st after the first st you crocheted into when you made the sc4 into the pterygoid (i.e. the st after the 'new' st created when fastening off neatly - 2nd image below), then sc in the next 6sts of the pterygoid. Ch1, turn
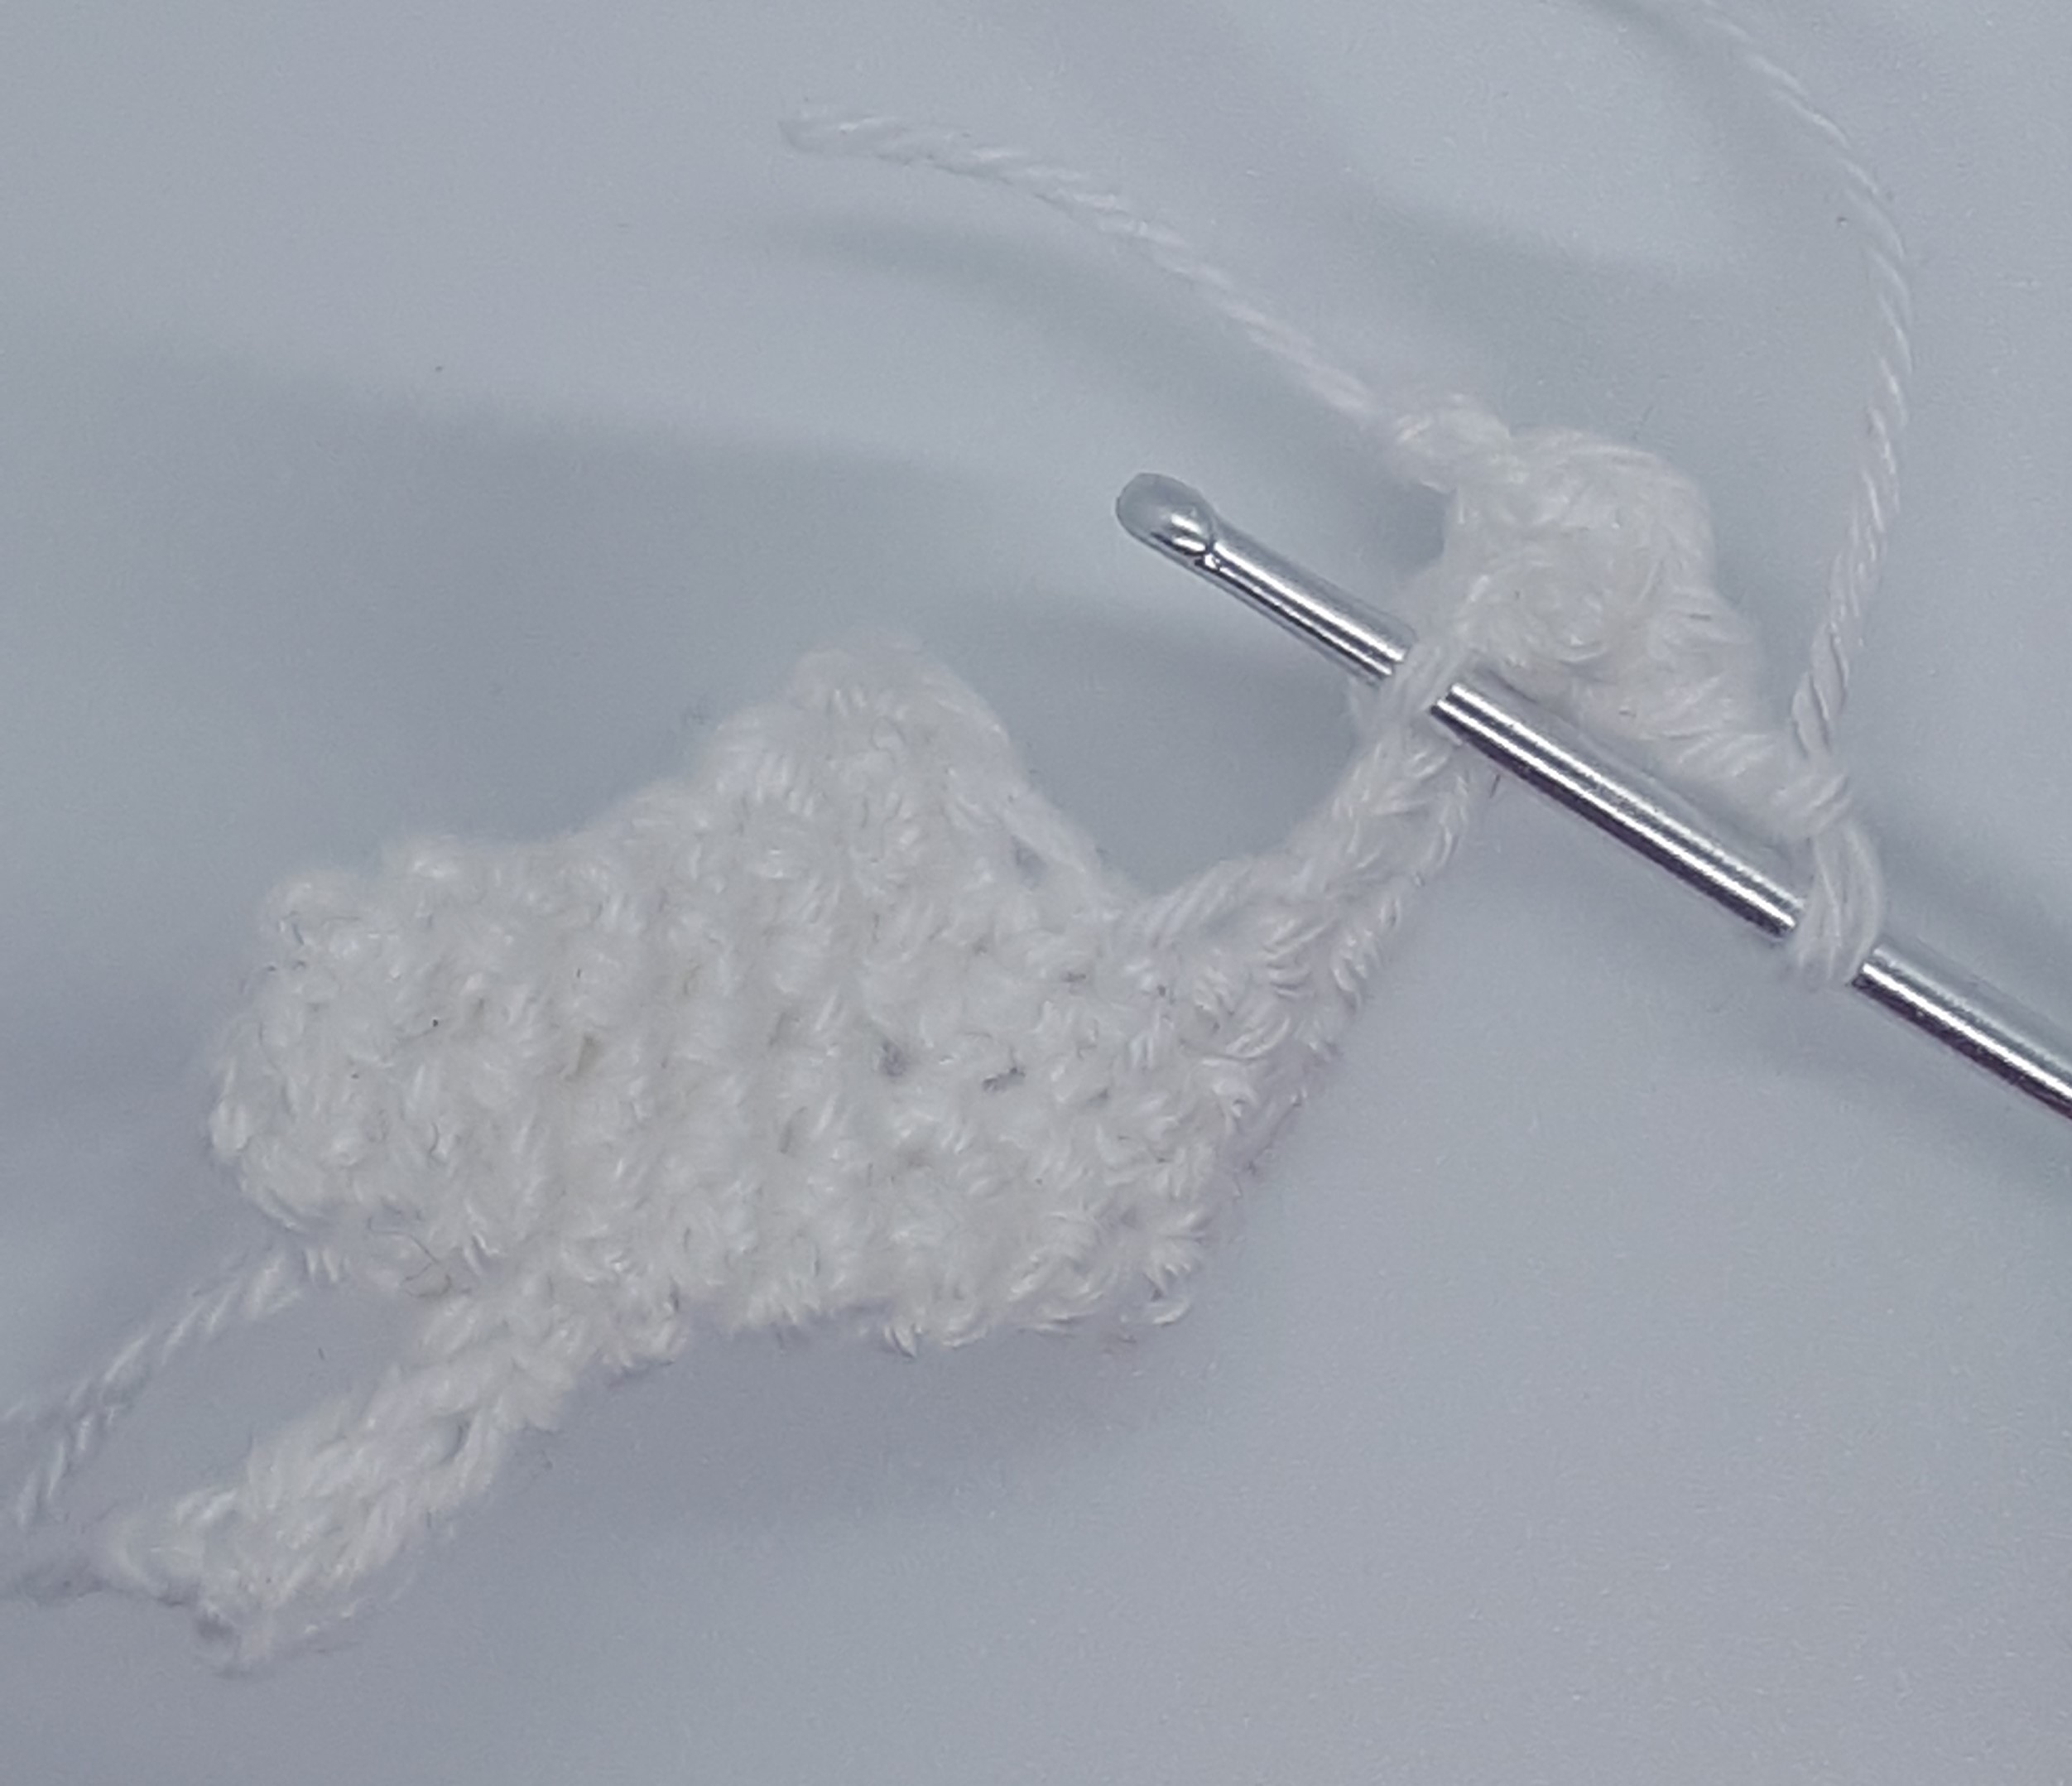

Row 3: Sc12 (along the sts you just made in the pterygoid, and then along the following sts/ chain sts of the previous row). Ch1, turnRow 4: Slip2, sc2, hdc2, sc6Row 5 (#): Slip3, sc4, slip1. Ch1, turnRow 6: Skip the slipped st, sc4. Ch1, turnRow 7: Sc4. Ch1, turnDon't fasten but use a spare piece of yarn to sew the cast-on edge of the orbital surface to the left-hand edge (looking at it with the pterygoid on the bottom left-hand corner pointing towards you) of the piece you are working on, so that the cast-on tail is in contact with the first slip st of row #. The other end of the cast on row should be touching the first st of the last row you made as shown in the photo below.

For the lesser wings (make 2):Ch11Row 1: Sc in the 2nd loop from hook, sc, make 2sc in each of the next 2 chain sts, sc6. ch1, turn (12sc)Row 2: Slip1, sc4, slip1. Fasten offFor the body:Ch4Round 1: make 2sc in the 2nd chain st from hook, sc, make 4sc in the following chain st, sc in the back of the previous chain st, then make 2sc in the back of the first chain st you crocheted into (10sc)Round 2: Sc, make 3sc in the next st, sc2, make 3sc in the following st, sc, make 3sc in the next st, sc2, make 3sc in the last st (18sc)Round 3: Sc in the back loop of each stRound 4: Sc in both loops, in the back loop only: sc3tog, sc2, sc3tog, in both loops of the next sts: sc9 (14sc)Round 5: Sc13, make 2sc in the last stRound 6: make 2sc in the first st, sc5, make 2sc in each of the next 2sts, sc7 (17sc)Round 7: Sc2, make 2sc in the next st, sc3, make 2sc in the following st, sc11 (19sc)Round 8: Sc2, ch1, sc in the 3rd st of row 2 of one of the lesser wings, sc in the next 6sts of the body, ch1, sc in the 3rd st of row 2 of the other lesser wing, ch1, sc in the next 8sts of the body. Ch5, skip 12 sts (including chain sts), then slip the next st. Ch1
 Round 9: Sc in each of these 5 chain sts in turn (image 1), ch1, then sc in the back of the previous chain sts you just crocheted into (image 2). In the back of the next chain sts (moving in the opposite direction to the way you just crocheted down the chain) sc, then slip1 (image 3)Fasten off
 |
| Image 1 |
 |
| Image 2 |
 |
| Image 3 |
You now need to sew felt to the body and wings to make them more sturdy, before you sew them together. Note that the orbital surface of the greater wings should be roughly perpendicular to the rest of the greater wing. I would recommend sewing down the seam between them (&&&) to make sure that the felt fits into this edge nicely, as can be seen in the 4th and 6th of the images below.


The body is most easily lined by cutting a strip of felt that fits around the edge of the main tube (see photo), then slotting it inside and sewing it in place (the edges of this rectangle will overlap slightly, you can either trim them to fit exactly or just let then overlap)


That's all from this pattern - I hope you've enjoyed it! I should be posting the final pattern for the construction of the skull shortly so stay tuned! If you have any questions please email them to lhodginscrochet@gmail.com and I'll do my best to answer asap :)
As always you're very welcome to sell finished products but I do ask that you don't re-post these patterns or claim them as your own. Thank you!
No comments:
Post a Comment