Pages

Monday, September 19, 2022

Carbon atom mobile

This pattern shows you how to make a model of a carbon atom, and it also explains a lot about the structure of the atoms, for those from a less scientific background.


Difficulty:

Medium
The crochet in this pattern is very easy but the construction is much more fiddly


You will need: 

  • A 2.5mm crochet hook
  • dk yarn in blue, red, and light pink
  • white 4ply yarn
  • An embroidery hoop
  • craft wire (approx. 0.5mm in diameter)
  • Some PVA glue
  • A darning needle for sewing in loose ends
  • A pair of scissors

The constituents of an atom
Atoms consist of 3 subatomic particles: protons, neutrons and electrons. We can think of these as little balls within out atom (although in reality its rather more complicated than this), with the protons and neutrons residing at the centre, and the electrons orbiting around the outside.


Protons
The protons are positively charged and have a mass approximately equal to that of the neutrons (1.67*10^-27kg). The number of protons determines the chemical properties of the atom, and dictates which element of the periodic table it is. The carbon atom that we will be creating contains (like all carbon atoms) 6 protons. The number of protons in the atoms of an element will correlates with its atomic number (the number in the top left-hand corner of each box on the periodic table below)
The Periodic Table: A Compilation of Fun! | Malouff's ...
credit https://malouffschemblog.wordpress.com/2014/01/05/the-periodic-table-a-compilation-of-fun/


For the protons (make 6):
with red yarn make a magic loop with 6sc
Round 1: make 2sc in each st (12sc)
Rounds 2 - 4: (3 rounds) sc in each st
Round 5: sc2tog 6 times
stuff firmly
Round 6: sc2tog twice
Fasten off


Neutrons
A similar particle to the proton is the neutron. These uncharged particles are found in the nucleus of the atom, which is located at its centre. Unlike the protons and electrons, there can be varying numbers of neutrons in the nucleus of a given element. Atoms containing the same number of protons but different numbers of neutrons are known as isotopes of an element.
In this pattern we will be making the atomic isotope carbon-12, which contains 6 neutrons (it's known as carbon 12 because it contains a total of 12 nucleons). Other isotopes of carbon exist, however, including carbon-14, which contains 6 protons and 8 neutrons. The large number of neutrons makes it unstable, and thus it becomes radioactive.


For the neutrons (make 6):
with blue yarn make a magic loop with 6sc
Round 1: make 2sc in each st (12sc)
Rounds 2 - 4: (3 rounds) sc in each st
Round 5: sc2tog 6 times
stuff firmly
Round 6: sc2tog twice
Fasten off


How can most nuclei be stable?
If you know a little about physics, you may be aware that opposite charges attract and like charges repel. By this logic the nucleus should not be able to form, since all of the protons would reel each other instantly,so why is this not the case? Its all down to a force known as the Strong Nuclear force, which is an attractive force that acts between each of the nucleons (as the protons and neutrons are collectively called).  This exactly cancels out the repulsive force of the protons to allow the nucleus to exist in a stable state.


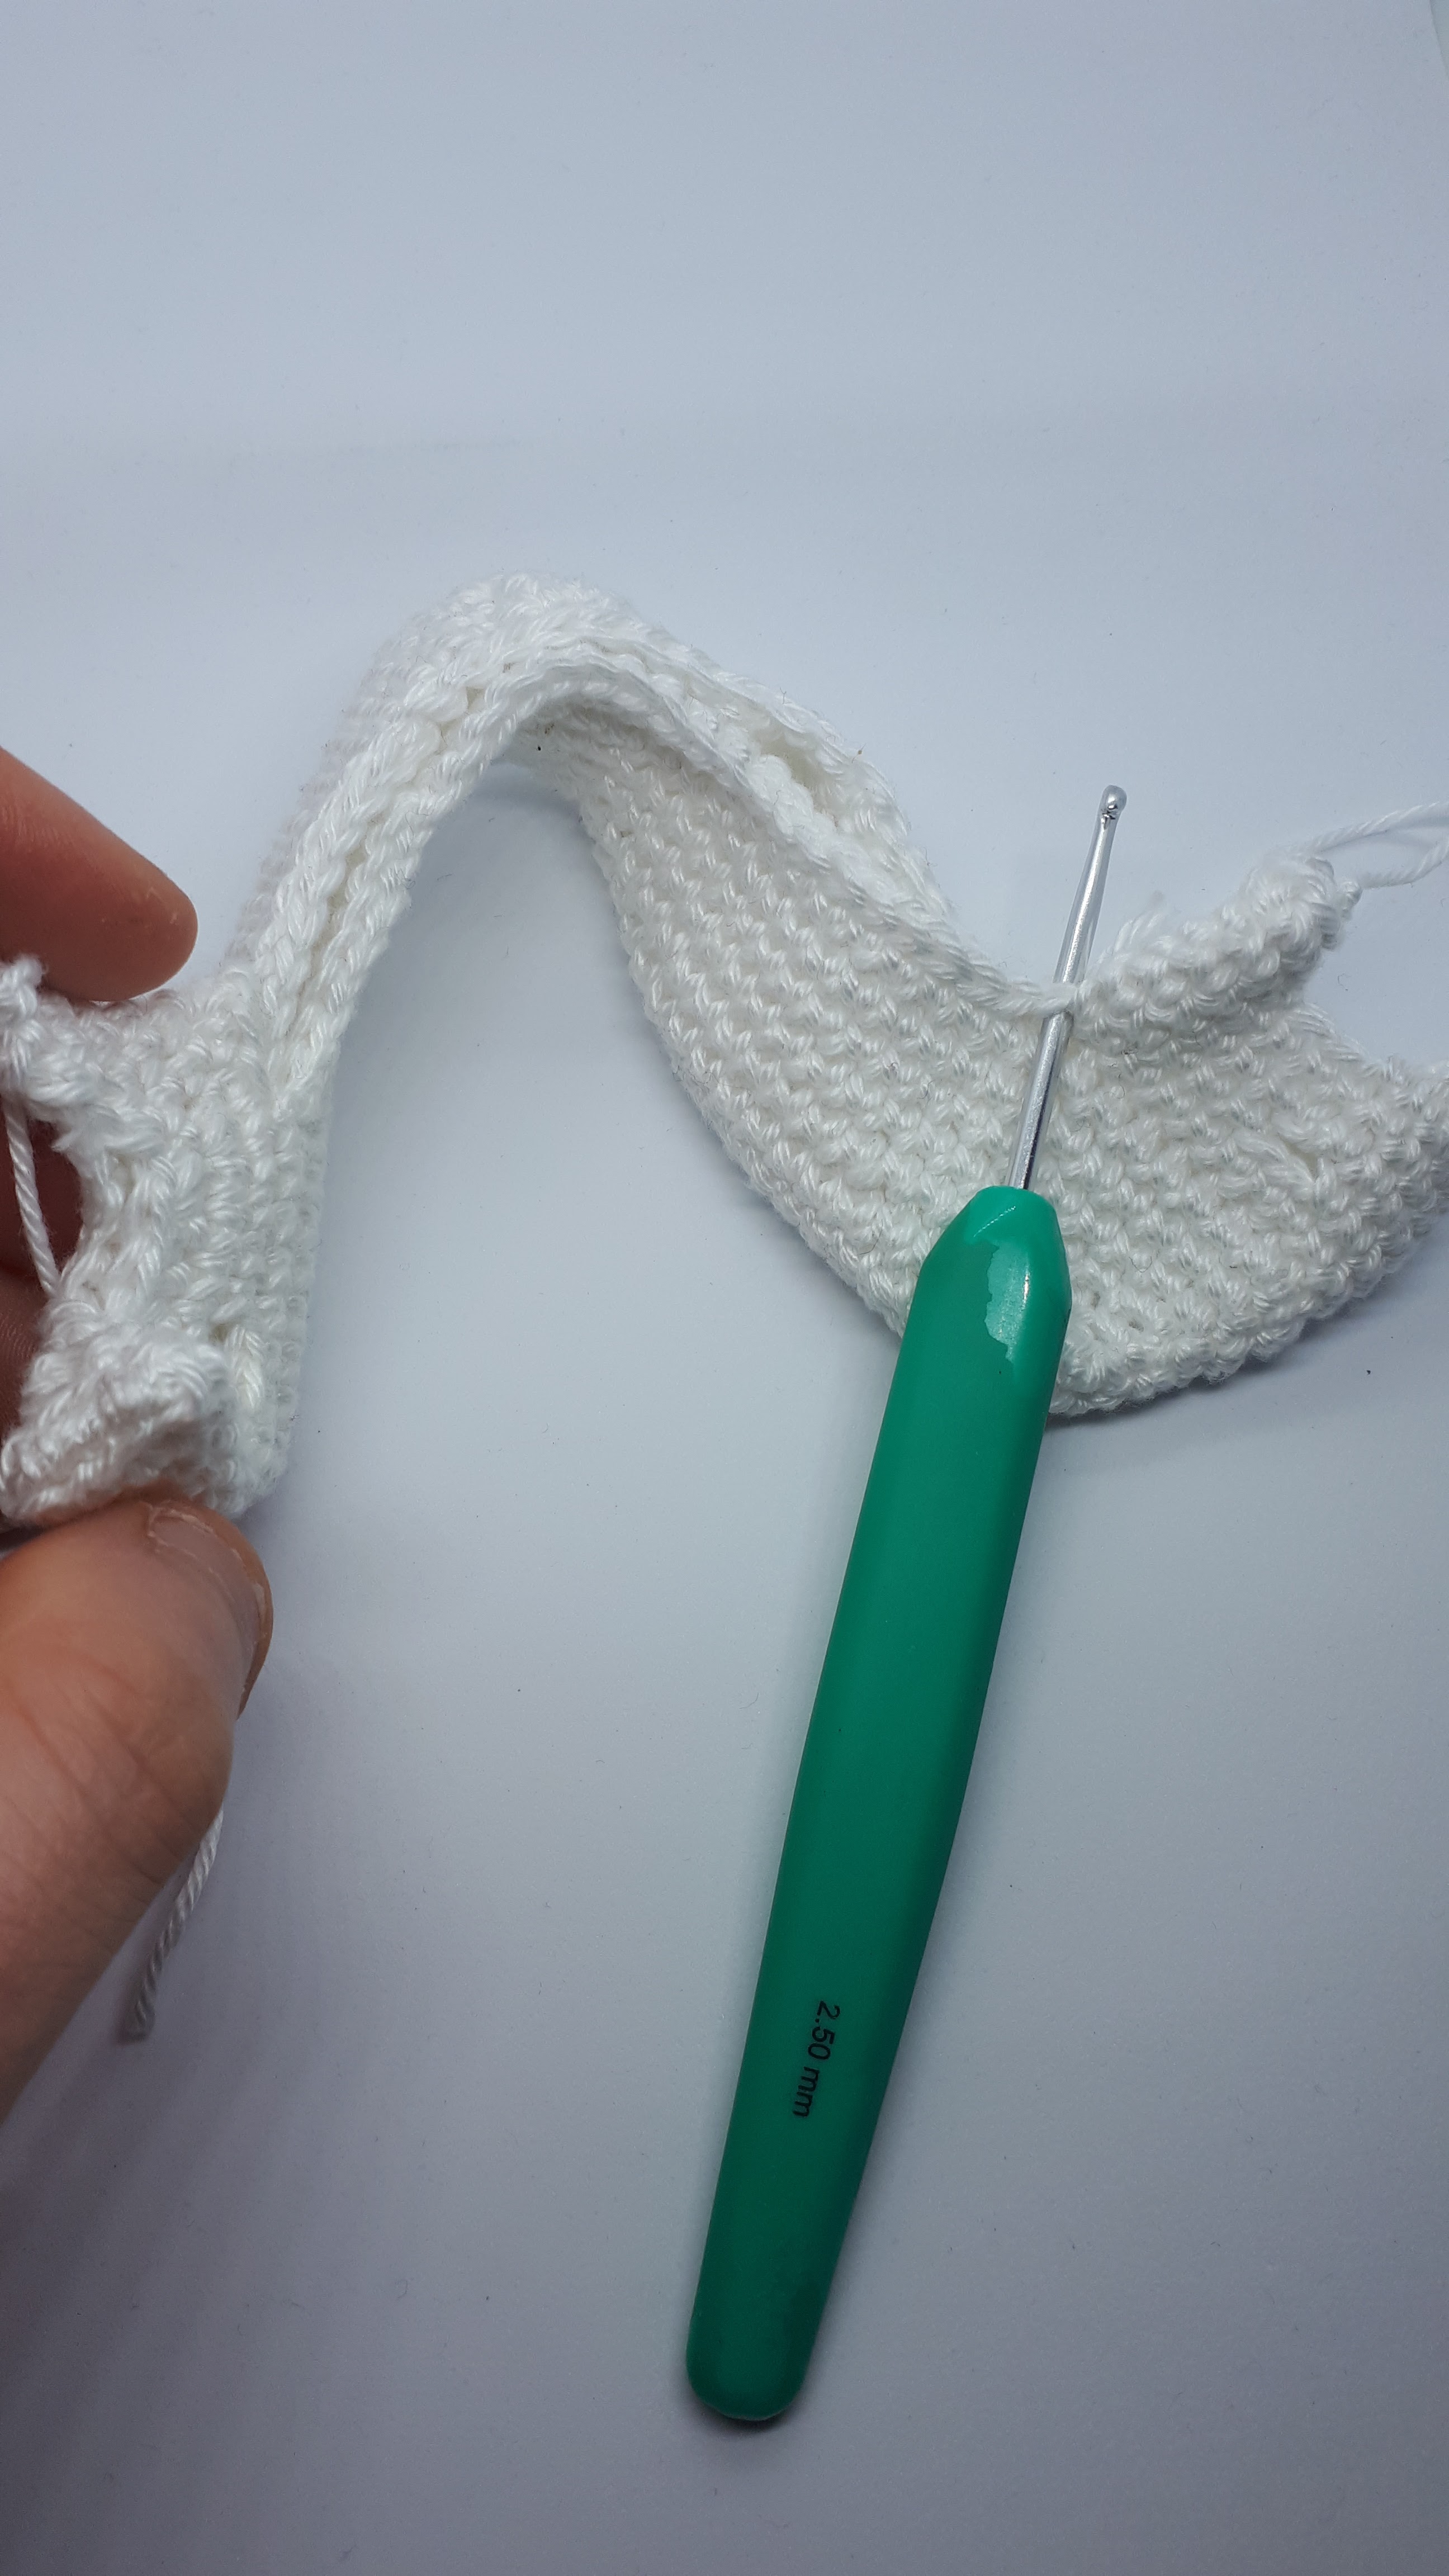
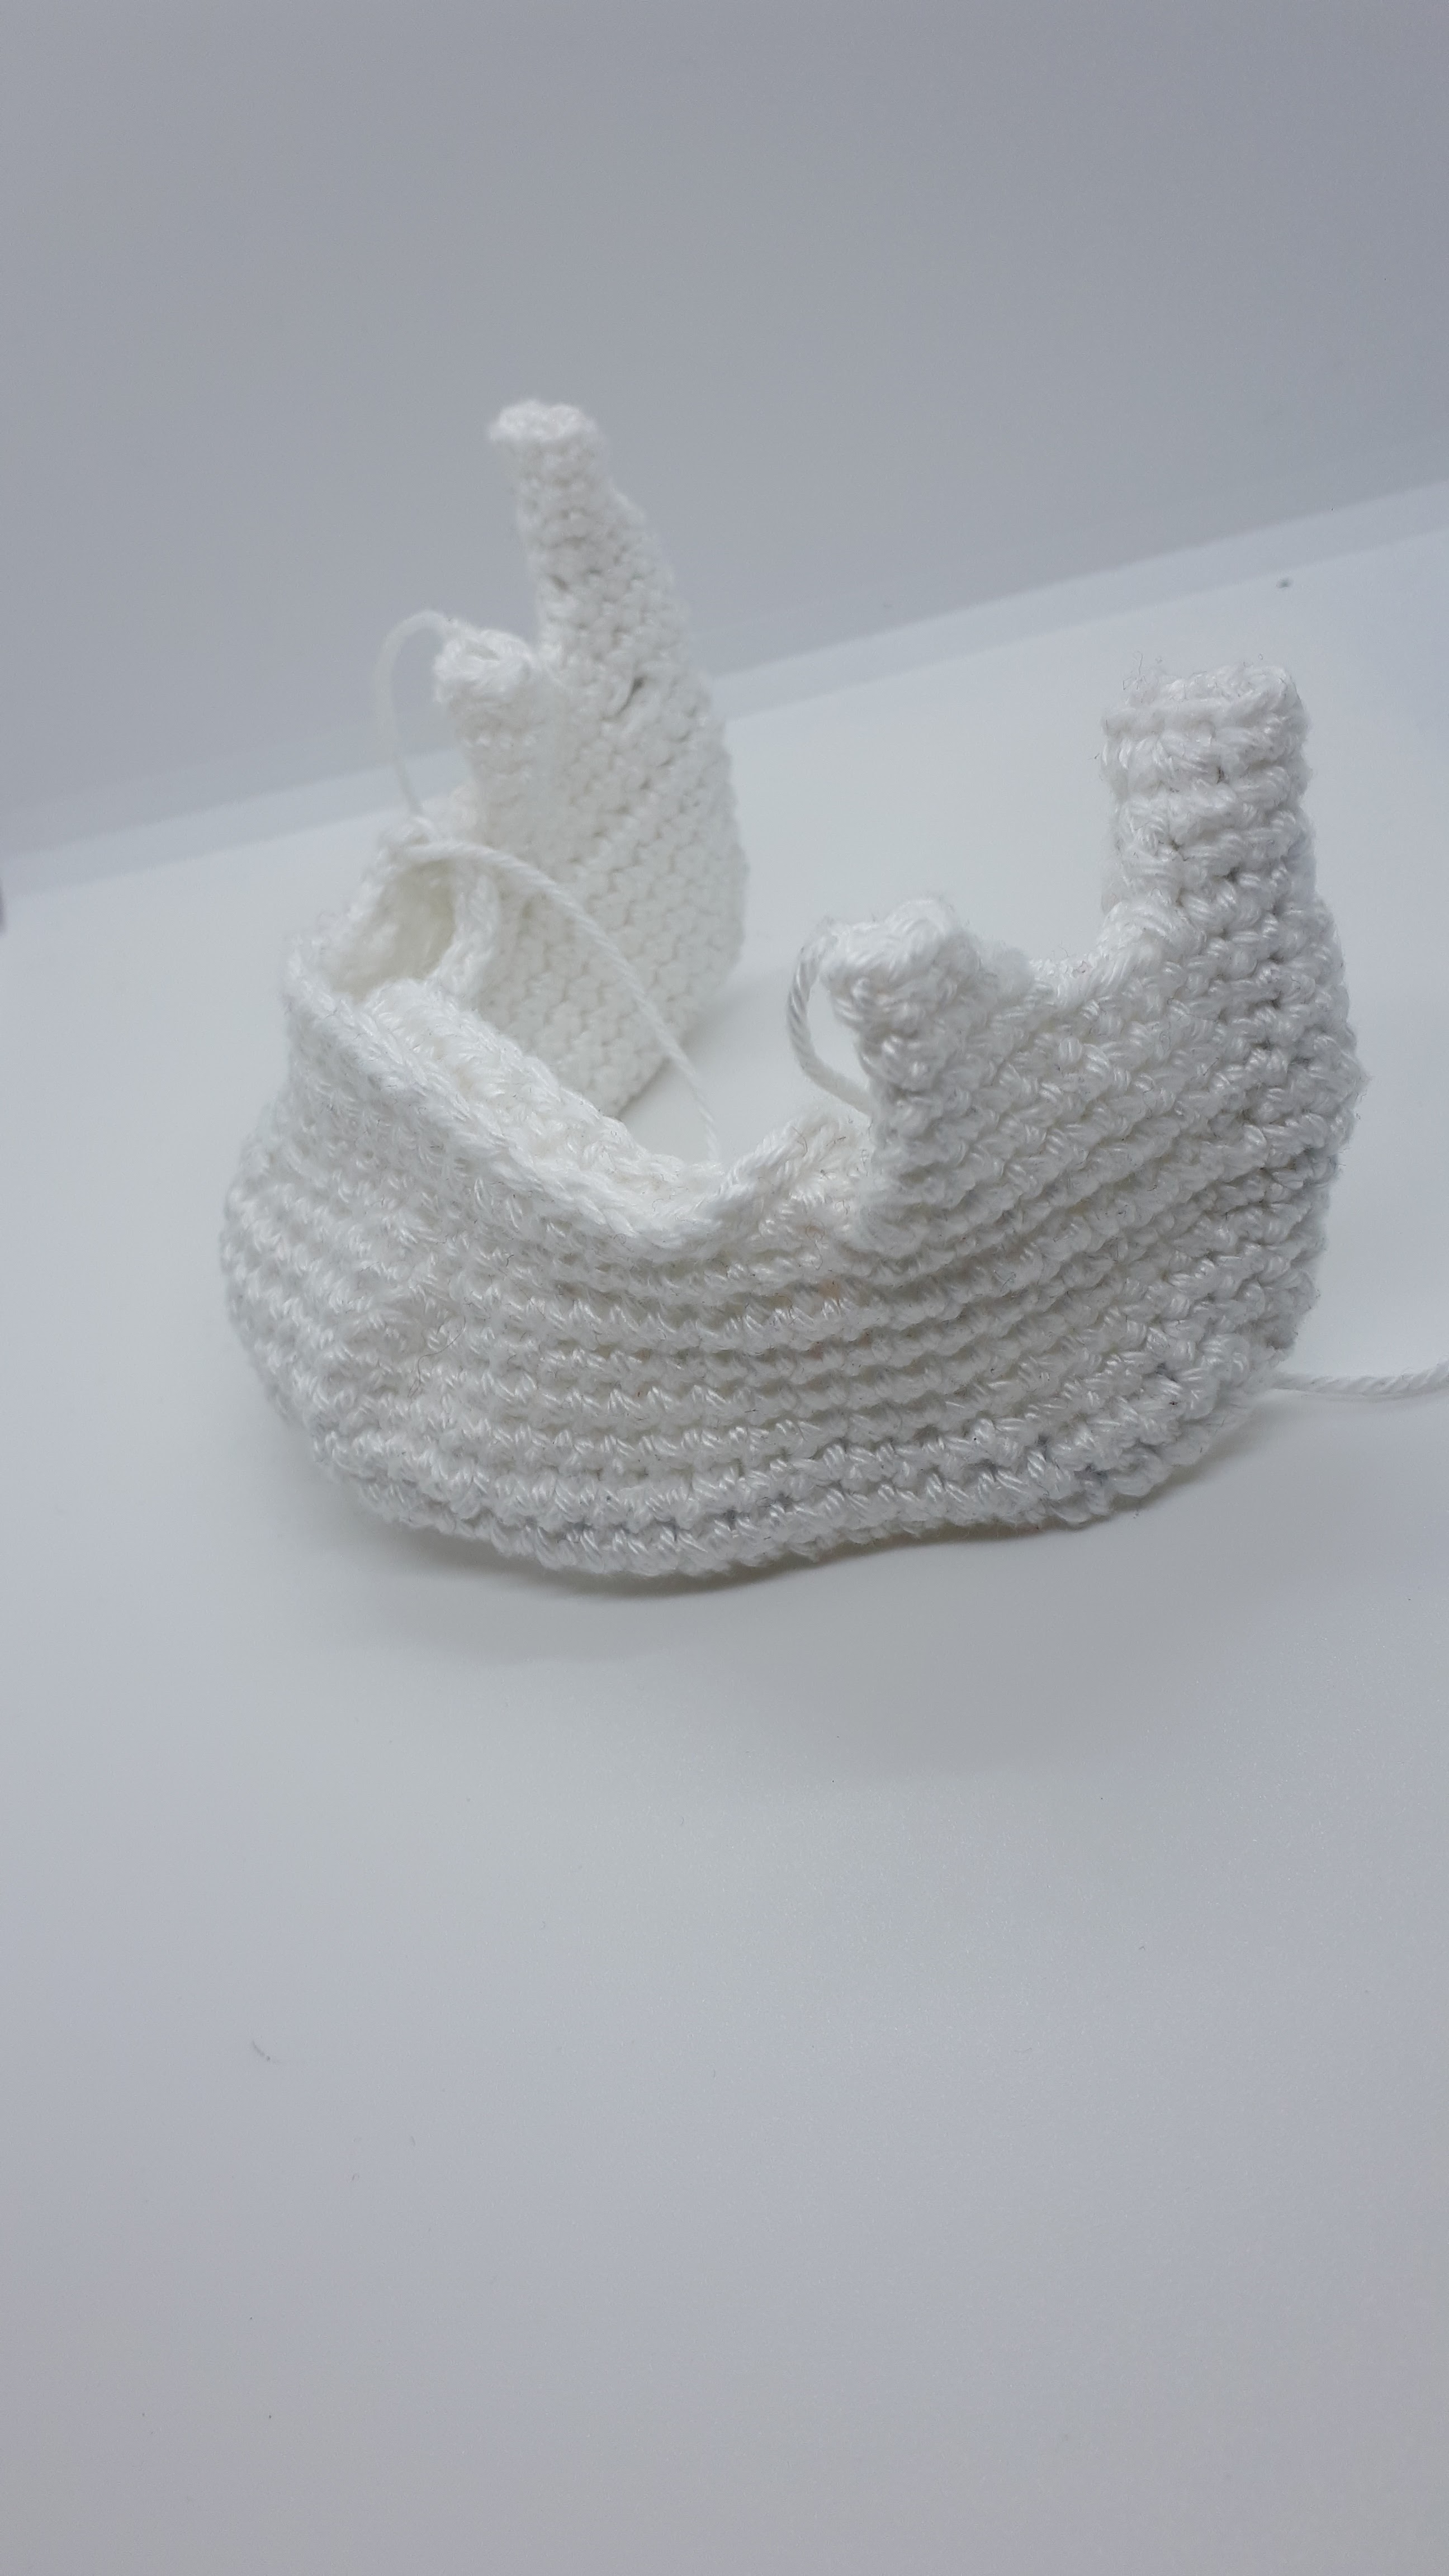
To make the nucleus sew each of these protons and neutrons together into a central ball.


Electrons
Around the nucleus is where the electrons are found. Electrons are negatively charged particles with a mass much much less than that of the protons and neutrons (the nucleons are about 1820 times more massive than the electrons). Because of their negative charge they will be attracted by the positively charged nucleus. If they were stationary they would fall straight into the nucleus, but this is prevented by their constant movement around the outer edges of the atom. 
The charge on each electron is equal and opposite to that of each proton. Because of this, and because an atom will always contain the same number of electrons as protons, the total charge of an atom will always be zero; it is electrically neutral. In cases where the number of electrons does not equal the number of protons, and thus an overall charge is achieved, our atom is known as an ion.
Unlike the protons and neutrons, which are each composed of 3 smaller particles called quarks, it is thought that electrons are fundamental (that is, they cannot be broken down into smaller parts).


For the electrons (make 6):
With pink yarn make a magic loop with 6sc
Rounds 1 - 2: (2 rounds) sc in each st
Stuff firmly
Round 3: sc2tog twice
Fasten off


To make up:
Cut a length of wire approx. 1m long, and thread 2 of the electrons onto it. Curl it round twice into a loop, then wind one end of the wire around the loop with the two electrons on. When each time you reach an electron thread the wire through said electron, then continue winding the wire around on the other side.


After you've done this you need to wind a length of white yarn around the wire to hide it. Seccure it every so often by threading the needle in between the two sections of wire.

Next you should cut another length of wire approx. 1.3m long, and thread the remaining 4 electrons onto it. Wind the wire into a double loop, and wind one end around the other as you did before, threading the other section of wire through each of the electrons as you encounter them.


You then need to wind a length of yarn around the wire, as you did for the other ring of electrons.


Why aren't the electrons all on the same loop?
The electrons around the outside of the nucleus will be arranged into set electron shells, each of which can only hold a certain number of electrons. The maximum possible number of electrons will increase for each subsequent shell (no. of electrons = 2n^2, where n is the shell number), meaning that the inner shell can only hold 2 electrons, whereas the 2nd shell can hold up to 8. (The reason for this relates to quantum physics, and I plan to make a pattern explaining it in greater detail in the future.)  The electrons will fill the inner shell first, as it has a lower energy level, and once this is full they will go on to start filling the 2nd shell.

Now we need to attach each of the part of the atom to our mobile.
Cut 3 lengths of white yarn approx. 25cm long and tie them at equal intervals to the edge of the embroidery hoop. Tie the other ends to each other in the centre of the loop. Secure the ends in place with a dab of PVA glue.


Next you need to sew another section of yarn to the centre of the hoop, to where you tied the three lengths of yarn together. Sew the other end of this to the nucleus, so that the centre of the nucleus hangs about 30cm below the embroidery hoop.


You then need to sew another length of yarn to the centre where all the yarn lengths meet. The other end of this should be looped around and tied in place, to allow the mobile to be hung up. The embroidery hoop should hang around 25-30cm below the top of this loop. Once again you should add a dab of PVA glue to all raw ends to prevent them from fraying.


You now need to sew the electron orbitals in place. Tie two lengths of yarn to the wire of the inner electron shell, one on each side. The other ends of the yarn should be sewn to the embroidery hoop. Try to ensure that the shell is positioned so that the nucleus lies in the centre. For best effect it should hang at an angle. You will most likely have to add at least one extra length of yarn to the shell to allow it to hang exactly the way you want it to. Play around with the exact positioning of the shell, and when you are happy with it secure the upper ends by adding a dab of PVA glue to where you have tied the yarn to the hoop.


A note on the relative positions of the electrons and nucleus
This atomic model is not to scale, as I'm sure you may have guessed, but what you may not know is just how out of scale it really is. There is a really good TEDx video explaining this, which states that if you scaled up an atom so that it was the size of a football stadium, then the nucleus in the centre would only be the size of a marble, and the electrons would be orbiting right at the edge of said stadium.


Next you will need to add the 2nd shell. As you did before, start by tying 2 lengths of yarn to the wire section of the shell, and then playing around with the positioning. You should try to get it so that the tilt of the 2nd shell is opposite that of the first shell you made. Once again you will most likely need to add a third length of yarn to hold it in the exact position you want. Play around with it for a bit, then secure the ends with a dab of PVA glue


Thats all! I hope you found this pattern interesting and informative. If you have any questions about this or any of my other patterns, please feel free to get in contact with me, either by leaving a comment below, emailing them to lhodginscrochet@gmail.com, or via my Ravelry or Instagram pages.
You are very welcome to sell finished products, but I do ask that you please don't re-post this pattern or claim it as your own. Thank you!


Sunday, September 11, 2022

Life-sized teeth and jawbone

This is the first pattern in a series I'm releasing to form a life-sized human skull. This is part of a life-sized anatomical skeleton, which I am currently creating. The skull is made in about 12 different sections (each of which corresponds to one of the bones of the skull) and then assembled.


I have divided the pattern up into several different parts, and assembly should be carried out as you go along. This first pattern is for the mandible (jaw bone) and teeth (although it doesn't include wisdom teeth). If you want to see what the final skull looks like you can scroll to the bottom of this pattern

Difficulty:

Medium


You will need:
  • A 2.5mm crochet hook
  • A 1mm crochet hook
  • Anchor creativa fino cotton in white
  • RIco essentials #10 crochet cotton in white
  • White pipecleaners
  • A darning needle
  • A pair of scissors
  • Polyester toy stuffing

Part 1: The mandible

Ch47
Round 1: Sc in the 2nd st from this hook, then sc19, make 2sc in each of the next 2sts, sc2, make 2sc in each of the next 2sts, sc19, make 3sc in the last chain st. In the back of the previous chain sts: sc18, sc2tog, sc4, sc2tog, sc18, then  make 2sc in the back of the  last chain st (the first one you crocheted into ) (96sc)
Round 2: Sc19, make 2sc in each of the next 2sts, sc6, make 2sc in each of the next 2sts, sc20, make 2hdc in the following st, sc45, make 2hdc in the last st (102sts)
Round 3: Sc55, make 2sc in the next st, sc45, make 2sc in the last st (104sc)
Round 4: Sc56, make 2sc in the next st, sc46, make 2sc in the last st (106sc)
Round 5: Sc56, make 2sc in the next st, sc48, make 2sc in the last st (108sc)
Round 6: Sc22, sc2tog, sc8, sc2tog, sc22, make 2sc in the next st, sc49, make 2sc in the last st (108sc)
Round 7: Sc22, sc2tog, sc7, sc2tog, sc23, make 2sc in the next st, sc49, make 2sc in the following st, sc (108sc)
Round 8: Slip19, sc3, sc3tog, sc3, sc3tog, sc3, slip42, sc10, slip22 (104sts)
Round 9: Sc10, ch3, skip83, sc11 (24sts). These last 24 sts/ chain sts form a new round.
Round 10: Sc8, sc3tog, sc7, ch2, skip2, sc2, make 2sc in the next st, sc (23sts)
Round 11: Sc11, sc2tog, sc10 (22sc)
Round 12: Sc12, sc2tog, sc8 (21sc)
Round 13: Sc3, skip12, sc6 (9sc)
Round 14: Sc2, sc2tog, sc5 (8sc)
Round 15: make 2sc in the first st, sc, sc2tog, sc5 (8sc)
Round 16: make 2sc in the first st, sc2, sc2tog, sc4 (8sc)
Round 17: Sc, make 2sc in the next st, sc, sc2tog, sc3 (8sc)
Fasten off

Flatten this section perpendicular to the way the rest of the jaw is facing, as shown in the image below, then sew this seam closed.

Rejoin yarn to round 12 to the 3rd st from this last section you made (as shown below)
Round 13: Sc in this st and the next 7sts
Round 14: (Note that this is slightly more than 1 round) Sc in the first st of the last round, sc5, sc2tog (7sc)
Round 15: Sc2, sc2tog (5sts)
Fasten off

Rejoin yarn to round 8 to the 33rd st from this last section you made, as shown below

Round 9: Sc in this st and the next 21sts. Ch3 (25sts)
Round 10: Sc3tog in the first 3 sts of the last round, sc7, make 2sc in the next st, sc2, ch2, skip2, sc7, sc2tog, sc (23sc)
Round 11: Sc2tog, sc21 (22sc)
Round 12: Sc4, skip13, sc4 (8sc)
Round 13: (Note that this is slightly less than 1 round) Sc3, sc2tog, sc2 (7sc)
Round 14: Sc2tog, sc2 (6sc)
Fasten off

Rejoin yarn to round 11 to the 3rd st from this section

Round 12: Sc in this st and the next next 8sts (9sc)
Round 13: Sc2tog, sc7 (8sc)
Round 14: Sc2tog, sc, make 2sc in the next st, sc4 (8sc)
Round 15: Sc2tog, sc, make 2sc in the next st, sc4 (8sc)
Round 16: Sc2tog, sc, make 2sc in the next st, sc4 (8sc)
Fasten off
Press flat like the other side, and sew closed

Rejoin yarn to round 8 to the last st you crocheted into when making the second of these side jaw sections (as shown below)

Round 9: Sc in this st and the next 33sts. Sc in the back of the 3 chain sts you made on the first side section (1st image below), then sc in the same st as you crocheted in just before you originally made these chain sts (2nd image). Sc in the next 30sts, then sc in the back of the 3 chain sts you made when making the other side section (72sc)


Round 10: Sc2tog twice, sc, slip5, sc3, hdc7, sc3, slip6, sc, sc2tog 4 times, sc2, slip4, sc3, hdc9, sc3, slip5, sc2, sc2tog twice, sc (64sts)
Round 11: Slip9, sc3, hdc6, sc3, slip18, sc3, hdc6, sc3, slip13
Fasten off neatly


Twist or plait 3 pipecleaner together then insert these into the jawbone, as shown below.


(Pipecleaner inserted into bone)

Use small stitches to secure them to the lower edge of the jaw.


Part 2: The teeth

Use a 1mm hook and #10 crochet cotton throughout. Note that if you only plan to make the jawbone and not the whole skull you only need to make half the number of teeth.

Inscisor 1 upper (make 2):
Ch4
Round 1: sc in the 2nd chain st from hook and the next chain st. Make 3sc in the following chain st, then sc in the back of the previous chain st you crocheted into. Make 2sc in the back of the first chain st you crocheted into (8sc)
Rounds 2 - 5: (4 rounds) sc in each st
Round 6: Sc2tog, sc6 (7sc)
Round 7: Sc7
Round 8: Sc3, sc2tog, sc3 (6sc)
Round 9: Sc4, sc2tog (5sc)
Round 10: Sc2, sc2tog (4sc)
Fasten off

Inscisor 2 upper (make 2):
Ch3
Round 1: Sc in the 2nd chain st from hook, then make 3sc in the first chain st you made. Make 2sc in the back of the first chain st you crocheted into (6sc)
Rounds 2 - 4: (3 rounds) Sc in each st
Round 5: Sc2tog, sc4 (5sc)
Round 6 - 7: (2 rounds) sc in each st
Round 8: Sc3, sc2tog (4sc)
Fasten off

Inscisor 1/2 lower (make 4):
Make a magic loop with 4sc
Rounds 1 - 4: (4 rounds) Sc in each st
Round 5: Sc2tog, sc2
Rounds 6 - 7: (2 rounds) sc in each st
Fasten off

Canine 1 (upper) (make 2):
Make a magic loop with 4sc
Round 1: make 2sc in the first st, sc, make 2sc in the next st, sc (6sc)
round 2: Sc, make 2sc in the next st, sc, make 2sc in the following st, sc2 (8sc)
Round 3: Sc2, make 2sc in each of the next 2sts, sc4 (10sc)
Round 4: Sc, sc2tog, sc3, sc2tog, sc2 (8sc)
Round 5: Sc, sc2tog, sc2, sc2tog, sc (6sc)
Rounds 6 - 7: (2 rounds) Sc in each st
Round 8: Sc2tog, sc4 (5sc)
Round 9: Sc3, sc2tog (4sc)
Fasten  off

Canine 1 lower (make 2):
Ch3
Round 1: sc in the 2nd chain st from hook and make 3sc in the following chain st (the first one you made). Make 2sc in the back loop of the previous chain st you crocheted into (6sc)
Rounds 2 - 5: (4 rounds) Sc in each st
Round 6: Sc2tog, sc4 (5sc)
Rounds 7 - 8: (2 rounds) sc in each st
Round 9: Sc2tog, sc3 (4sc)
Fasten off

Premolar 1 lower (make 2):
Make a magic loop with 8sc
Round 1: Sc in the back loop of each st
Round 2: Sc in each st
Round 3: Sc2tog, sc2, sc2tog, sc2 (6sc)
Round 4: Sc in each st
Row 5: hdc. ch1, turn
Row 6: Sc
Fasten off

Rejoin to the next st of round 4
Row 5: Hdc2tog. ch1, turn
Row 6: Sc
Fasten off

Rejoin to next st of round 4
Row 5: hdc. ch1, turn
Row 6: Sc
Fasten off

Rejoin to next st of round 4
Row 5: Hdc2tog. ch1,turn
Row 6: Sc
Fasten off


Premolar 2 lower/ premolar 1/2 upper (make 6):
Make a magic loop with 8sc
Round 1: Sc in the back loop of each st
Round 2: Sc in each st
Round 3: Sc2tog, sc2, sc2tog, sc2 (6sc)
Row 4: hdc. ch1, turn
Row 5: Sc
Fasten off

Rejoin to the next st of round 3
Row 4: hdc2tog. ch1, turn
Row 5: Sc
Fasten off

Rejoin to next st of round 3
Row 4: hdc. ch1, turn
Row 5: Sc
Fasten off

Rejoin to next st of round 3
Row 4: hdc2tog. ch1, turn
Row 5: Sc
Fasten off


Lower/upper molar 1 (make 4):
Ch5
Round 1: make 2sc in the 2nd chain st from hook, sc in the next 2 chain sts, make 4sc in the last chain st, sc in the previous 2sts you crocheted into, then make 2sc in the back of the first chain st you crocheted into (12sc)
Round 2: Sc in the back loop of each st
Round 3: Sc in each st
Round 4: Sc4, Sc2tog, sc4, sc2tog (10sc)
Row 5: Hdc2. ch1, turn
Row 6: Hdc2tog
Fasten off

Rejoin to the next st of round 4
Row 5: Hdc, hdc2tog. ch1, turn
Row 6: Hdc2tog
Fasten off

Rejoin to the next st of round 4
Row 5: Hdc2. ch1, turn
Row 6: Hdc2tog
Fasten off

Rejoin to the next st of round 4
Row 5: Hdc, hdc2tog
Row 6: Hdc2tog
Fasten off


Ch3
Round 1: Sc in the 2nd chain st from hook, then make 3sc in the first chain st you made. Make 2sc in the back of the first chain st you crocheted into.
Fasten off
Sew this to the underside of the tooth

Upper/lower molar 2 and 3 (make 8):
Ch4
Round 1: make 2sc in the 2nd chain st from hook, sc in the next chain st, make 4sc in the last chain st, sc in the back of the st you previously crocheted into, make 2sc in the back of the first chain st you crocheted into (10sc)
Round 2: Sc in the back loop of each st
Round 3: Sc in each st
Round 4: Sc2tog, sc3, s2tog, sc3 (8sc)
Row 5: Hdc2. ch1, turn
Row 6: Hdc2tog
Fasten off

Rejoin to the next st of round 4
Row 5: Hdc2. ch1, turn
Row 6: Hdc2tog
Fasten off

Rejoin to the next st of round 4
Row 5: Hdc2. ch1, turn
Row 6: Hdc2tog
Fasten off

Rejoin to the next st of round 4
Row 5: Hdc2. ch1, turn
Row 6; Hdc2tog
Fasten off

Ch4
Round 1: sc in the 2nd chain st from hook and the next chain st. Make 3sc in the first chain st you made, then sc in the back of the previous chain st you made. Make 2sc in the back of the first chain st you crocheted into (8sc)
Fasten off
Sew this to the underside of the tooth

To assemble:
Sew the teeth in place, starting with the lower first incisors and working out. The positioning of the teeth is shown in the diagram below:

The following values are the distances each of the teeth should stick out from the jaw
Inscisors: 1cm
Canines: 1.2cm
Molar 1: 1.1cm
Molar 2: 0.9cm
Other molars: 0.8cm
Stuff lightly, particularly around the bottom front section (make sure you stuff before sewing the last few teeth in place)


You may want to place a few stitches through the front teeth to held them together and stop them bending outwards.

That's it from this pattern - I hope you've enjoyed it! If you have any questions please feel free to email them to me at lhodginscrochet@gmail.com and I'll try to reply asap. If you want to keep up to date with what I'm working on and find out when I publish new patterns you can follow me on Instagram.

As always you've very welcome to sell finished products but I do ask that you don't re-post this pattern or claim it as your own. Thank you!