This pattern is for a life-sized anatomically corect human skull, intended to be made as part of my complete anatomical skeleton pattern, the patterns for which I'm gradually releasing - click here for the latest post in this series (you can see the older ones by scrolling to the bottom and clicking 'older posts').


This particular post focuses on the assembly of the skull and you will need to have already created all the bones. I have published these as 3 separate patterns:
1. Mandible and teeth
1. Mandible and teeth
2. Larger bones
The bones required are: mandible, maxillae (left and right), temporal (left and right parts 1 and 2), frontal, occipital, sphenoid (all 3 parts), nasal bone, nasal conchae (x2), vomer, zygomatic bones (left and right), ethmoid bone, and 2 lacrimal bones
Difficulty:

Medium - difficult
The assembly itself shouldn't be too difficult, but I've given it this difficulty level based on the fact that the creation of the bones can be rather challenging.
You wiill need:
- A 1mm crochet hook
- Rico essentials #10 crochet cotton ain white and silver/grey
- Polyester toy stuffing
- A darning needle
- A pair of scissors
- Skull bones from each of the 3 patterns linked above.
For the skull:
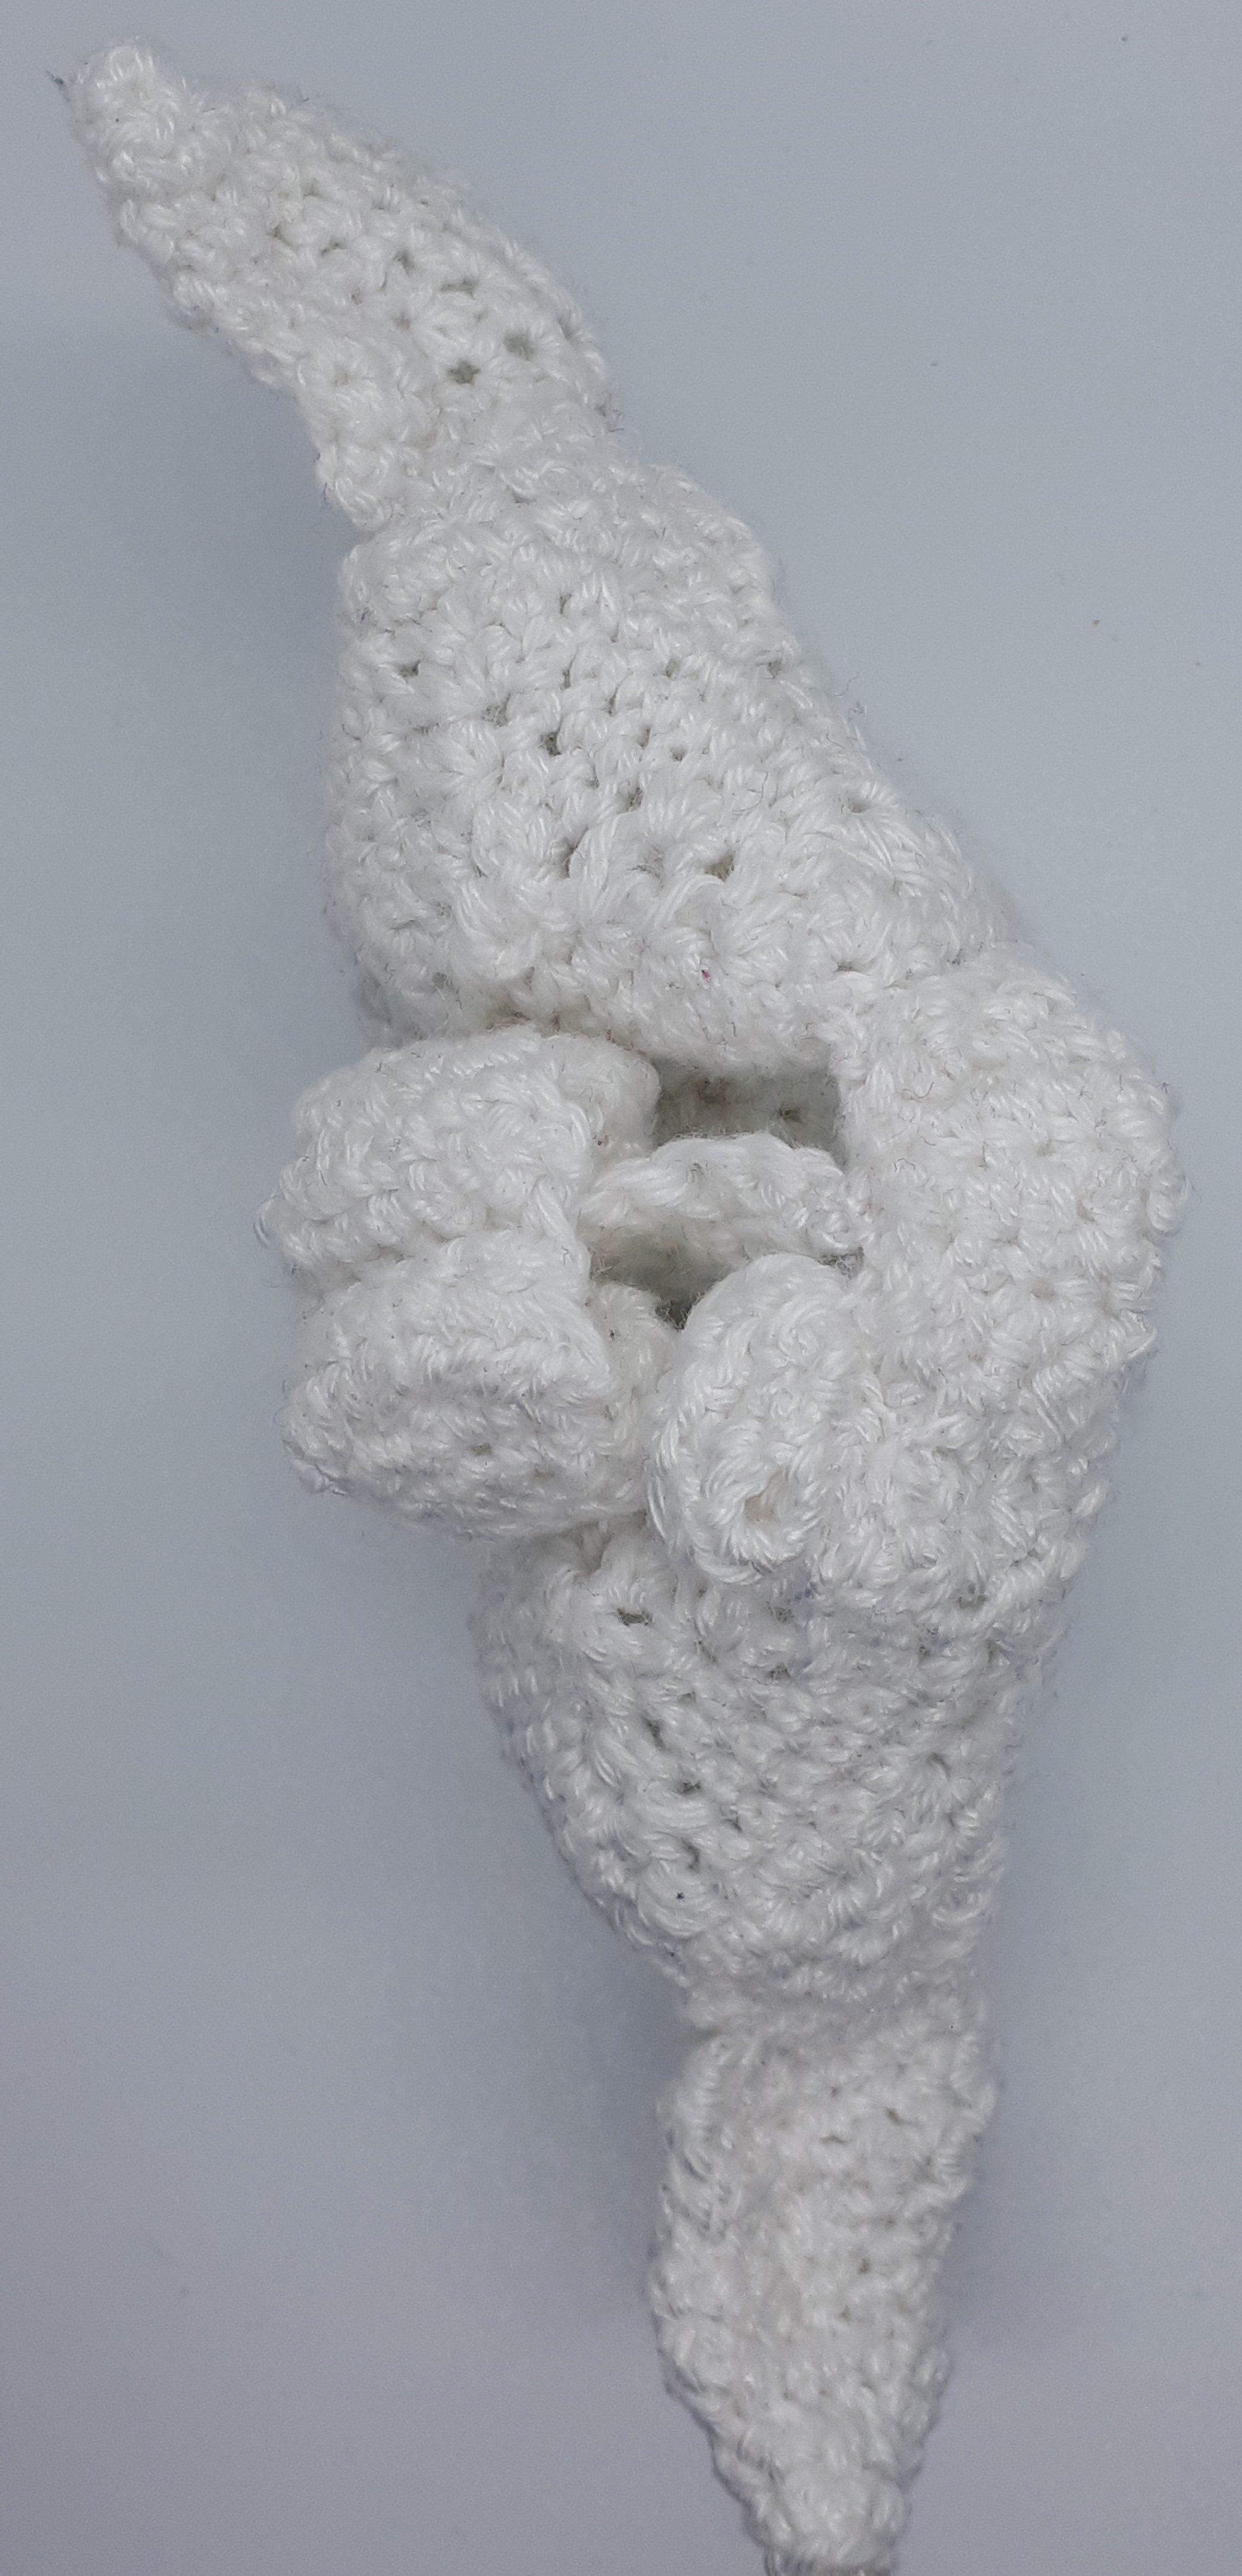
First take the zygomatic bones and maxillae. Sew these together as shown in the photos below. Face M of the zygomatic bone should be sewn to face Z of the maxilla. The orbital surface of the zygomatic bone should be folded back and sewn to the top edge of face Z (i.e. the edge where the cast-off sts are located)


Sew the nasal bone between the maxillae, as shown in the photos below. The cast-on and cast-off ends of the nasal bone should be sewn to edge N of the maxillae, making sure that it curves up into a bridge shape.


 |
| This shows how the section you've just made intersects with the jawbone. |
Next sew the vomer between the 2 maxillae, as shown below (the cast-on edge should be at the bottom, sewn to where faces M meet). The curved edge of the vomer (where the sc2tog/sc3tog sts are) should be facing the front of the skull.


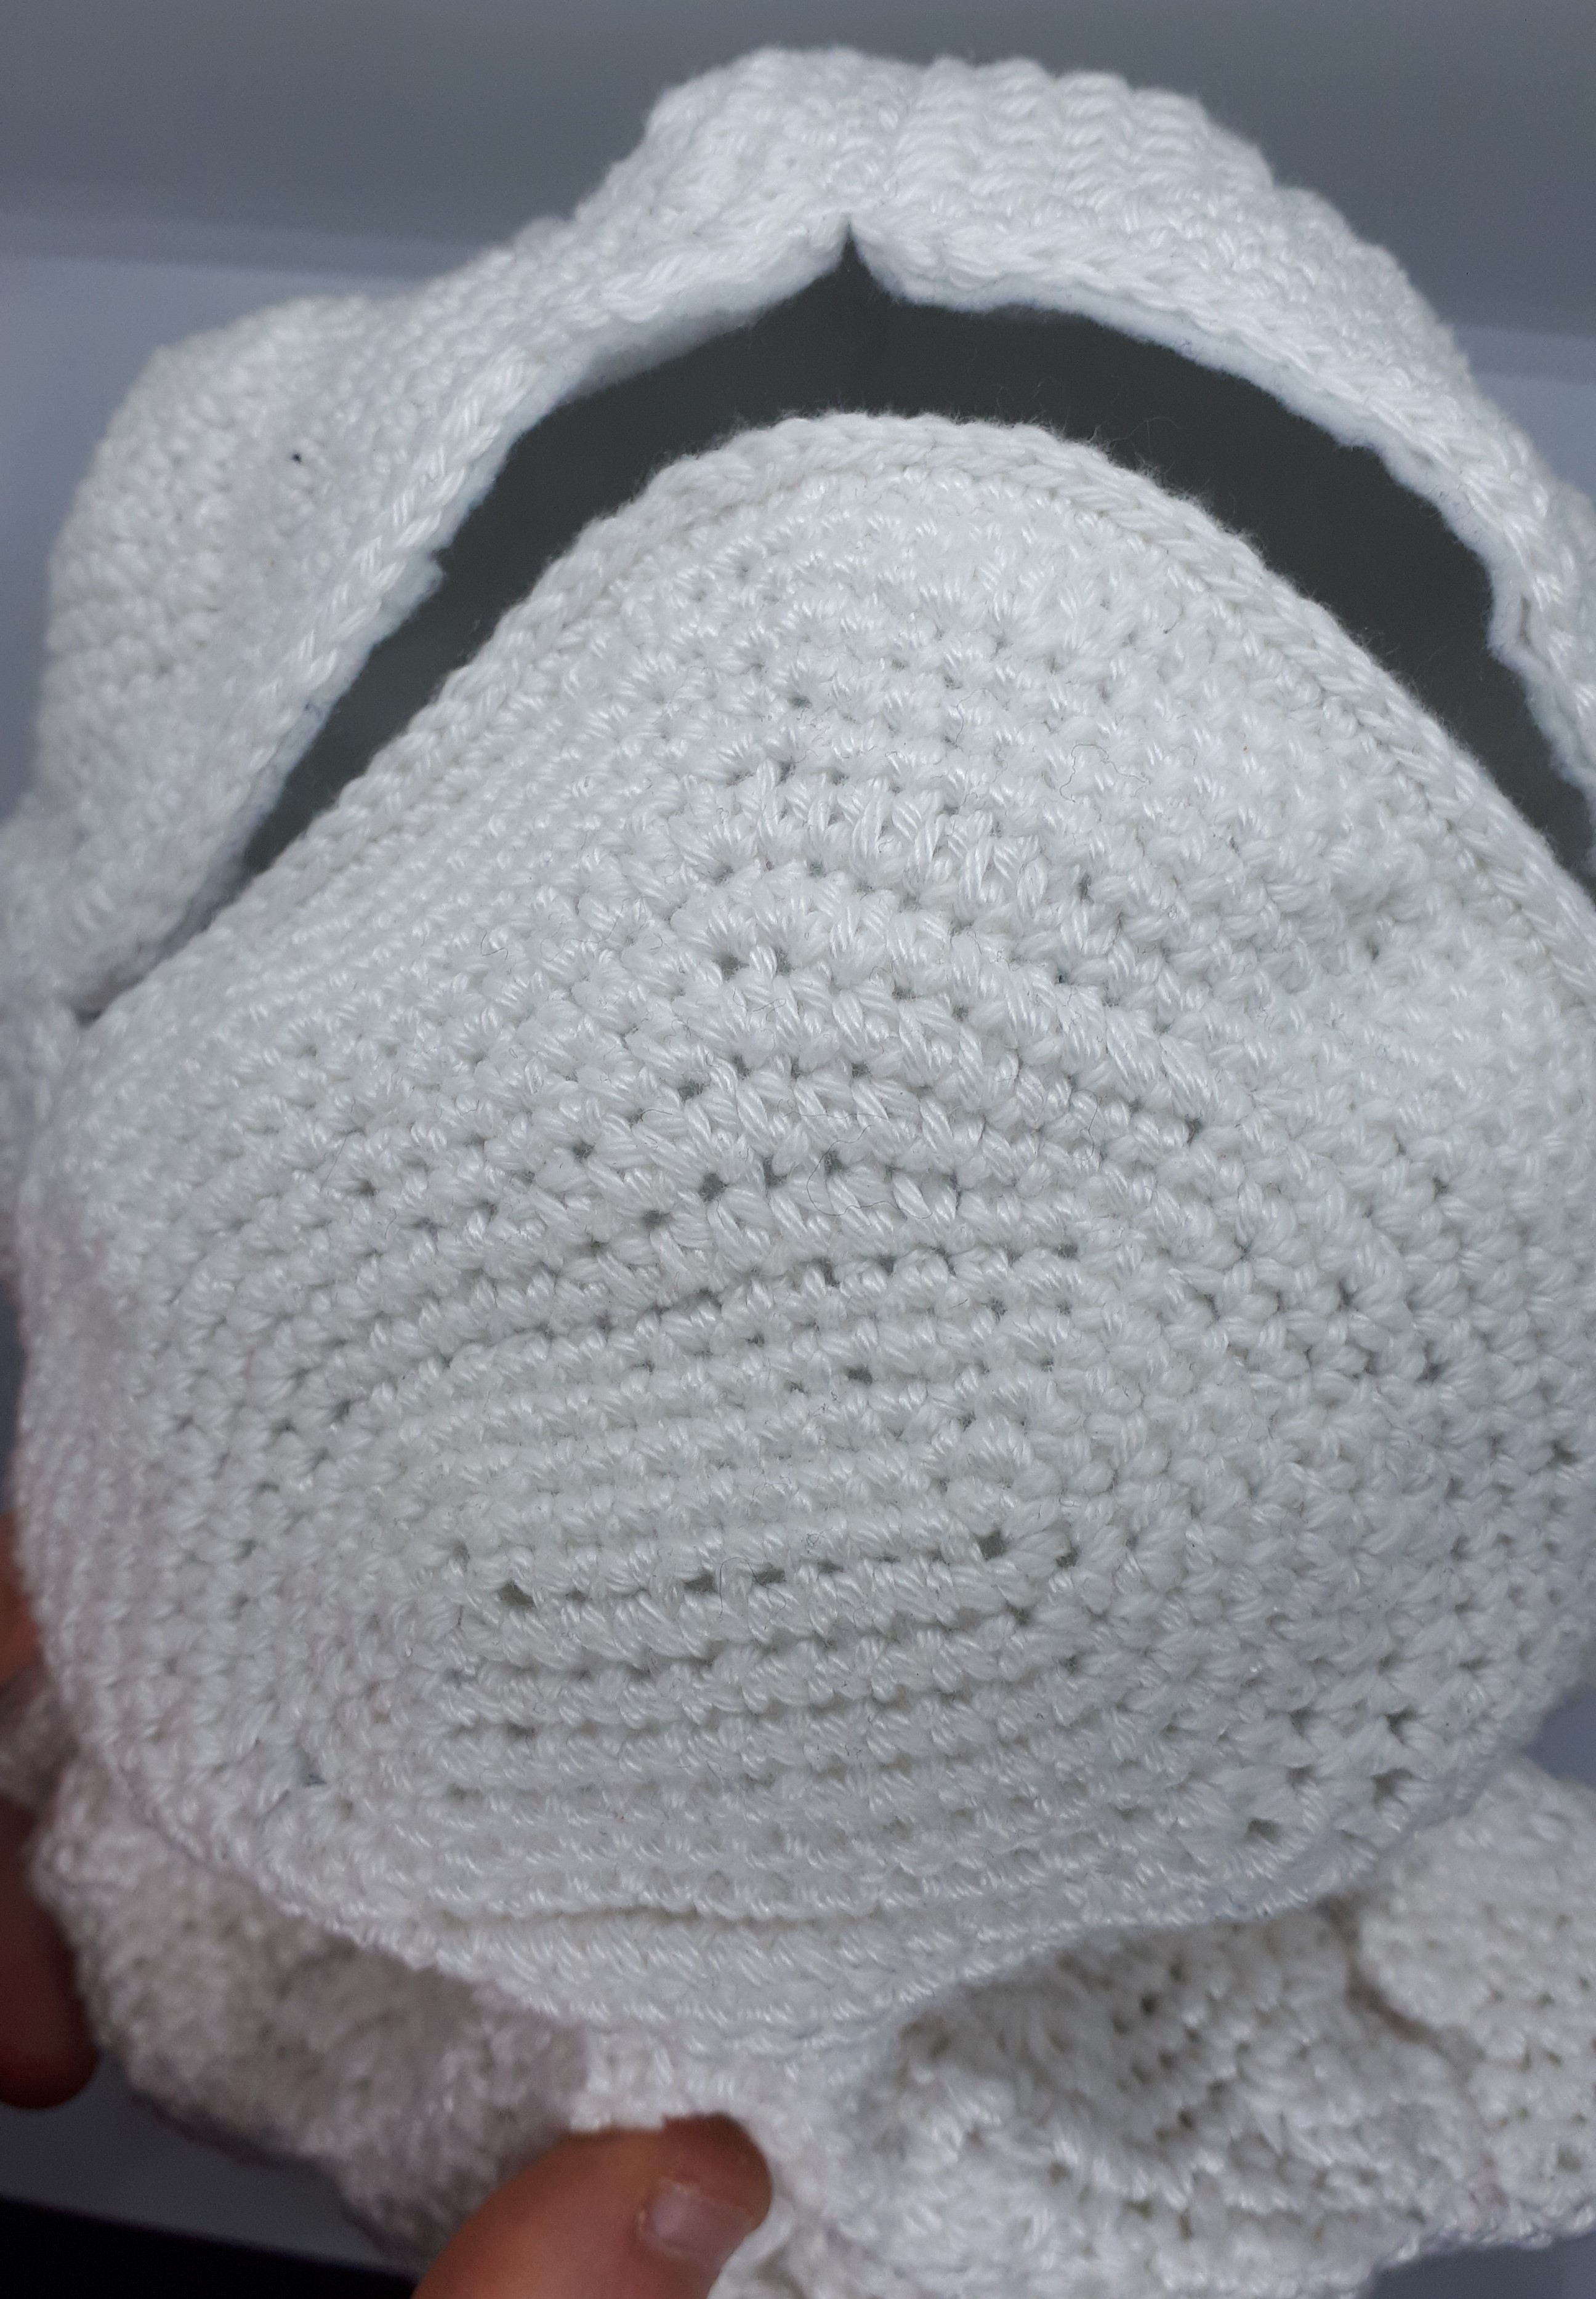
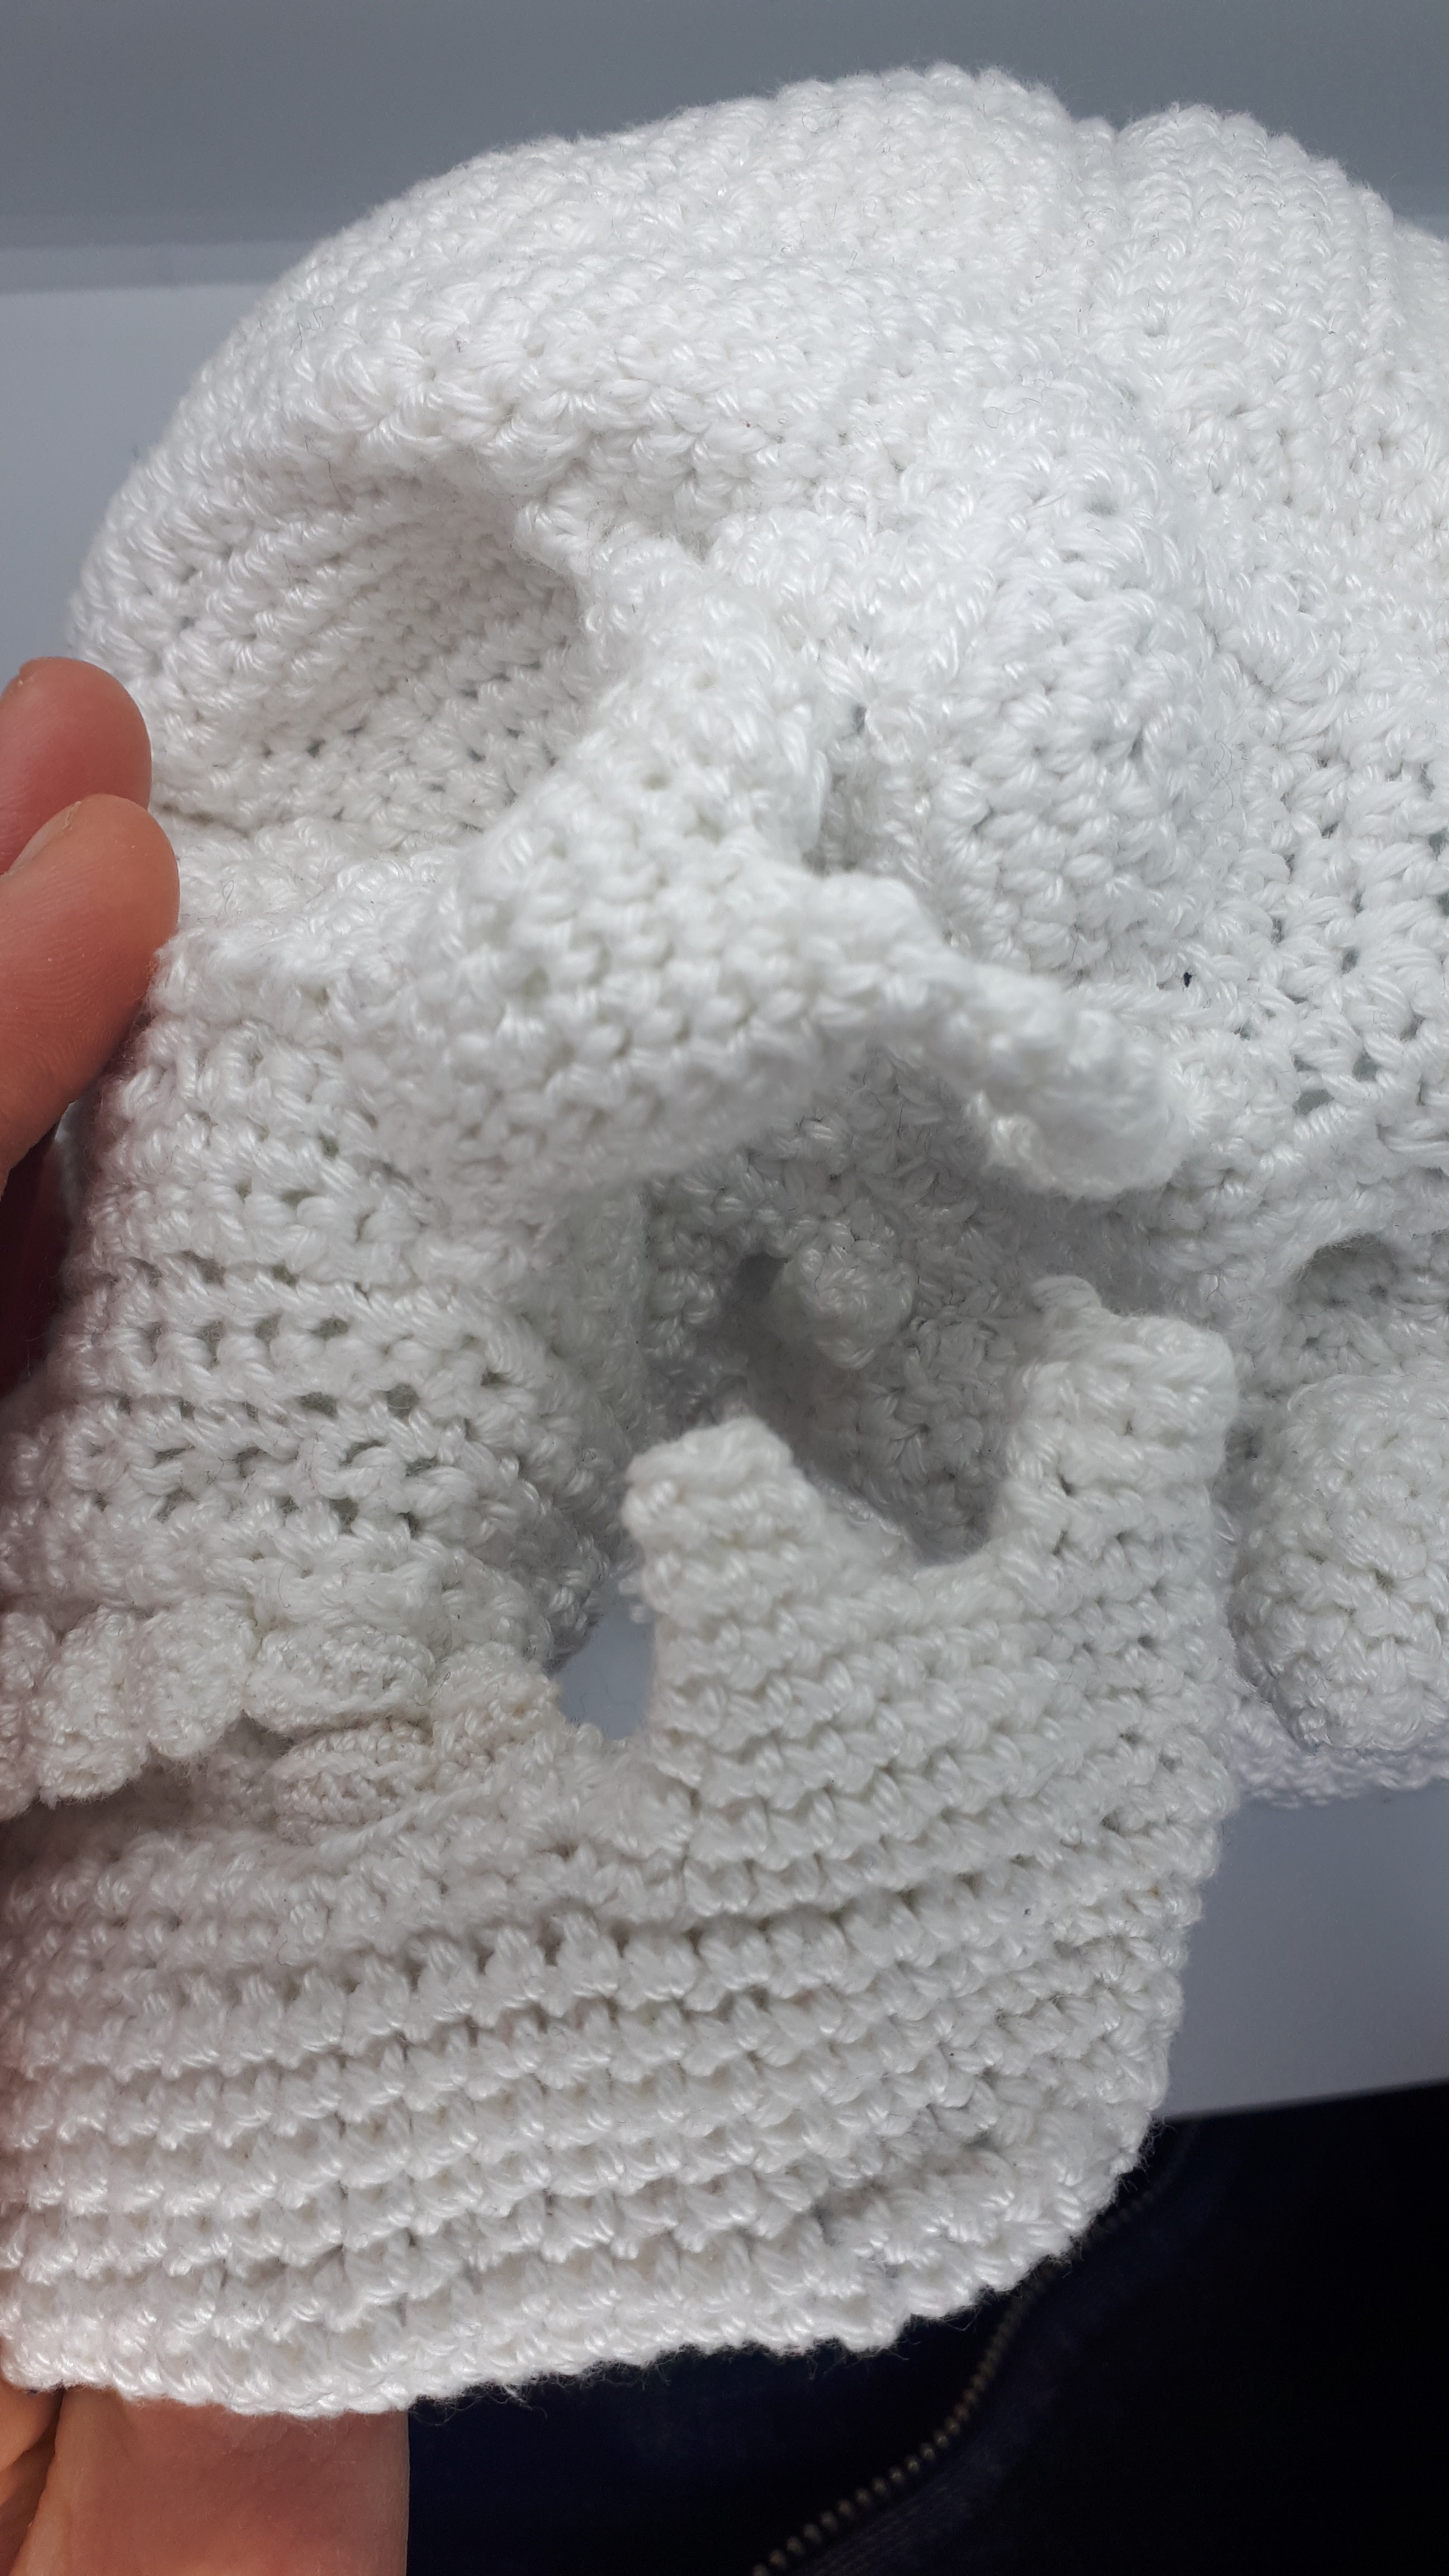
You now need to sew the nasal conchae to the sides of the nasal cavity, as shown in the images below. Sew the long side adjacent to the corner where you fastened off (circled) to the inside of the nasal cavity, about 1/3 of the way from the base. The piece should be sewn horizontally so that the cast-off edge is closest to the front of the skull.
Fold it over and sew the other edge in place - it should form a sort of loop at the front, as shown in the photos below.


 |
| top-down view |
 |
| After being folded up |
 |
| View from the side |

You now need to attach the ethmoid bone to the head. First sew the cast-on edge of the perpendicular plate to the top of the vomer (so that the end where you fastened off is pointing towards the front of the head). Then sew the front tip of the perpendicular plate to the centre back of the nasal bone.
 |
| The dotted line shows the seam between the vomer and perpendigular plate. |
 |
| top-down view |

Sew the lacrimals to the skull. They should be sewn so that half of them articulates with the back of the nasal bone, and the other half with the maxillae, as shown below.


 |
| The blue line shows the seams between the ethmoid bone (E), lacrimals (L), and maxilla (M) |
The next step is to attach the frontal bone. Sew the middle section between the eye socket dips to the centre front edge of the nasal bone, as shown below.


You then need to sew the end (face F) of each zygomatic bone to the frontal bone, at the outer edge of where the eye socket dips are located.


We will now move on to assembling the larger bones of the skull. The images below show which piece all parts of the larger bones connect to. Note that these are intended as guidelines only - it's oka if you find that your bones line up slightly differently to what's indicated below.
Frontal = blue
Parietals = pink
Occipital = red
Temporal part 1 = light green
Temperal part 2 = dark green
Sphenoid=orange
Zygomatic = purple
 |
| Image S (sphenoid) |
 |
| Image T (temporal) |
 |
| Image P (parietal) |
 |
| Image F (frontal) |
 |
| Image O (occipital) |


You should then sew the occipital lobe to the back of the parietal lobe, sewing along the lines marked in pink in image O and red in image P.


The next step is to attach the temporal bones to the parietal and occipital bones, as shown in the images below, attaching the corresponding sides shown in images O, P, and T above.


We'll now return to the front section of the skull. Lay out the section you've already made sew that it's facing downwards, as shown below.

The first step is to attach the greater wings of the sphenoid. Place them on top of the maxillae, as shown below. The pterygoid plates (circled in yellow) should be sitting flat against the maxillae below the rest of the wing. Don't sew them into position yet.


Place the body of the sphenoid between the greater wings, as shown below. The sides of the body should be in line with the botton edge of the felt section on the greater wings.

Sew the edge of the felt section of the wings to the base of the tube of the body. This is shown by the yellow lines in the image below.


You now need to sew the front of the head to the back. Start by positioning the frontal lobe between the left and right perietals, then sew these plates together.


Pin the base of the occipital just behind and below the sphenoid, and pin the greater wings of the sphenoid to the edge of the temporals, as shown in the photos below. Sew along the line shown in light green in photo S.


Sew the cast-off edges of the sphenoid to the frontal bone. Note that this shouldn't be sewn to the cast-off edge, the idea is just to close up the hole and hide the felt underneath (it should be sewn to the curved orange lines on image F above)


The underside of the bone should now look as shown below.

Place the 2nd part of the temporal bones in the holes either side of the occipital bone.

Sew these in place according to the colours shown in photo T2 above.


Sew the pterygoid plates to the back of the maxillae so that they lie flat, as shown below.


Sew the tip of the occipital bone to the body of the sphenoid, then sew up any remaining holes that exist between the bones.

Stuff the skull, then sew tips of the the temporal and zygomatic bones together as shown in the photo below.


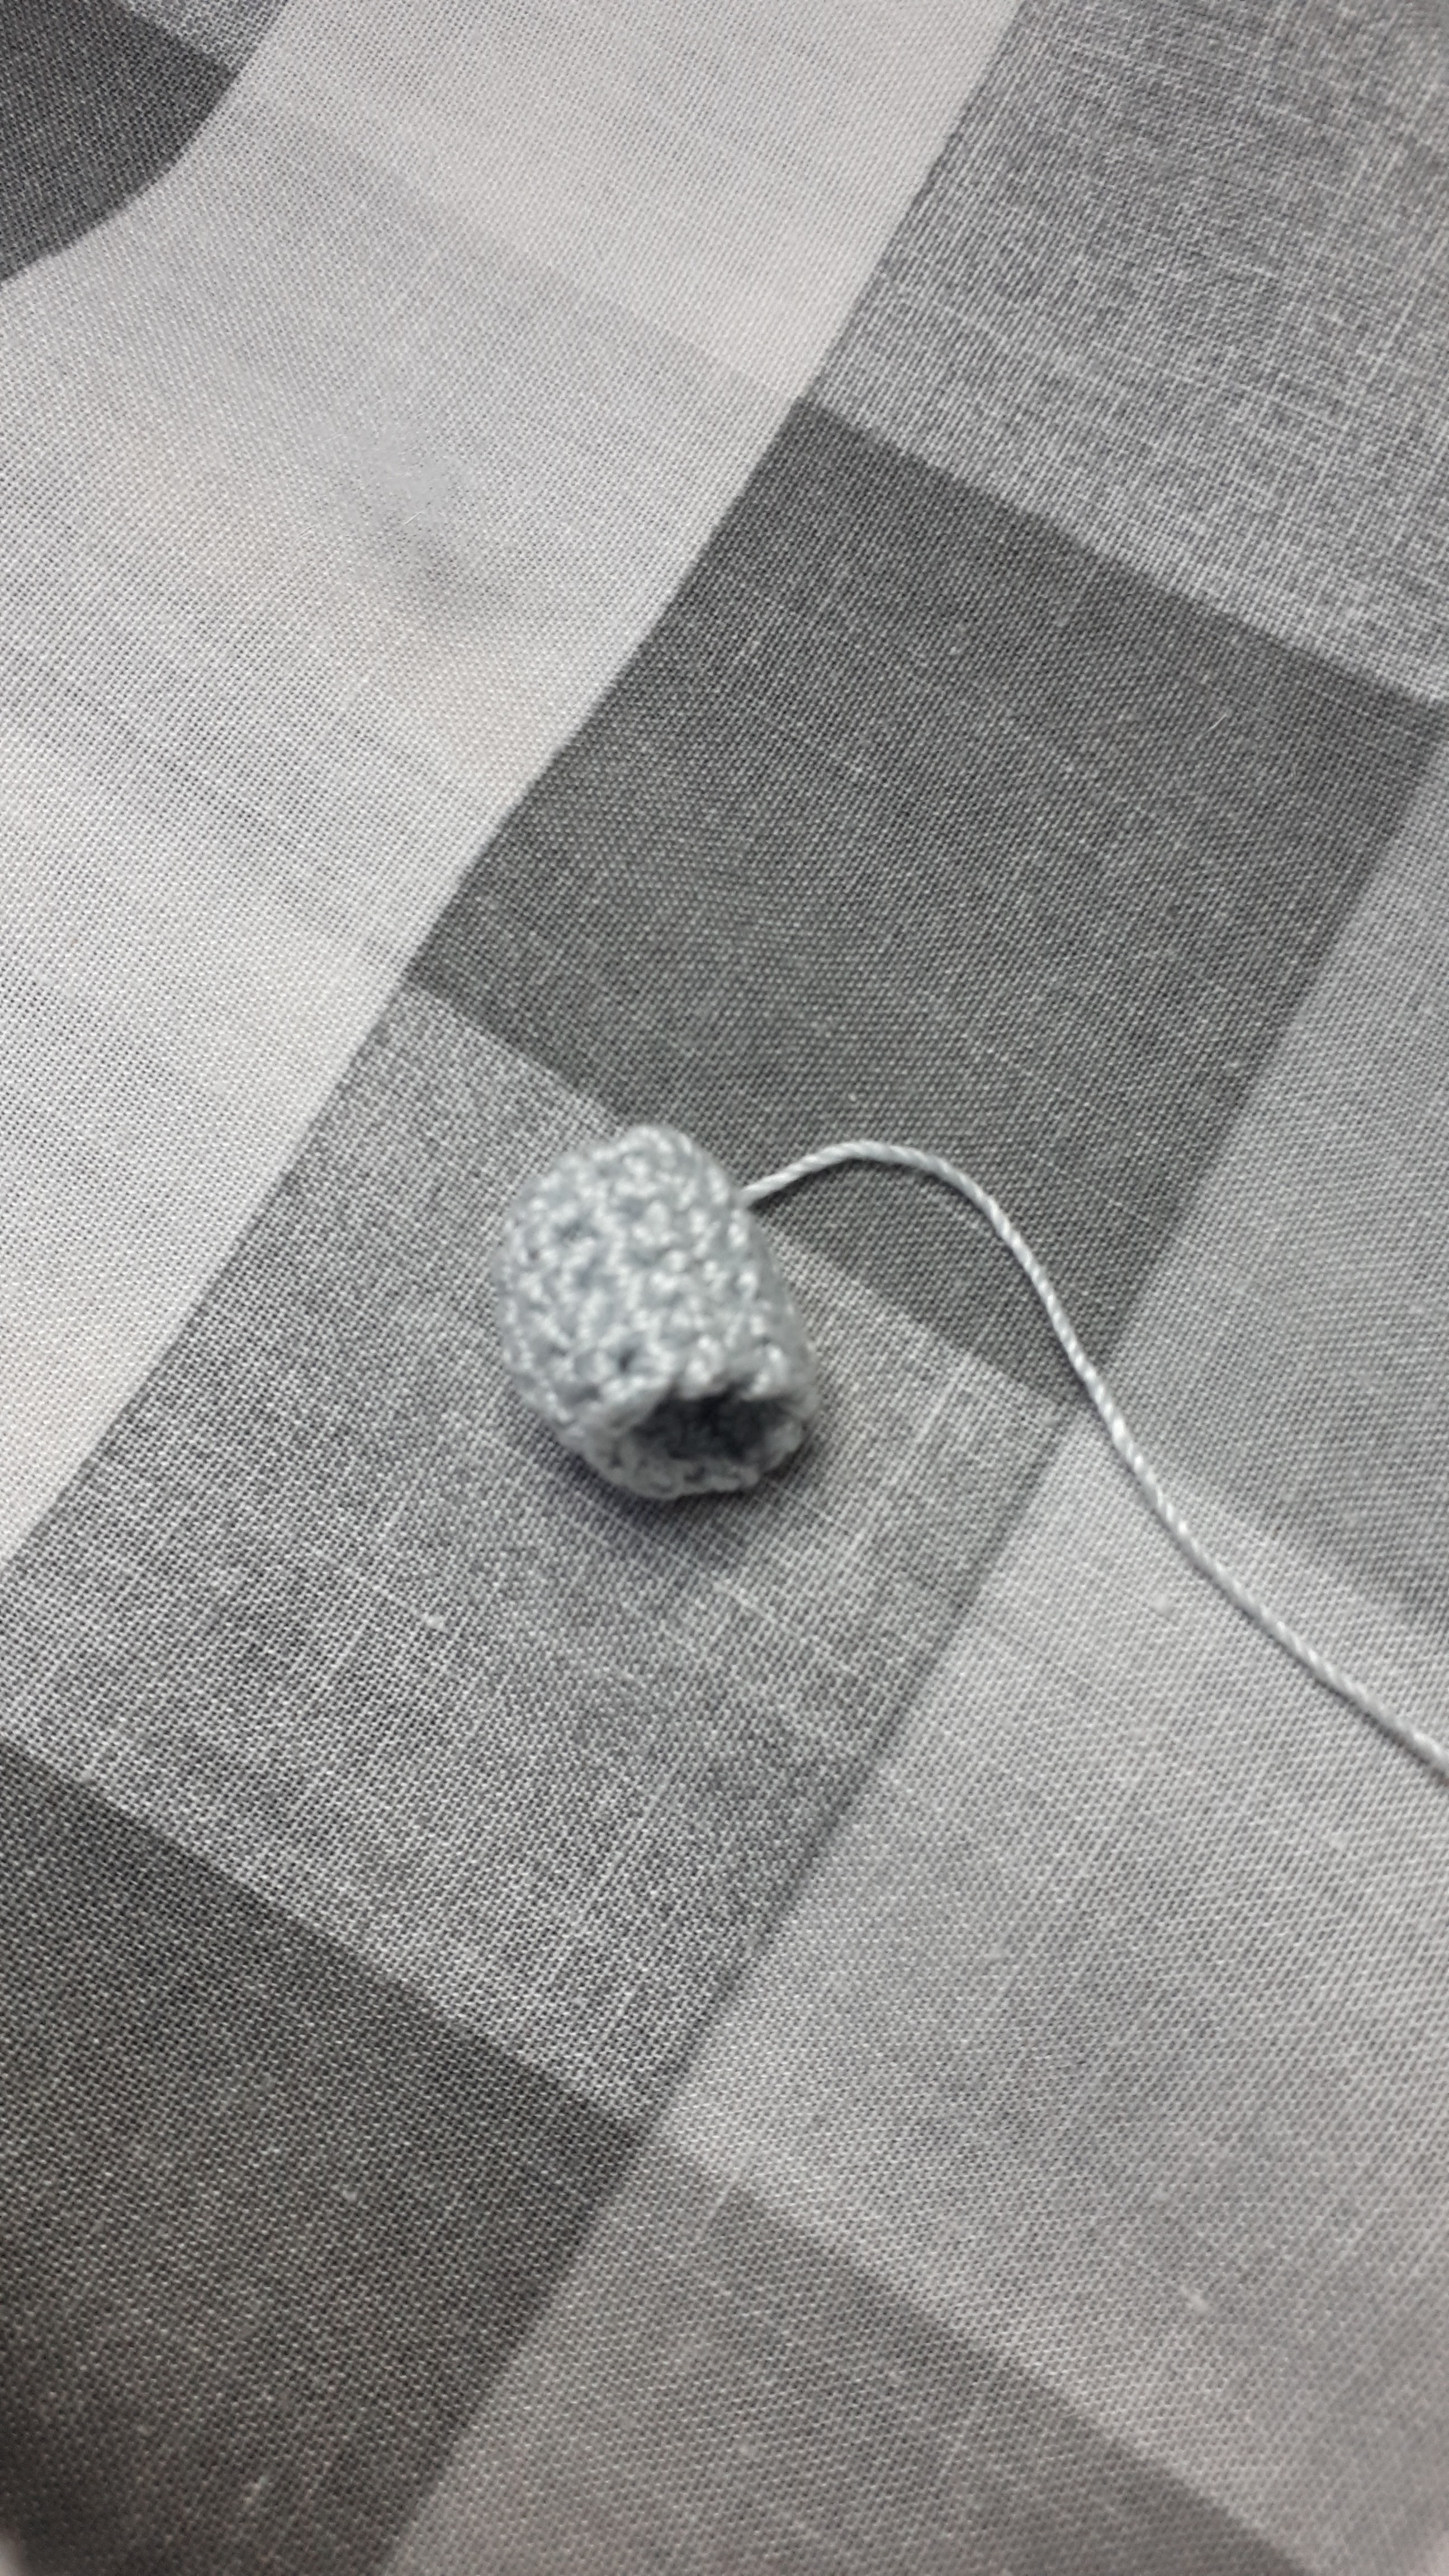
For the joint capsule (make 2):
With a 1mm hook and grey #10 yarn ch6
Row 1: sc in the 2nd chain st from hook and each of the next 4 chain sts. ch1, turn (5sc)
Rows 2 - 12: (11 rows) sc in each st. ch1, turn
Row 13: sc in each st
Fasten off
Sew the 2 ends of this section together to form a tube, then sew one end of this tube to the top of the jaw.

Sew the other side to the temporal bone


For the lateral ligament (make 2):
With a 1mm hook and grey #10 yarn ch12
Row 1: sc in the 2nd chain st from hook and each of the next 10 chain sts. ch1, turn (11sc)
Row 2: sc in each st
Fasten off


For the sylomandibular ligament (make 2):
Ch11
Row 1: sc in the 2nd chain st from hook and each of the next 9sts
Fasten off
Sew one end of the ligament to the styloid process of part 2 of the temporal bones and the other to the bottom of the inner face of the jaw, as shown in the images below.


For the sphenomandibular ligament (make 2):
Ch14Row 1: sc in the 2nd chain st from hook and each of the next 12 chain sts. ch1, turn (13sc)Row 2: Slip9, sc3, ch2Row 3: Sc in 2nd st from hook, sc12Fasten off
Sew the flat end of this to the temporal bone, just behind where you attached the joint capsule. The other end (with the 2 points) should be sewn to the inside back of the jaw, about halfway down.


That's all from this pattern - I hope you've enjoyed it! If you have any questions please email them to lhodginscrochet@gmail.com and I'll do my best to answer them asap. If you want to keep up to date with what I'm currently working on the best way is to follow me on my Instagram.
As always you're very welcome to sell finished products but please don't re-post this pattern or claim it as your own. Thank you!


I thought I might put this here, if there are any Australians who want to make this pattern. With a lot of research, I’ve found comparable brands and sizes of yarn that can be found at Spotlight, which is our national craft store brand.
ReplyDeleteThe Anchor Creativa Fino cotton can be replaced with Semco Regency 4ply mercerised cotton, and Rico Essentials #10 crochet cotton can be replaced with DMC Cebelia Cotton no 10